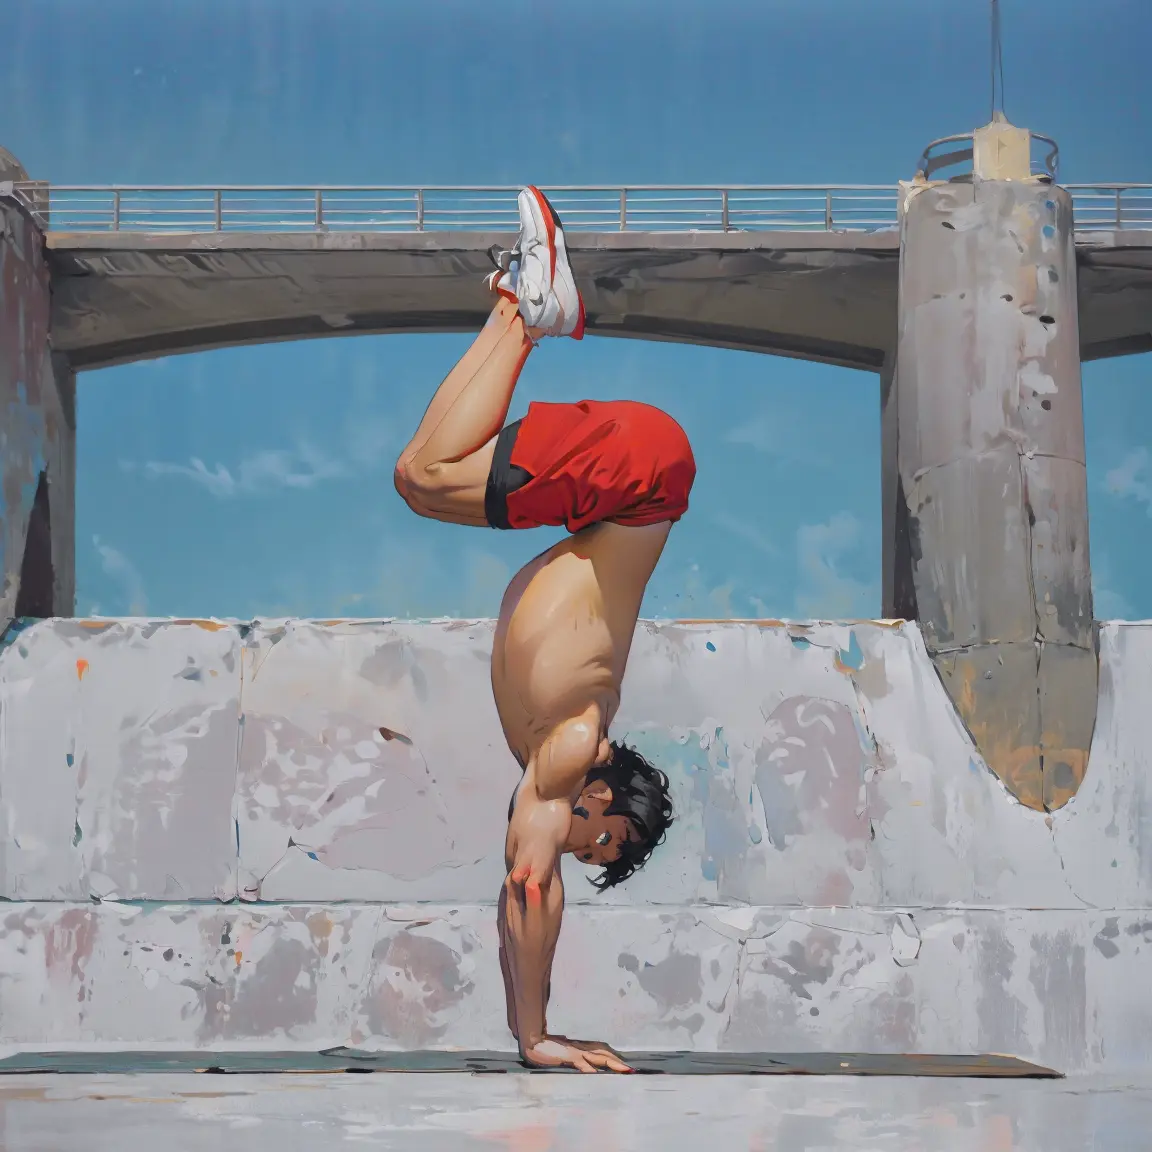
Mastering the tuck shows that you have reached a level of control, coordination and active mobility equivalent to the level needed when wanting to learn the press to handstand or the one arm handstands. Yet, whilst neither of those goals depend on you being able to tuck, I have yet to come across anyone who learned advanced goals without learning to tuck handstand first.
To tuck
or not to tuck
You see, There are 2 types of handstand athletes out there. The ones who can tuck easily & the ones that can not tuck at all. This mainly depends on shoulder, lower back and hip mobility.
If you fall into the category of athletes who can tuck quite naturally then the tuck represents a great way of learning to handstand as it’s much easier to hold for you than the straight handstand. Your center of gravity is closer to the floor and the tuck represents a great first handstand to hold to then develop further. It is mostly women who can hold the tuck easily.

For everyone else, every second spent training for the tuck will be one of the hardest things you’ve ever done and even if you might never truly master the tuck, every second spent working on it will greatly benefit your handstand journey and all over bodyweight training.
What is
the tuck handstand
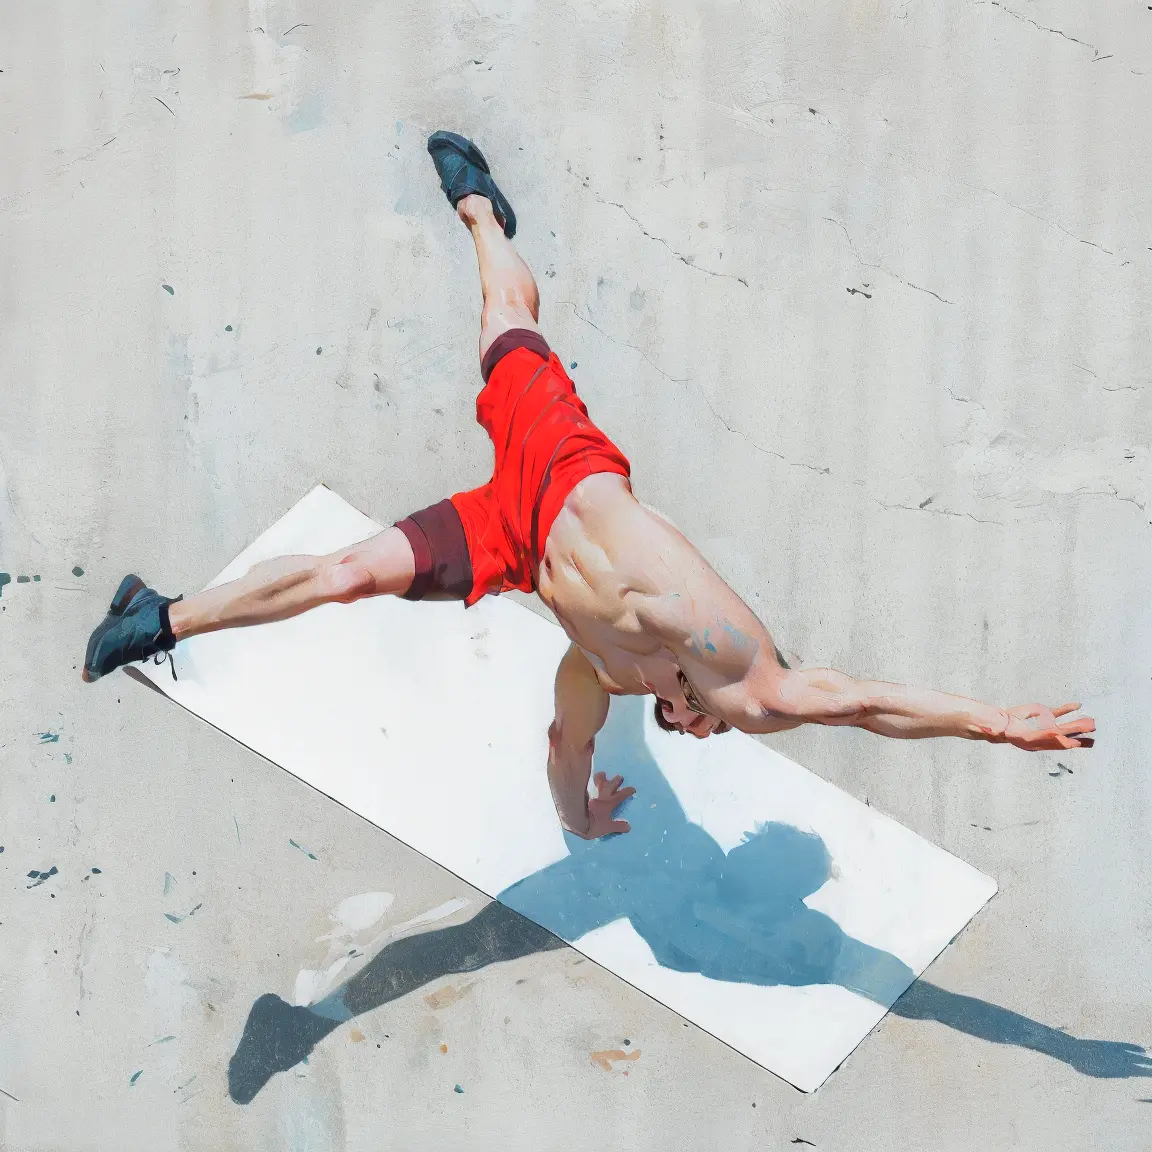
Personally I found the tuck handstand to be one of the most fascinating shapes there is. The tuck is a great showcase of forces traveling through the body and perfectly balancing itself out by actively pulling on your joints from multiple directions. Only when all involved muscles are working fully the tuck handstand can sustain. As soon as one link of the chain breaks you lose.
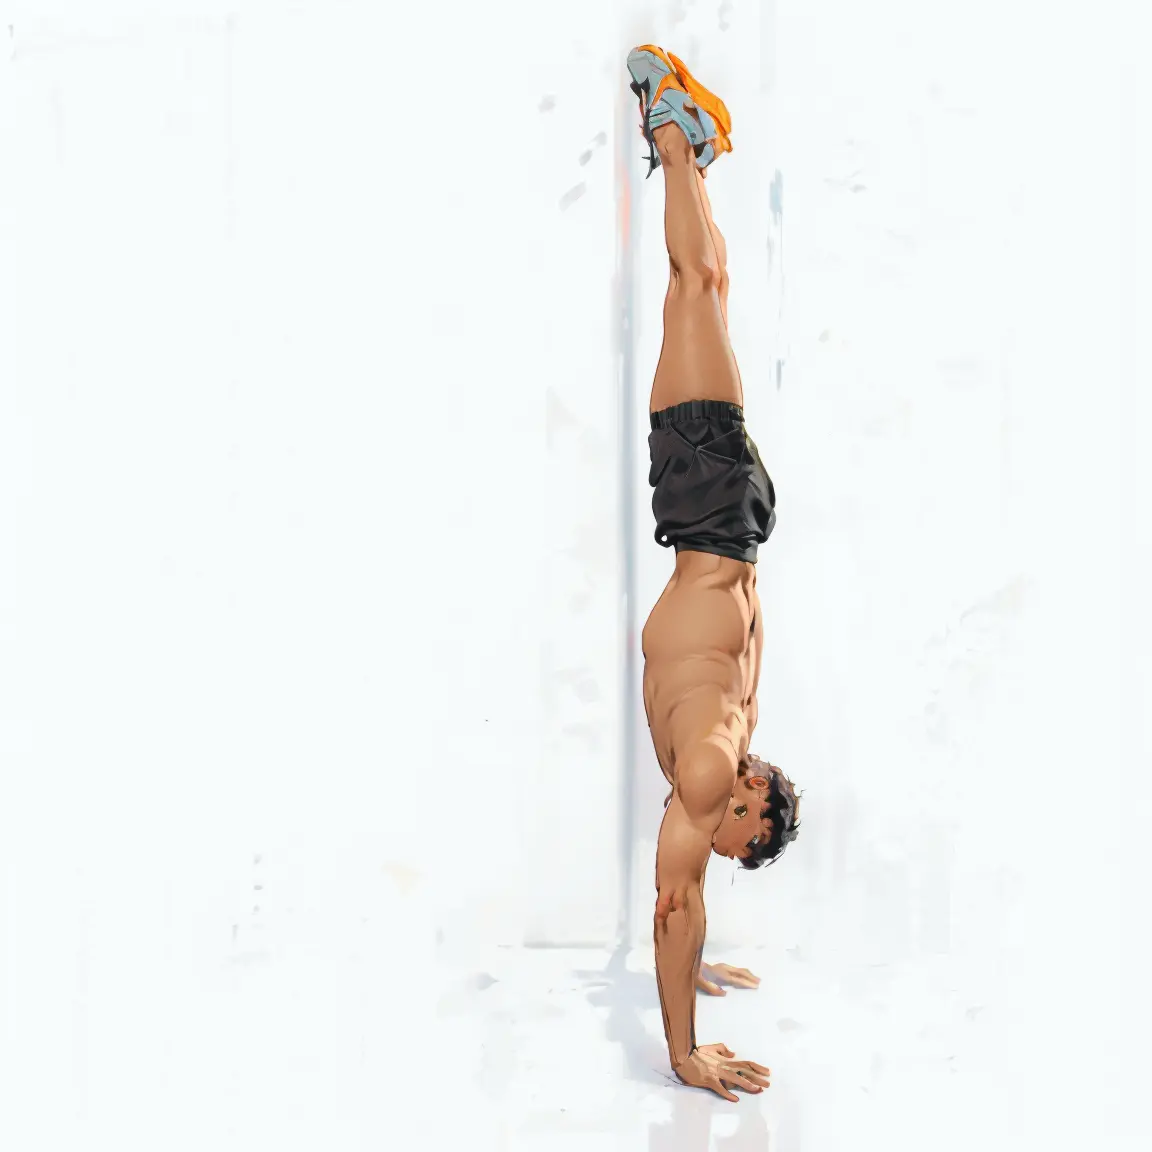
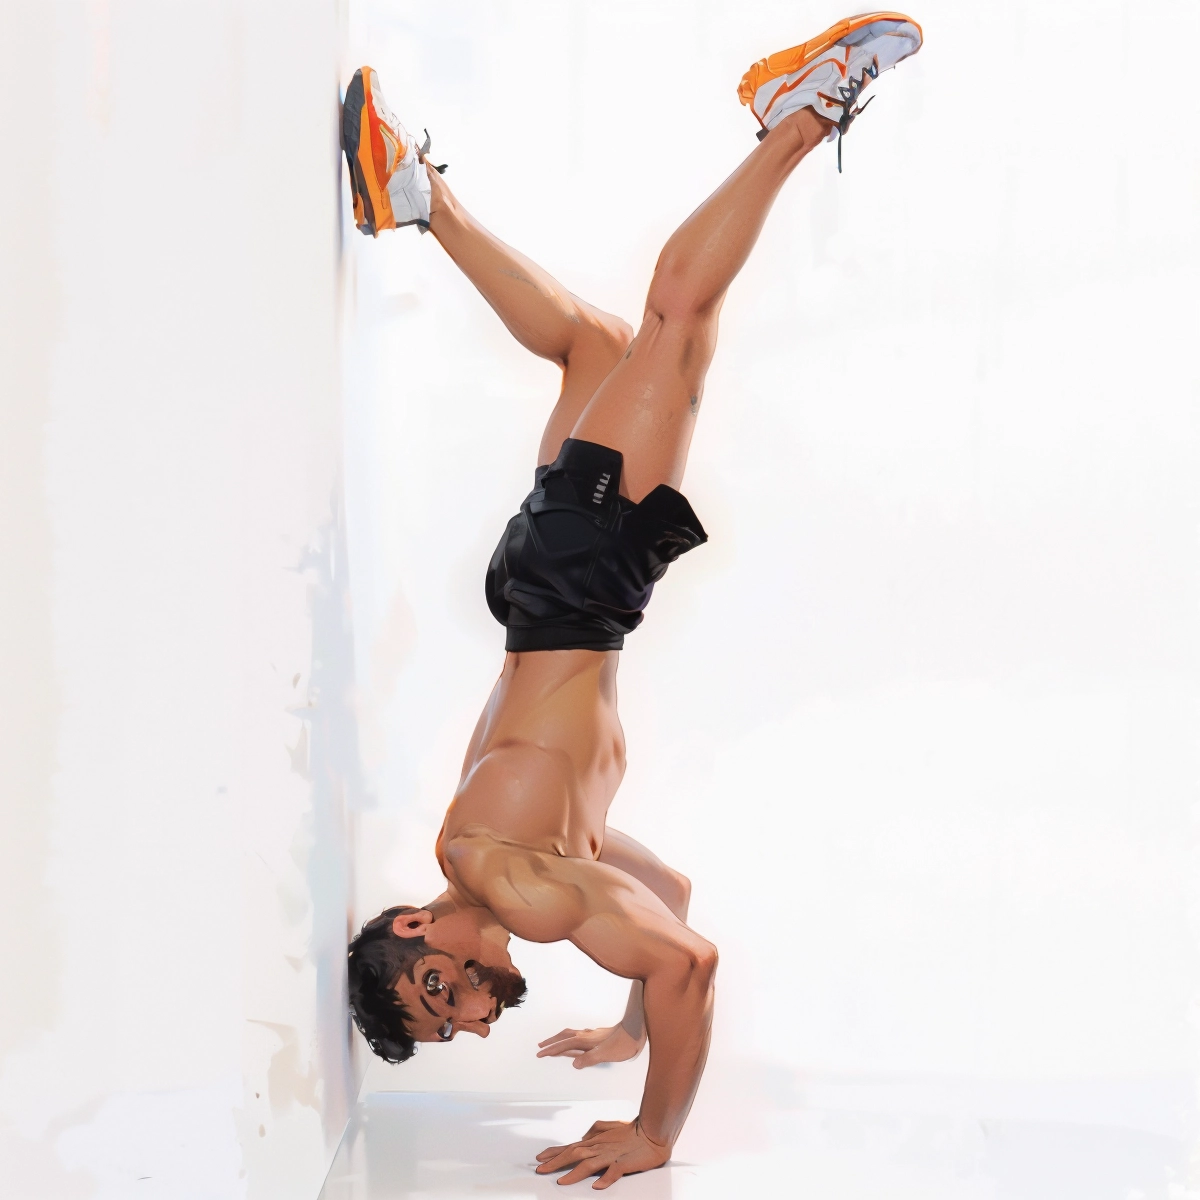
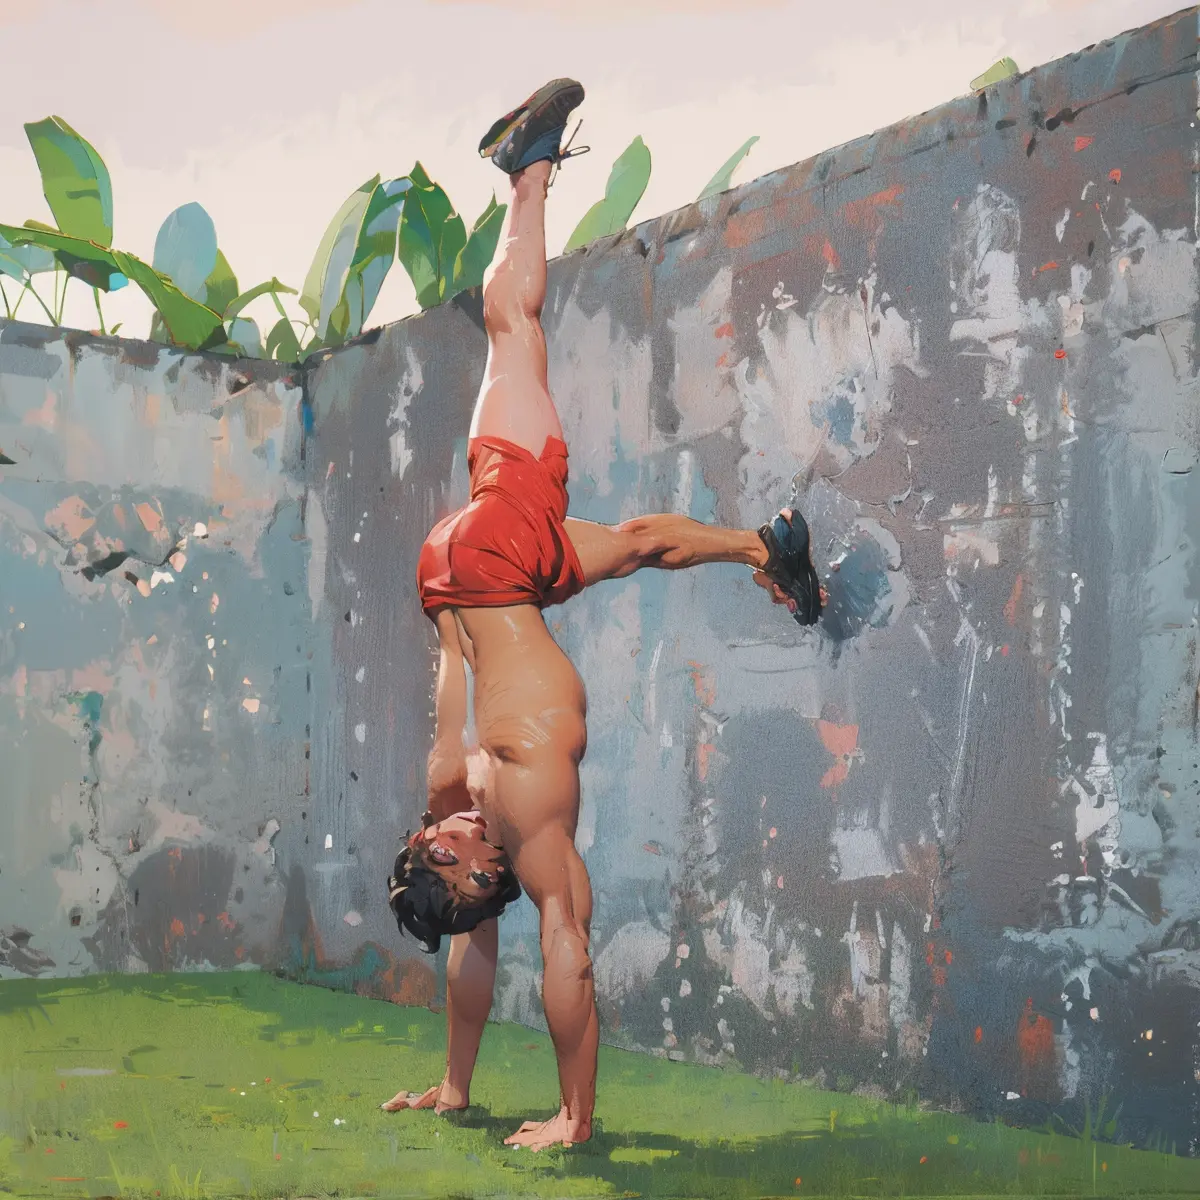
Tuck Alignment
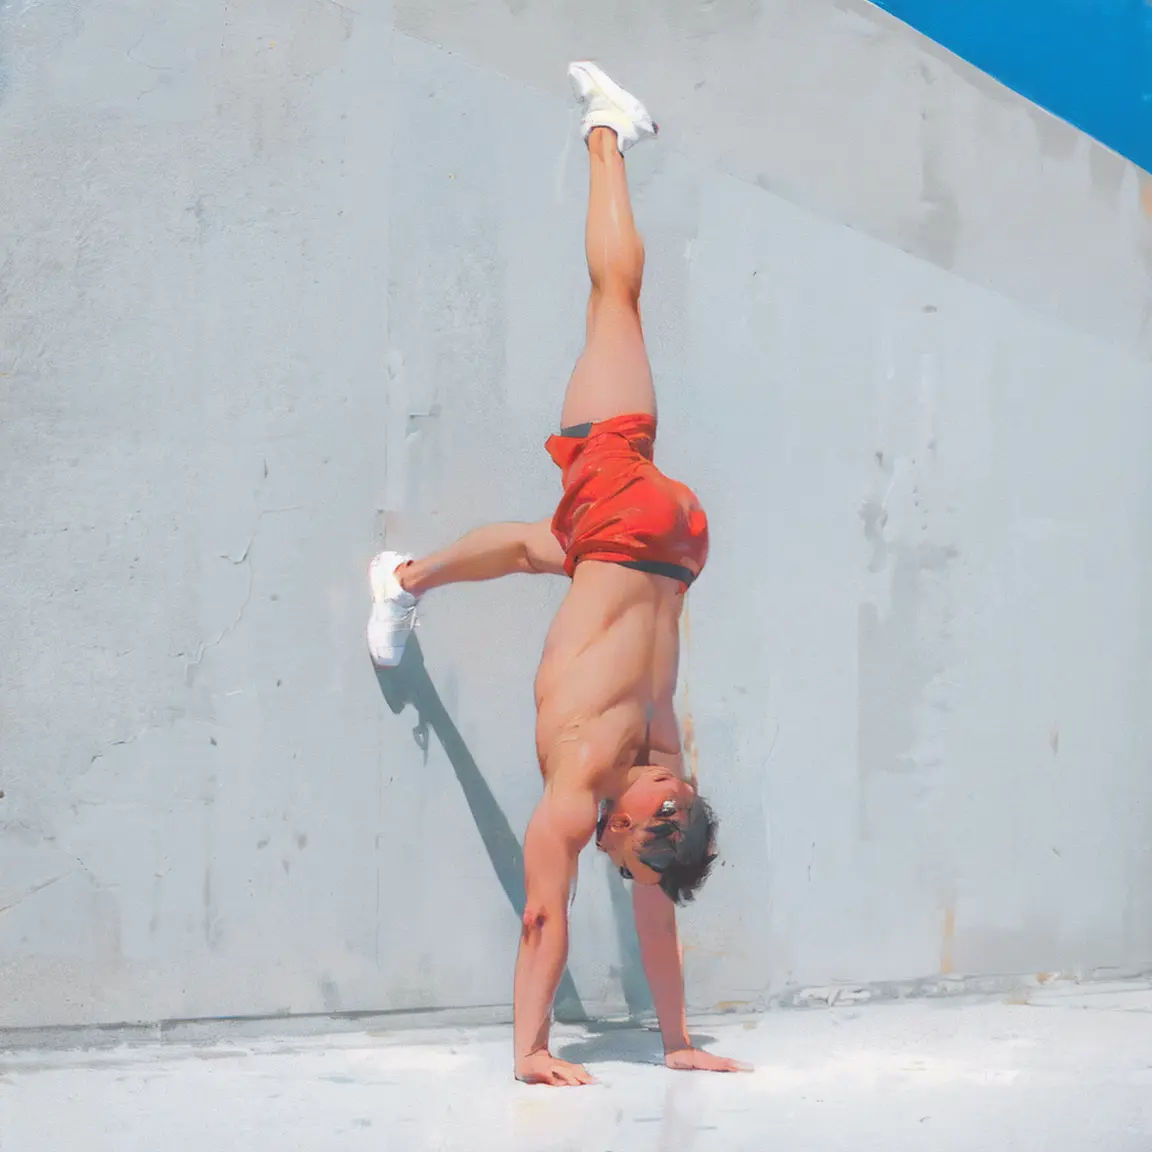
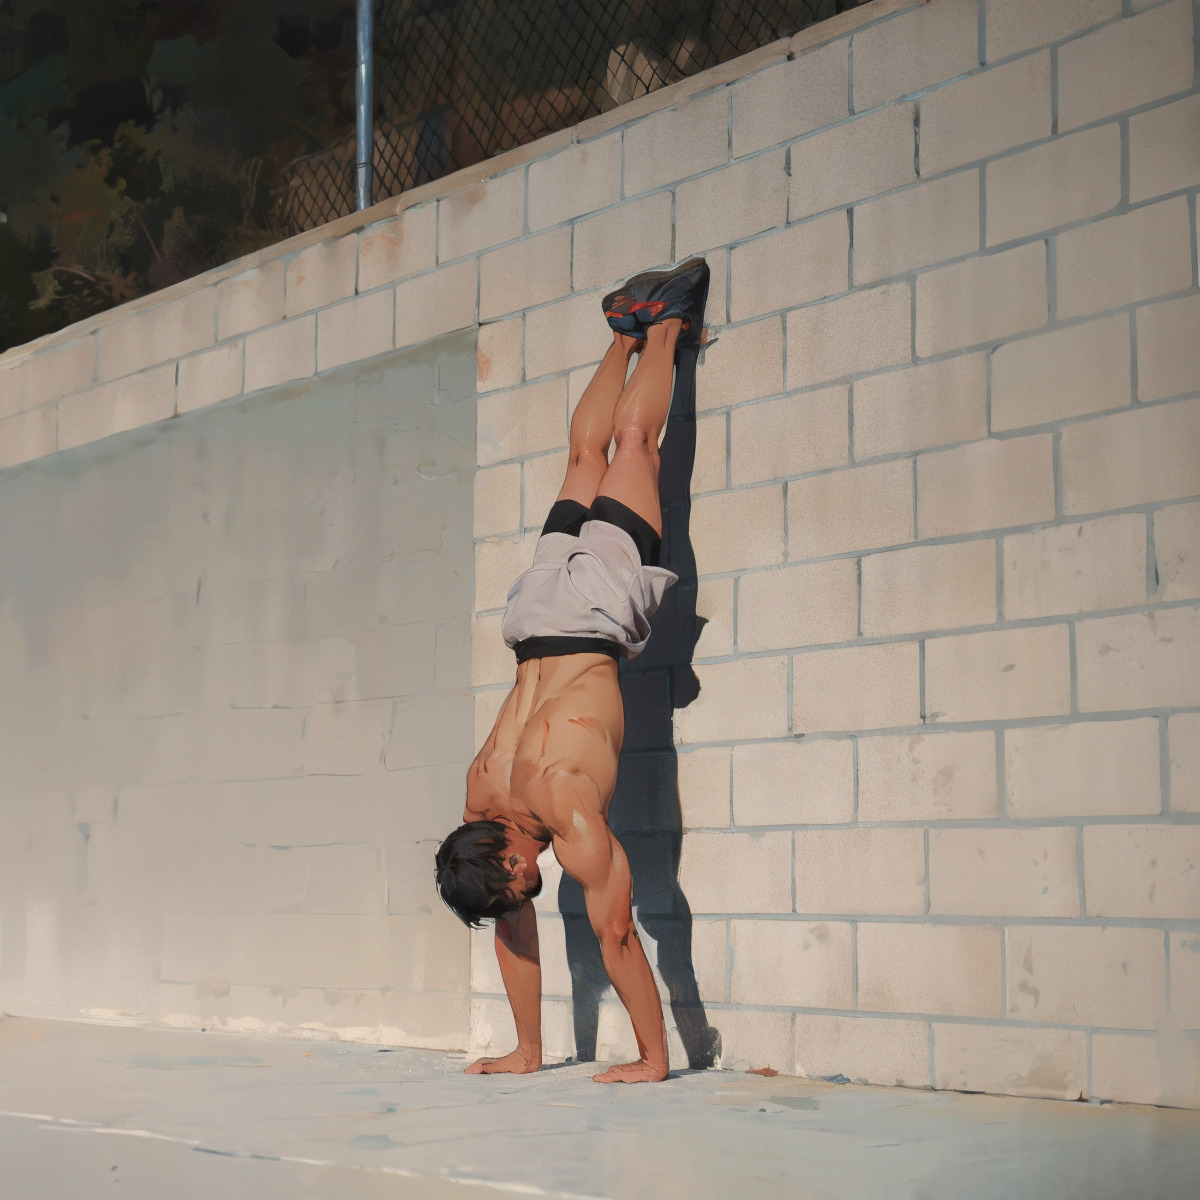
Starting with the foundation. In your straight handstand your elbows have to be locked with your shoulders elevated on top of the center of your hands. Spread your fingers wide on the floor to get control and place your hands about shoulder wide on the floor.
Whilst bending your legs use your hips flexors to pull the knees towards your chest and engage your lower back to not only stabilize the lower back but even to pull your hips into a slight anterior pelvic tilt.
Your lower back brings synergy
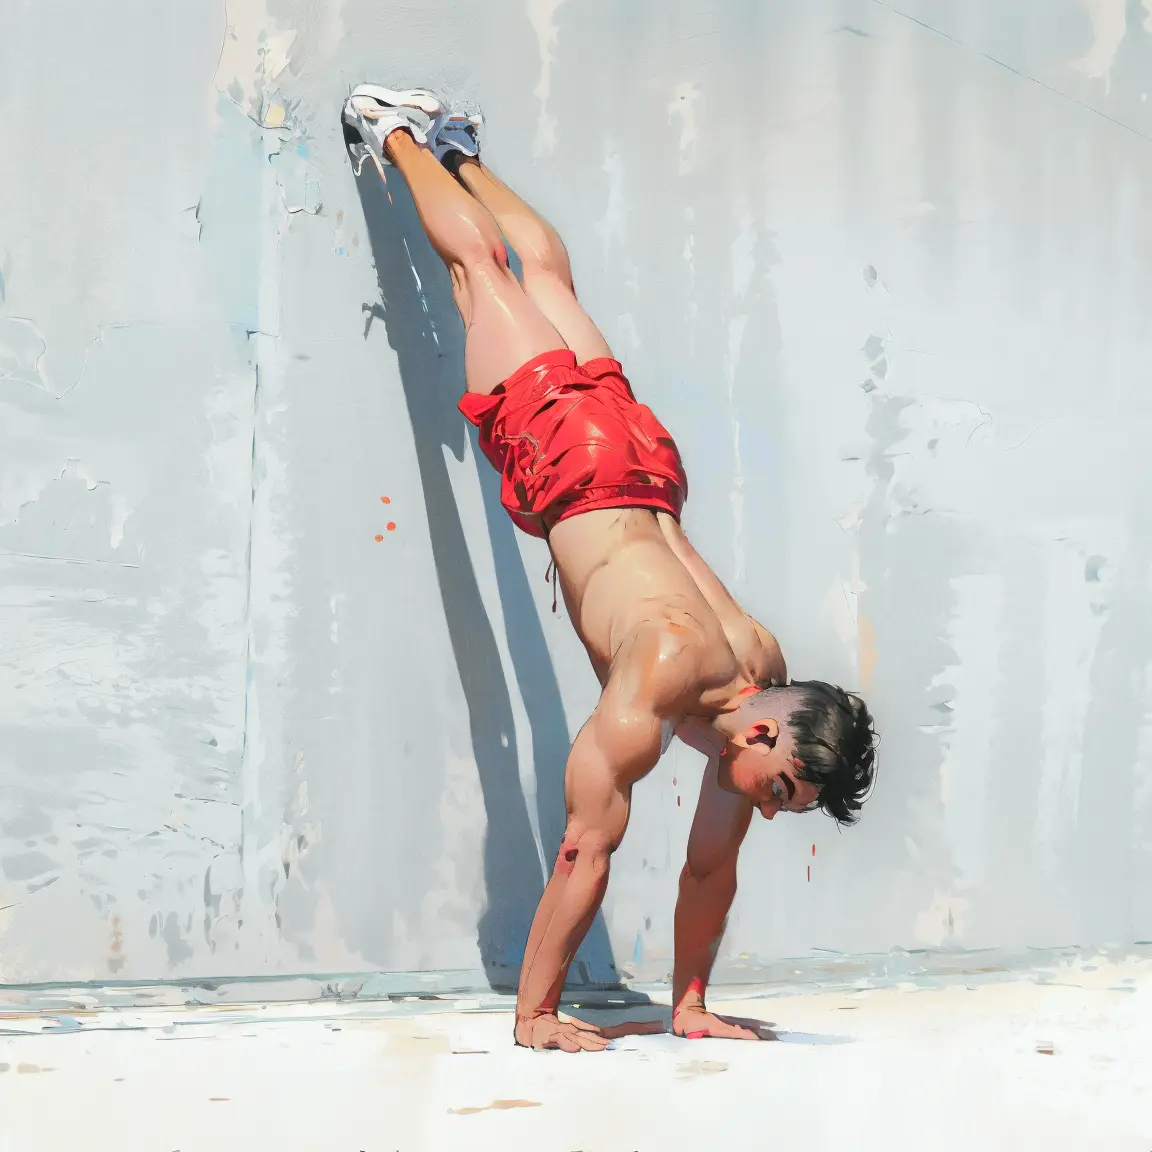
Key in the tuck handstand is truly the lower back. It has to pull the hips towards the anterior pelvic tilt. Your lower back has to arch slightly.
This is not actually to create a counterweight for your knees with your glutes but because the lower back connects the shoulders with the hips. If your lower back is not engaged the hips flexors do not pull the knees towards the chest but will simply cause the hips to flop into a posterior pelvic tilt. This will cause your lower back to round, your shoulders will get pushed out towards the front and you will end up in a tuck planche before eventually collapsing to the floor underneath the pressure of your hips.
This is a two edged sword. If your hip flexors stop engaging but your lower back is still pulling on the hips your knees will slide up and your lower back begins to arch.
It is essential that both are fully engaged canceling each other out.
Why is it difficult
typical limiting points
Dreaming about the perfect tuck is so easy but once we get upside down and actually try, things look significantly different. The skill makes so much sense and with all this synergy there should not be any problems. So why is the tuck handstand so hard?
When training for the tuck there are 2 major limiting points you might experience.
Lack of shoulder mobility or overall stiffness
Whenever we do a handstand with closed shoulders the back is forced to arch to make up for the angle created at the shoulders. We end up in a banana handstand.
When the knees now pull down towards the chest the back straightens out automatically. Generally this is great but in this new reality of the banana handstand this is a problem. If your back is straight but your shoulders are closed you end up in an advanced tuck Planche. You will be forced to invest enormous amounts of strength.
When the shoulders are open and the tuck handstand is well aligned your joints are staked and the shape is physically quite easy to hold. If you feel as if you are lacking strength chances are high you are lacking mobility.
Practicing the tuck handstand especially with the later described wall progressions can be a great way to get rid of your banana handstand and to learn to actively open the shoulders!

General lack of coordination & upside down awareness
Many athletes have the mobility and strength to perform a perfect tuck yet for some reason it still feels impossible to figure out how.
This can happen at any level of progression but often manifests itself right away at the beginning of your tuck training at the wall. As soon as you even think about bending the knees, the shoulders close, they get pushed out towards the front and the back rounds.
This is a common problem. There is a lot going on when transitioning into the tuck. Forces are pulling from your hips from all directions. On top of that you are upside down in an already foreign position.
Don’t panic. Take a step back. Break the progression further down and build coordination, strength and confidence before returning to the current progression.
Why you have to
learn to tuck
Don’t worry. The tuck handstand is not just difficult. It is also quite useful. As mentioned earlier the actual tuck handstand shape is not exactly needed for any advanced progressions. A great byproduct of training for the tuck is of course that you are challenging yourself pushing to overcome hurdles and limiting points ultimately becoming a better hand balancer but there are also precise, less abstract reasons why you should learn to tuck.
Tuck Mount to handstand
One of the most apparent reasons to learn to tuck is to get stable at your handstand mounts. The tuck handstand is compact and close to the floor. Whenever we jump into the handstand we have to bridge the part when we are not in control. This blind spot should be as small and as short as possible so we can be in control as long as possible. The tuck is the closest that you can be to the floor when on your hands. Jumping to the tuck will require the least amount of jumping and therefore will allow you to get highly consistent with your mounts.
Even if you believe that you will never get sufficient enough at holding the tuck and jumping into the tuck is off the table for now practicing tucks will still drastically improve your tuck mounts as for the tuck to straight mount the tuck is simply used as a stepping stone to align the hips with the already aligned shoulders. No need to hold the tuck in this one.
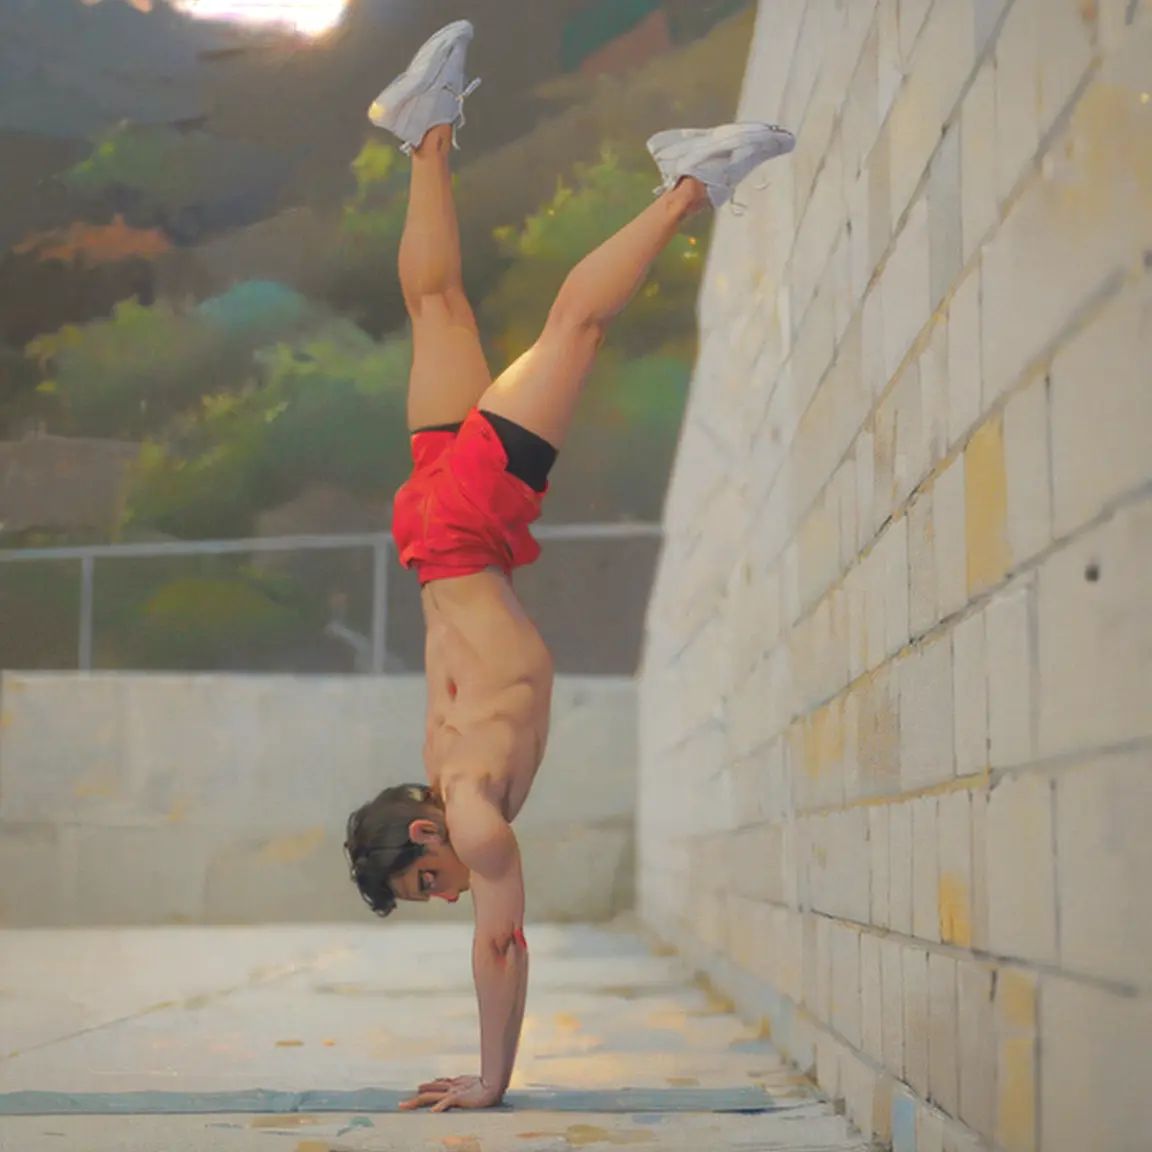
Advanced Shapes
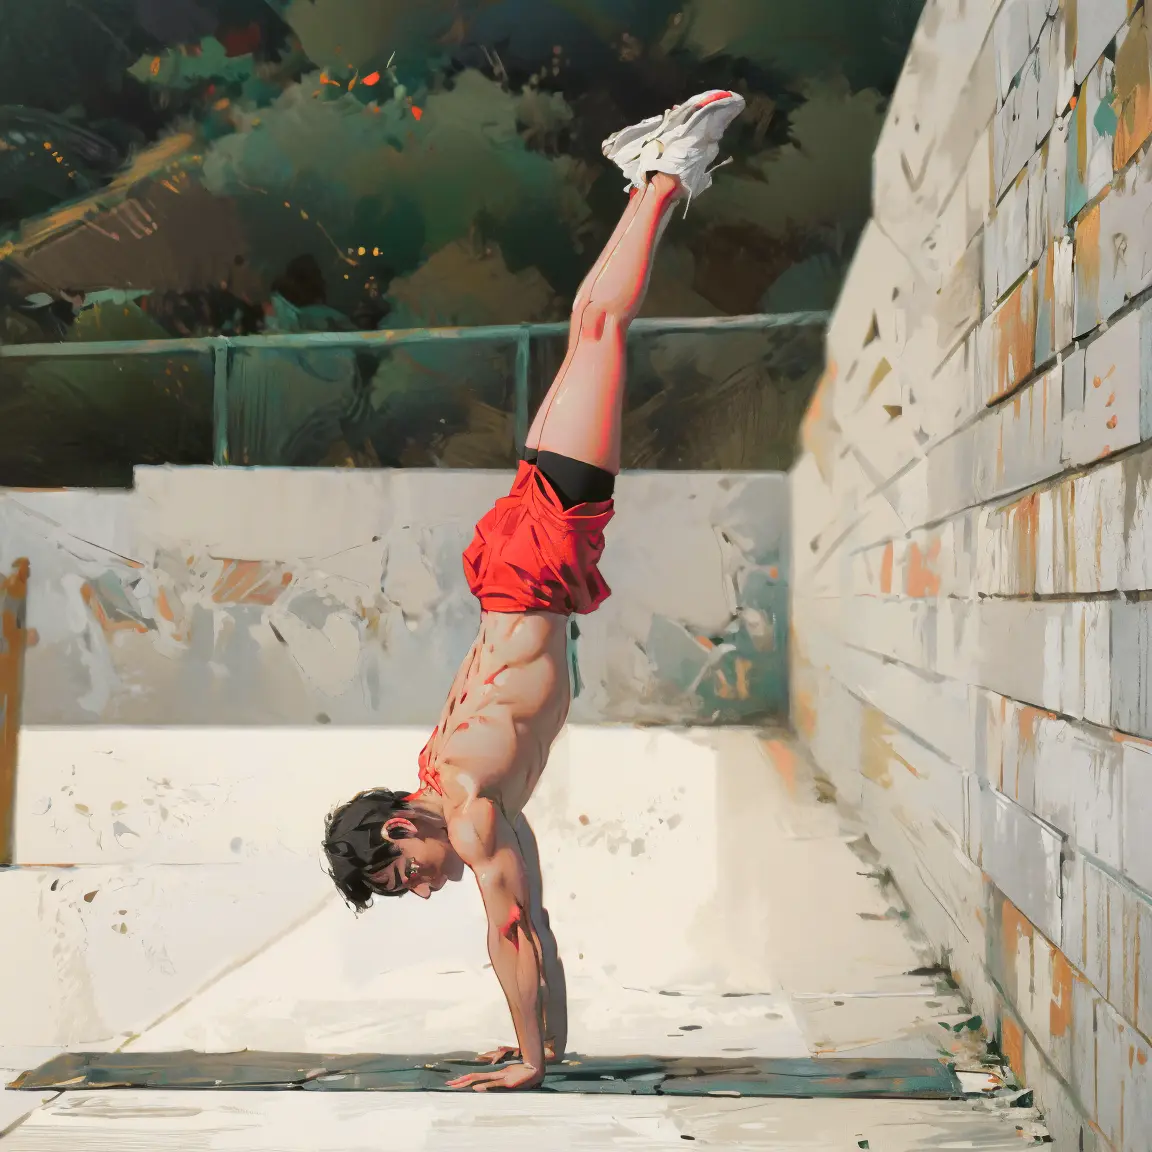
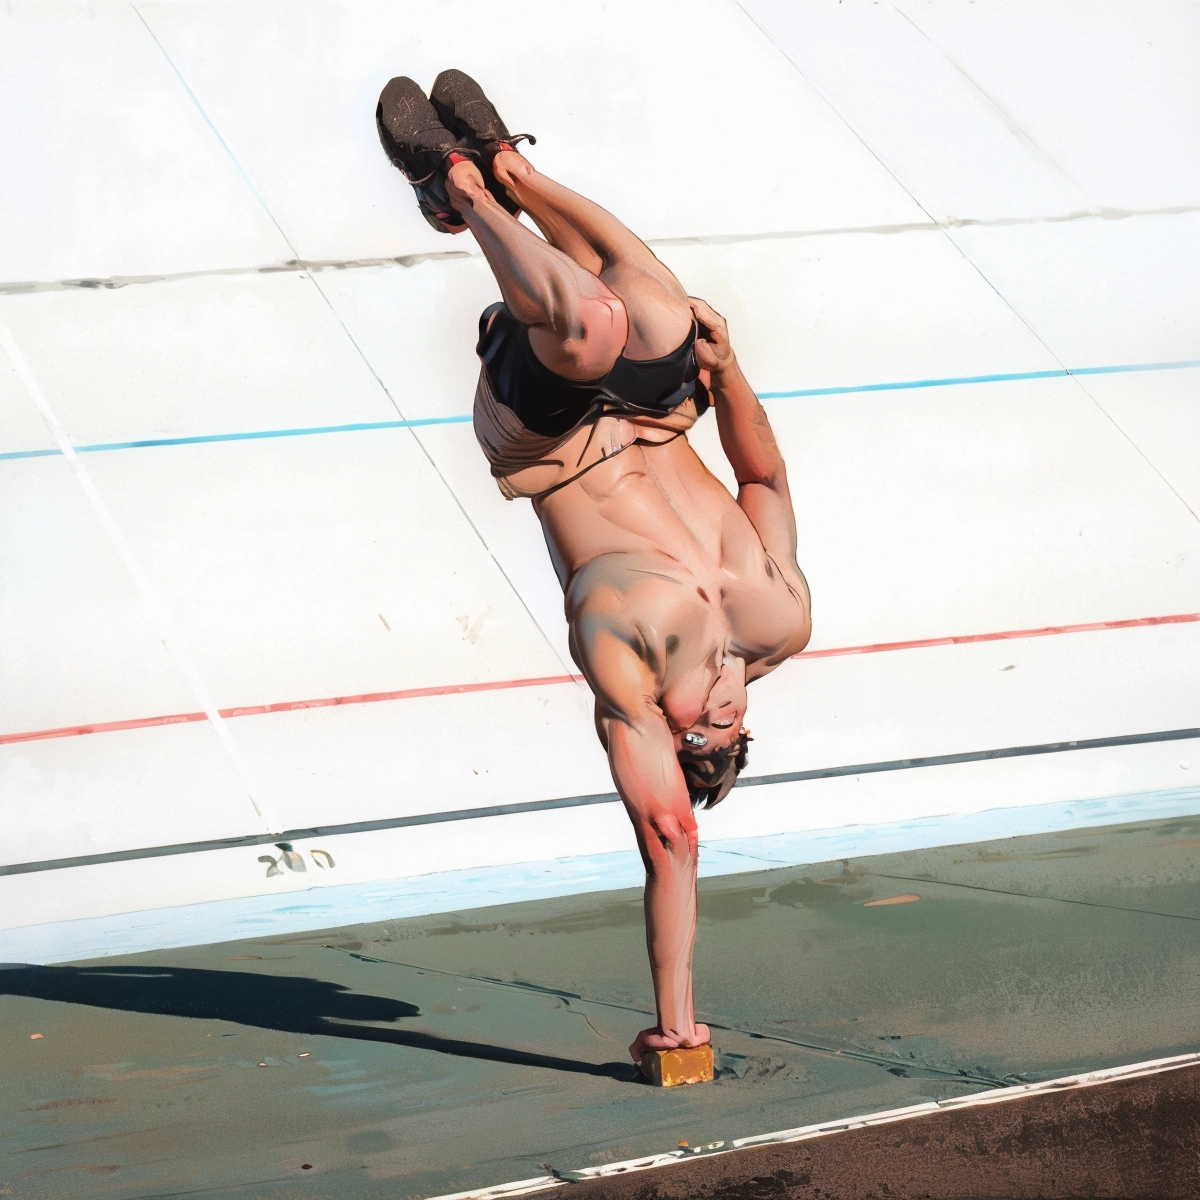
From your tuck handstand straighten 1 knee. Not straighten the other one. You are in an L handstand. Once your tuck is good many other advanced skills are just a small step away.
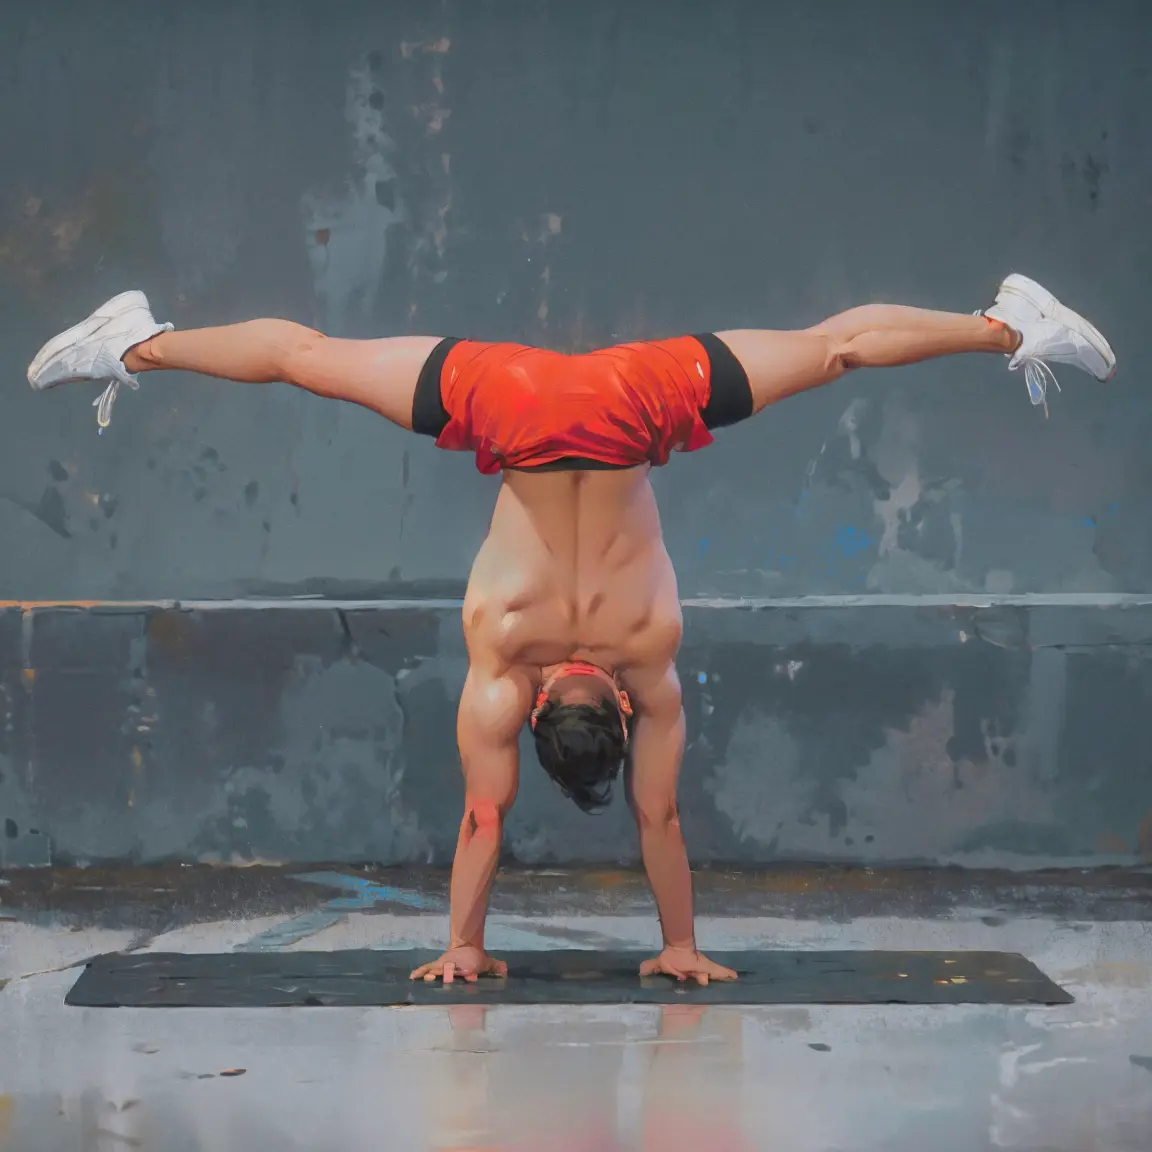
You can further challenge your body by isolating one leg at the time or pulling into a deep tuck and transitioning over the tuck Planche into the crane. Combining advanced progressions like these is significantly easier if your tuck handstand turns into a position of comfort and does not turn into an additional stressor on your body and mind.
Press to handstands
Now this is a big one! I would go as far as arguing that the tuck handstand is actually the key to the press to handstand! One of the most overlooked yet key concepts of the press to handstand is the engagement of the lower back.
Picture this. You are in a tuck handstand and you pull your knees extra low into a deep tuck. Your quads are now diagonally pointing towards the floor. Your hip flexors are pulling tight. Yet, your lower back is arched and stabilizes the position. From here open your legs creating approximately a 45 degree angle. Extend your knees. You are in the take off position of the straddle press.
The lower back connects the hips and legs with your shoulders and arms. The tuck and press utilize this same engagement. In order to get the hips up the lower back has to engage and pull the hips over. If the back does not engage the hips can not come up.
An additional hurdle athletes learning to press have to overcome is lack of compression. Without compression you are unable to create a mechanical advantage and your straddle press turns into a planche press. In the tuck handstand the lower back does not fire up alone. Additionally, the hip flexors pull on the knees creating tight compression. The tuck truly is the ultimate handstand position to practice if the press is your goal.
Drills &
Progressions
Training for the tuck highlights how complex handstand training can be due to the variety of demands on your body. When working towards your tuck I want you to focus on 4 milestones.
Start by building the needed coordination and develop basic understanding for the skill. In the meantime stretch for your tuck. You have to combine passive with active exercises to not just increase range of motion but also to develop end range strength and awareness. Once ready use a variety of the progressions listed below to develop specific strength and coordination before eventually taking the tuck into the open space.
Understand the movement
Before we can swim we have to learn to put on our bathing suits and before we can tuck we have to learn basic movement coordination. Start on your back with your hands overhead, shoulder’s elevated, core and legs engaged, feet squeezed together and your shoulder blades and feet off the floor but your hands close to the floor. From here pull your knees towards your chest. Use your hip flexors to pull into a right tuck and your lower back muscles to stabilize the position before pushing the feet away again to return to your starting position. Make sure your chins stay parallel to the floor and do not allow your hips to flip into a posterior pelvic tilt.
Stretch for your tuck
Your tuck will greatly improve by increasing your available range of motion. Stretch your shoulders, hamstrings, lower back and glutes to make getting into the tuck position easier. Combine this with activation work to build strength and coordination on this newly gained end range of motion.
An especially recommendable exercise is as follows: lay on your back on a table, bench or even your bed with your legs hanging off on one side. Grab one chin right underneath the knee and pull it towards your chest without allowing the other leg to come up. Your hips should be in a slight anterior pelvic tilt. Step 1 is simply holding the stretch. Step 2 is letting go of the leg without allowing the body to shift position. Use your hip flexors to pull the knee towards your chest whilst the lower back stabilizes the position. Figuring out how to do this one is a massive step on your way towards the tuck handstand.
Single Leg Wall Tuck
Getting upside down we start at the wall. Align your hips and shoulders on top of the center of your hands. There should be a 45 degree angle at your hips. From here pull 1 leg into the tuck at the time. Your chin and knee should touch the wall whilst the rest of the body must remain immobile.
Wall Tuck
Taking it up a notch we move on to doing the same thing but with both knees at the same time. This will place more pressure on your shoulders and with that makes the drill significantly harder. Make sure your shoulders do not get pushed out towards the front and keep your shoulders on top of the center of your hands. Look at your hands at all times. Looking at the wall placing the chin on the chest is a cheat that will make the exercise significantly easier and rob it of its effectiveness.
Box Tuck
A bit more difficult to set up but definitely a great addition to your tuck training is the box tuck exercise. Difficult to set up because you have to find a table high enough for your hips to remain in an anterior pelvic tilt. Yet, extremely beneficial because pressure travels through your body vertically instead of horizontally. If you are struggling to overcome the fear of the chest to wall exercises this progression can be the perfect solution for you.
Leaving
the wall
Eventually once you have prepared enough it is time to leave the wall. Now to get into the tuck we basically have 3 options. We can lower down, lift up or “step” right in. When working towards the tuck we want to practice all these 3 variation.
Lower into the Tuck
This is probably the most obvious one. You start in a straight and controlled handstand and simply lower down until you are in the tuck. This is a great option because you get to devise how deep your tuck should be and you can turn around and push back up as soon as the shoulders begin to close or elbows bend.
In order to make training goal focused it is definitely recommendable to train these at the wall in order to cut the mount out of the equation.
Tuck take off
Either from your single leg tuck slide or from your double leg tuck slide engage your lower back a tiny bit more than you already do, pull your glutes on top of your fongers and take the feet off the wall.
The idea is not to swing, jump or kick off the wall. Align yourself perfectly with minimal weight on the wall before considering to get into the free handstand.
Box tuck
Lastly from the single leg box tuck engage your glutes to lift the second leg off the box. The goal again is to avoid swinging or arching the top leg. If you are not able to lift the box knee off with full control then your alignment is not good enough yet.
Make sure your shoulders are actually on top of the center of your hands, your hips are in a light anterior pelvic tilt and your glutes are sticking out. The reason this one does not work at first is often that the hands are placed too far away from the box.
Timing
is key
The Timing of the hip flexors and knees is crucial to the success of your tuck handstand.
When you are lowering into it or pushing back up to the straight handstand the hips and knees have to work together. If your knees bend faster than your hips close your weight will fall towards the back. Eventually to make it to the tuck you will have to use your hip flexors more for the hips to catch up with the knees. This will then move your weight to the front side of your body causing you to fall.
It is the same when you push back up. If your knees extend whilst your hips stay closed you arrive in a piked handstand with a lack of control as your weight will be in the back of your hands.
Imagine having a rope attached to your feet that pulls them on a straight vertical line. Do not allow the feet to leave this line!
So yes. Learning to tuck planche is a big project. But aren’t we alive for big projects?! Embarking onto the journey of tuck planches can be a wild ride. Through analyzation, some self studying and planning this winding road full of potholes can become quite a bit straighter and more even.
At the end of the day it is all about staying consistent.
Consistent training will lead to consistent results.
You can only be consistent if you stay healthy and injury free.
Always but health first. and get to work!


