Handstands Happen in the shoulders
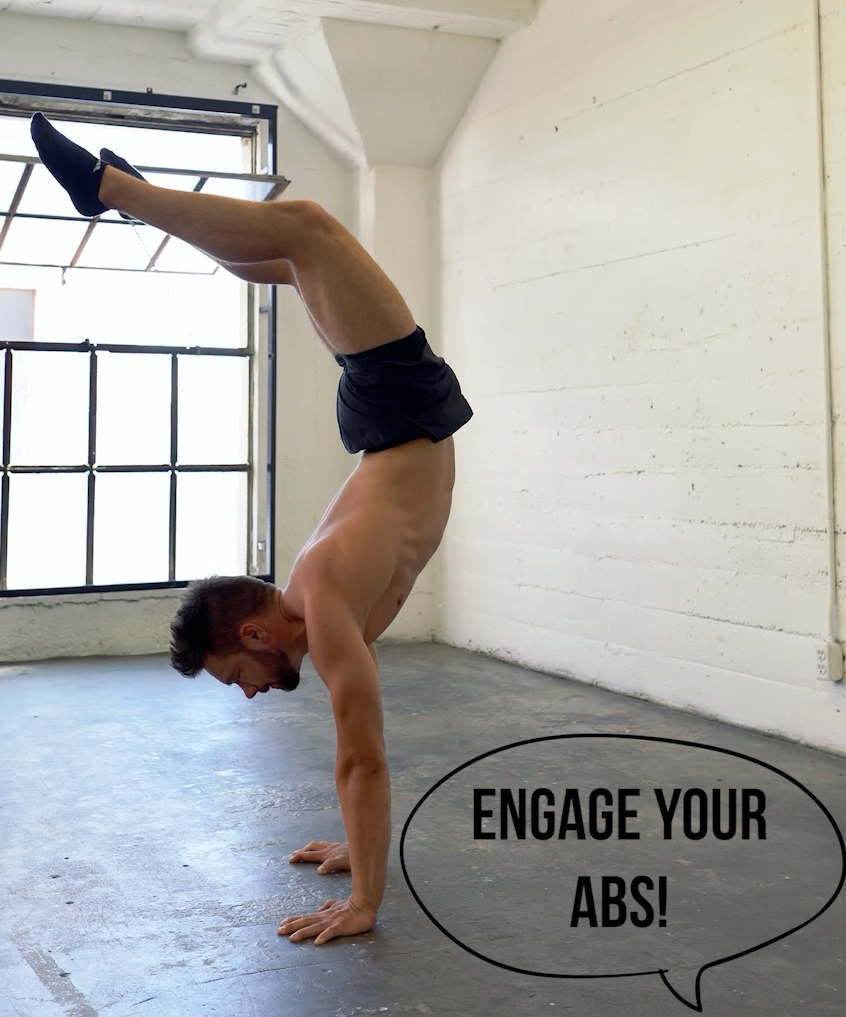
“Ey bro, you gotta engage your abs”
“Yo. Pull your ribs in!”
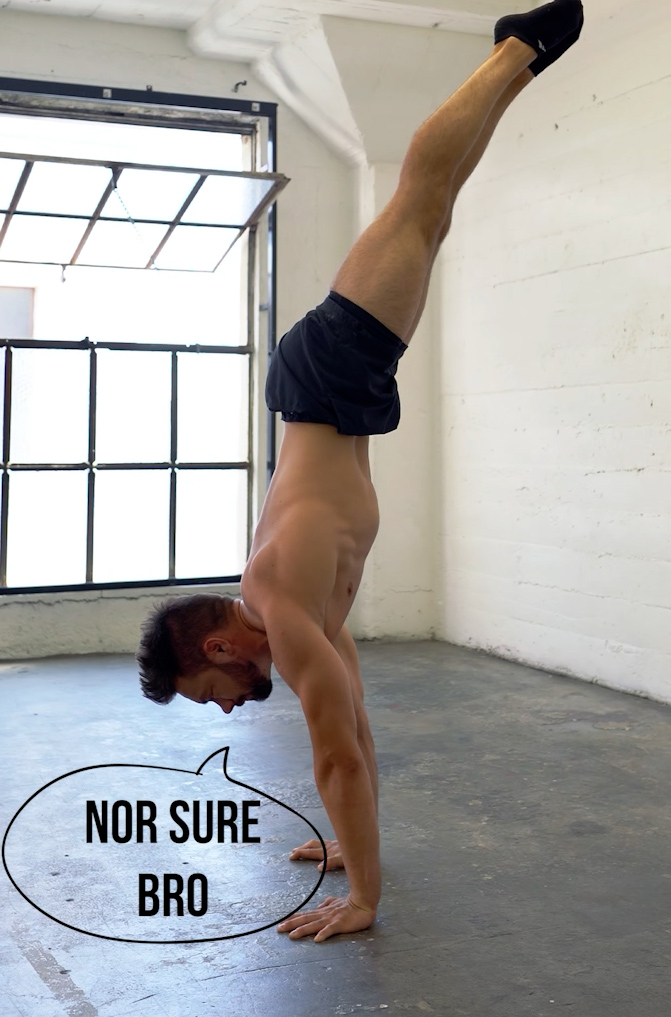
Some of my favorite fake handstand tips that I hear to fix the banana handstand. When looking at a handstand from the side and the back is extremely arched, engaging the abs and straightening the core does not bring you into a straight handstand. It brings you more towards a planche position than anything else!
Instead just like in a skyscraper or a tree whenever looking to improve a handstand we need to start at the bottom. How is the foundation, how is the root of our handstand? Now the handstand is grounded into the floor through the hands. As long as they are not on a super slippery or soft surface not much can go wrong here. Moving up we get to the elbows. Let’s pretend here as well that everything is going great and they are locked.
The shoulders are the Mitochondria
We get to the shoulders. The shoulders are like the Mitochondria. The powerhouse of your handstand. In the example of the banana handstand the arch is caused by the shoulders. They are closed/not flexed enough and create an angle. Your back is arching automatically to make up for said angle. By arching your hips end up back in your center of gravity and the feet even point over to counter balance your midsection sticking out.
By elevating the scapula and pushing out tall our shoulders straighten out and with that give the body the opportunity to reach a perfectly straight line.


Elevate for health
Now this is the obvious part of what the shoulders do but let’s dig in a bit deeper. Your shoulders need to be elevated to be healthy and to be in control of your handstand. Our shoulders are a ball and socket joint. When the scapula is depressed our entire body weight is supported by a tiny little bone on the side of the scapula, the acromion. Handstands are not too dynamic. As a beginner your wrists will get sore soon and you are not doing too advanced drills such as one arm handstands so chances are high you will not rip this small bone off its attachment but what will definitely happen, and I am talking from years of personal struggle, you will bruise this bone. You will be sore after training thinking you worked hard and did a great thing. Yet, you just bruised your bone which really doesn’t help you at all.
Instead we have to fire up the middle and lower serratus anterior muscles to elevate the scapula. The shoulder blade rotates and creates a great structure to support your bodyweight. This elevation will also push your shoulders towards a perfectly straight line btw. So your beach pics for instagram are safe as well 😉
More importantly your shoulders are stronger, more stable and healthier. Once used to this extra elevation you will get significantly less sore and you will be able to train much longer and more frequently.
Elevate for stability
By elevating the shoulders tall you are giving them health but you are also giving them stability. Let’s pretend our shoulder joint was a pyramid. My arm turns around a little ball. If this ball is at the bottom of this pyramide it can move around a lot. The higher up I push this ball the less room for movement there is and the more stable the ball and with that the shoulder becomes. Every action always has a reaction. If you push a heavy cart in the grocery store around a corner you have to engage your core so it is actually the cart that is moving and not you, when pushing this cart on an isle where someone spilled something and the floor is slippery you have to be careful that your feet don’t slide backwards but the cart continues to move forward. It is exactly the same in your handstand. You have to plant your fingers into the floor and take control because every single movement with your legs or core gets transferred through the shoulders and the hands into the floor. Now if the core is not engaged the cart won’t turn. If your shoulders are giving way your leg won’t move. We have to try to push this ball as high up in the pyramide as possible to eliminate any kind of extra and unnecessary movement.

But it's not all
Now here is where things get fun. Pushing out tall and fully elevating the shoulders is not enough. Where you place them over your hands is also important. Growing up as a little gymnast and later training at circus school for some reason it was a no brainer to me that the shoulders have to be right over your wrists. Cocky little Sascha could once again barely be any more wrong…… we live and learn.
Imagine lifting something heavy over your head. Your hands, shoulders and hips are gonna lean slightly towards the front so your weight is in your toes where you have control and feel safe. Same in your handstand. The weight needs to be in the fingertips. This means if my shoulders are over my wrists I am forced to arch at some point throughout my line to bring my feet back over the top to bring the weight into the fingertips.
This usually happens to 2 kinds of athletes. a) you have very flexible shoulders and they slide that way automatically. b) you have had tight shoulders, you have been stretching for a LONG time and people have been telling you constantly to just open your shoulders.
Both of you need to bring your shoulders slightly towards the front and push out tall. This one is an easy fix.
Not as easy of a fix when the shoulders move towards the front and stick out over your fingertips! This one usually brings us back to the banana handstand from earlier. We need to now work on elevating the scapula to bring the shoulders back over the center of the hands. This one can be more difficult and take multiple months to improve. Many just need to develop coordination and specific mind muscle connections. Others need to also improve their lat and general shoulder mobility. Either way 80% of your time should be invested in active opening, elevation and awareness drills and only about 20% into passive stretches.

One Arm Handstand

One more point that proves the power of the shoulders in your handstand is the one arm handstand. Now the supporting shoulder has to balance your entire body weight to some degree dynamically so this is hard work. Proper preparation, elevation and positioning is obviously vital here. Yet, the effect of the free shoulder on balance, position and overall control is just as interesting and probably significantly more surprising here.
The free shoulder is usually overlooked when analyzing one arm handstand technique and the cause for most beginner struggles. The free shoulder is attached to the hip over the lat. If my free shoulder moves up and away from the floor my lat engages and pulls my hips back towards the center. Now to get the hip out we work hard. We shift and side bend. If we lose said shift and side bend as soon as the hand comes off the floor all hard work is for nothing and we fall back to the center frustrated. The second thing that usually happens when the free shoulder comes up is that is also moves towards the backside of your body slightly. Now the fascinating thing about an OAHS is that it always follows your free shoulders. If the free shoulder moves towards the back you rotate towards the back. If the shoulder is in front you rotate towards the front. Only advantage: In front you have more muscles and you are significantly stronger so you can counterwork this rotation.
So as you can see. No matter where you are currently at in your handstand journey: everything happens in the shoulders. Your control, long term health and success is defined by your shoulders. Analyze, be self critical and invest at least 10min of work into them during every single training. You will thank me down the road. I promise.
These articles are amazing! I had a friend video my handstand today (much much work to do!) and it’s very obvious I’m lacking in full shoulder flexion. I have been training on a wall for a long time and my yoga friend (who has perfect handstands) told me to get off the wall because it was causing the banana handstand. I didn’t listen because I’m afraid of handstands off the wall due to limited wrist mobility but that is slowly getting better. That’s why I wanted to learn press handstands. They don’t require kick-ups! Thank you for this valuable training info!