Build your own Handstand Push Up Routine
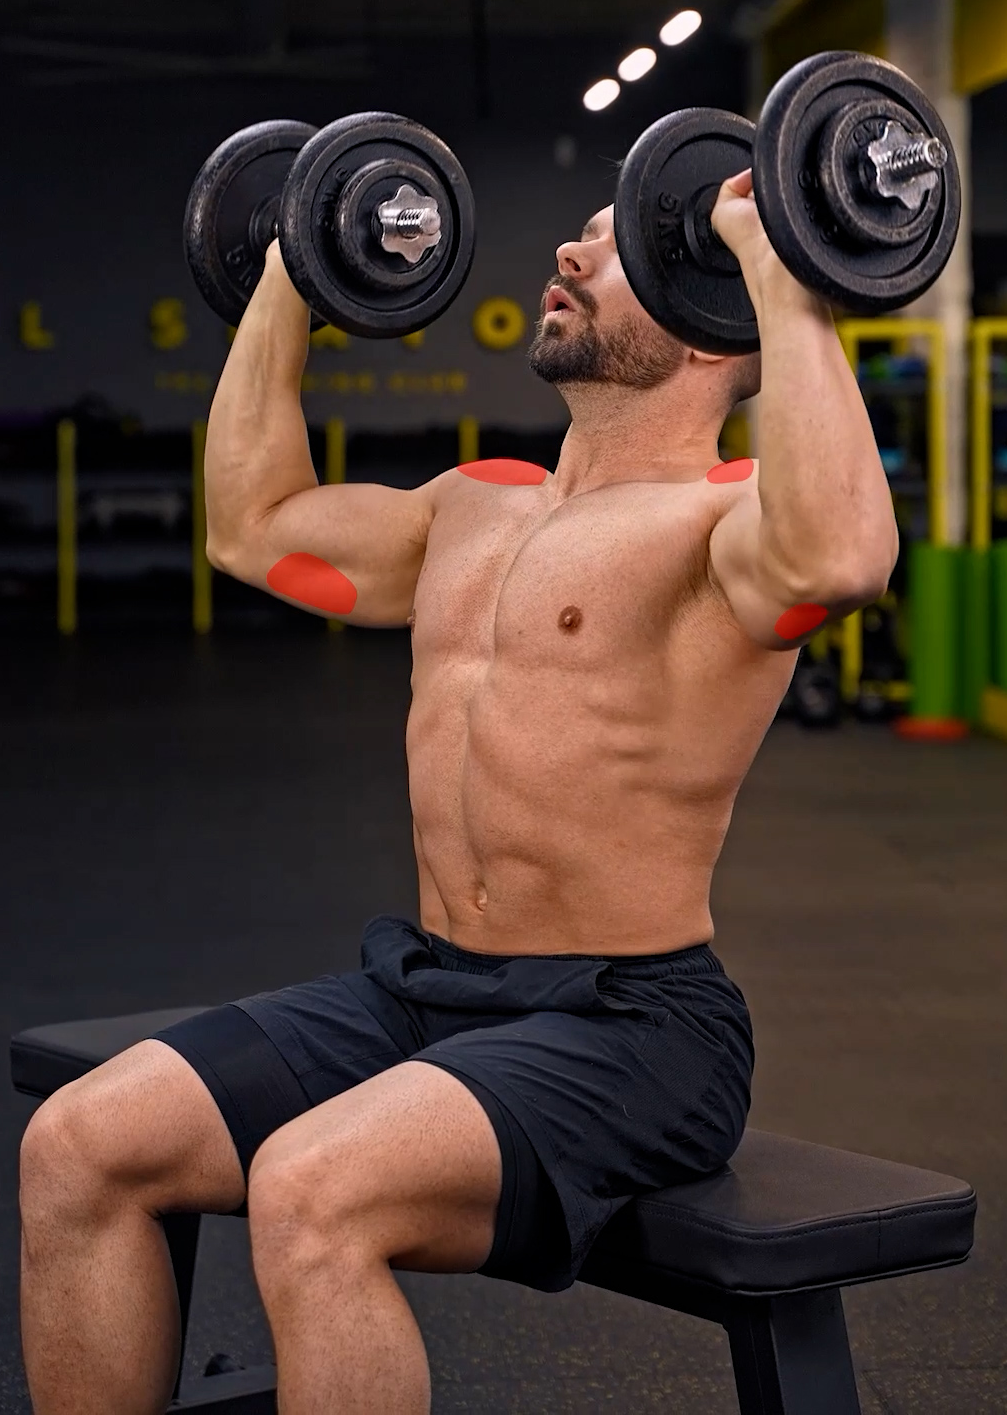
Training for the handstand push up is pretty straight forward. Your body needs to move down and back up. Just like a shoulder or military press the Handstand Push Up is upper body heavy working mainly your anterior deltoid muscles and triceps. The main difference to a shoulder press is that instead of sitting on a bench you are upside down balancing on your hands. This small detail changes the game quite a bit and while the principle of systematic overload can be used greatly here to build strength we also need to focus on improving our handstand control, core strength and to some extent even flexibility.
Welcome to the ultimate handstand push up training guide.
What exactly do we need to train
Generally when looking at Handstand Push Ups we can divide our training in 3 different sections.
- The actual Handstand Push Up training
- Isolation and accessory work
- Hand balance training
When building a strength training routine you always start by programming your heavy compound lifts or in other words the exercises that involve many muscles at the beginning right after your warm up and injury prevention drills. When training for the hspu we will do exactly the same. We start with the actual hspu work and we usually even start with our hardest progression. This is strength training so you can assume that you will lose power and get weaker throughout your workout.

Before diving in with the strength training we will do our handstand training though. This is a rule of thumb. You can never train handstands when your muscles are cramped up and tired. The goal in this part of your training is not to become a professional hand balancer. You don’t need to focus on fancy leg Isolations, tucks or straddles. The only thing you really need here is control and confidence in the straight handstand and in the handstand with slightly closed shoulders. For the hspu it is important to develop control in the not so perfect handstand position as chances are high that you will pass through it multiple times when working the freestanding handstand push up. You need to build adequate strength to catch and fix the position while developing awareness and coordination to not over fix your handstand and fly out the opposite direction.
After working your handstands and compound moves it is strongly recommended to also focus on isolation work. By training and failing you will find your weak spots quickly. Invest in those at the end of the workout by doing isolated triceps, anterior deltoid, upper chest and scapula elevation work. This will help you build needed strength and stability in the movement. It is essential that all smaller muscles are strong by themselves in case that your HSPU goes slightly wrong, you lose balance and you can push back.
Bodyweight VS external Load
Now this is always the big question. Should you work just with your own weight or should you work with free weights or even machines. Well. For me the answer has honestly always been pretty clean. To work on the skill you need to train the actual skill. Doing a million barbell shoulder presses will not get you to the handstand push up. Calisthenics strength is super specific and you have to train specifically. So as long as we are talking about the main part of your training, the compound part, you have to work with your own body. Besides just focusing on building strength you have to actually train the movement.
After that we get to the isolation part of the training. Here I would absolutely recommend using free weights. It is simply much easier and much more efficient to isolate the triceps and anterior deltoid with weights compared to body weight drills.
To note here is that I strongly recommend not to use bodybuilding machines or even the smith machine for shoulder presses. While machines are great for body building purposes and to build big muscles they don’t work as well for our strength needs as the path in which the joint travels is 100% determined by the machine and completely stable and protected. You are not at all forced to work the stabilizers. These small muscles are essential to control the movement, hold you in balance and protect you from injuries.

Frequency & Volume
A general rule of thumb is to leave 48h of rest for a trained muscle before working it again. When it comes to the HSPU this means that you can not work your shoulders, triceps or even chest the day before your handstand push up session. Strict handstand technique training does not count here as it is technical training and not strength based.
Depending on your split it is usually very easy to follow this 48h rule. You can for example alternate push and pull workouts or upper and lower body. While bent arm straight arm separation also seems like a good idea at first this actually does not work quite as well as planches and hspu are both anterior deltoid heavy and I would recommend to get a day off in between training those.
Your handstand push up sessions do not have to be very long. Generally I recommend programming around 3 exercises of 3 sets each for your actual HSPU training. The amount of isolation work after varies from person to person. If you are far into your calisthenics journey your actual HSPU training session might get longer and you will do less isolation work. If you are at the beginning of your journey and you are working on building up your progressions or if you are interested in bodybuilding you might incorporate a few more isolation exercises.
Which exercises to use
You train for the heavy shoulder press by gradually adding more weight. Let’s do exactly the same thing here with the Handstand Push Up. Only problem. How do we add or better how do we decrease the load if we can not just get lighter for training? The secret lies in progressions. We have to find versions of the full HSPU that mimic the true movement as closely as possible whilst providing an easier load on our hands.
This can be achieved by placing the feet on the floor, a bench, a box or eventually the wall. The higher we elevate our feet the more weight is transferred on our shoulders and the harder the exercise gets.
I break the road to the hspu up as followed:
Downward handstand dog or pike push ups
L Handstand Push Ups
Back to wall HSPU
Chest to wall/ freestanding

The gap between full reps of each progression is pretty big so besides full push ups you can do slow negatives with a bottom hold, weighted reps or reps that get easier on the way back up. The L HSPU is a good example for that. Lower with only your feet on the box, place the knees on it, then push back up with this easier progression. These are some of many ways of how you can bridge the gap between progressions.
Key is to stay clean.
Work on progressions that make sense. Don’t do a drill where you can barely do 1 rep. Instead take a step back. Always use exercises where you can do at least 3 reps. 1 rep exercises are too close to your 1 rep max all out effort. Let’s compare this again to traditio weightlifting. You would NEVER train your 1 rep max. It’s too hard for your joints, ligaments and frankly your soul. Instead you go for at least 4 reps. The same principles apply to body weight strength.
Besides working on your HSPU strength you also have to improve your freestanding handstand control. As mentioned before you are not trying to become a professional hand balancer here. Instead you are aiming to improve control in the perfectly straight line and with the shoulders slightly closed and in front as you will be passing through this position quite frequently. Best for that are slide aways. It’s a chest to wall drill where you start in a perfectly straight line with only the feet touching the wall. With your scapula fully elevated bring the shoulders towards the front away from the wall. At the same time your feet should slide down the wall. Make sure the only angle change happening is in your shoulders. Do not arch your back and do not pike at your hips. Eventually you will have so much weight in front that your feet will lift off the wall and you can extend your line into a straight handstand. Hold the handstand for a moment then come back to the wall in a fully straight line.
Antagonists for health
Keep in mind that while training specificity is key you still need to keep your body well balanced in order to stay healthy. Focusing all your training on 1 goal will definitely help you improve towards your goal but if you only work HSPUs and anterior deltoid you will get injured.
Make sure to include pulling exercises into your routine as well. If you are only training 2-3 times per week then do those exercises right after your handstand push up work. If you are training 4 or even 5 days per week I would recommend using 2 of those training sessions to train your back with exercises such as pull ups, back rows and back flies.
Now I know it is not popular in the calisthenics scene and we all love skipping leg day but please: don’t! Train your legs. If you neglect the bottom half of your body you will start to look rather funny and your back will start to hurt. Yes of course, if your legs get heavier planches, lever and handstands will get harder but we can always get stronger 😉
As you can see training for the Handstand Push Up can be kept simple but can also be turned into a complete science. Try sticking to 3 principle factors for success: rest 48h between workouts, respect your progression and stick to it a bit longer than needed and work your entire body to stay healthy and balanced. Let me know in the comments below what kind of split you are currently on. Happy training!


