How to Prepare for Your First Handstand: A Pro's Guide
Stop failing your handstand. The secret isn't more attempts. It's in the preparation. Here's how.
Table of Contents
1. Deconstruct the Handstand: The Blueprint for Success
1.1. The Brutal Truth About Preparation
I truly believe that for acrobatic movements like the Handstand, preparation is not just key—it is everything. The more work you put in before you even think about kicking up, the smoother and less frustrating your journey will be. Forget mindless attempts. We are here to build a foundation so solid that success becomes inevitable. This isn't about hope; it's about strategy. The first step is to analyze the base Technique. Only then can we prepare the mind and body. Some parts need to be strengthened, others need to be stretched, but every single fiber of your being needs to develop a new level of Coordination and Upside Down Awareness. Whether your goal is a clean Chest to Wall Handstand, a solid Freestanding Handstand, or the beastly One Arm Handstand, the principles of preparation are universal. Follow these steps to bypass the common pitfalls of injury, frustration, and discouragement.

1.2. The Myth of Core Strength and The Reality of The Shoulders
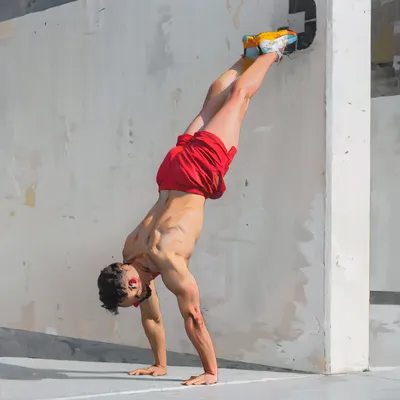
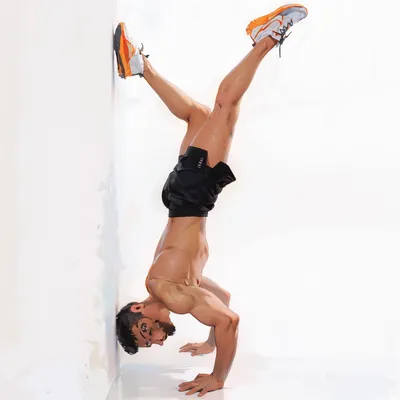
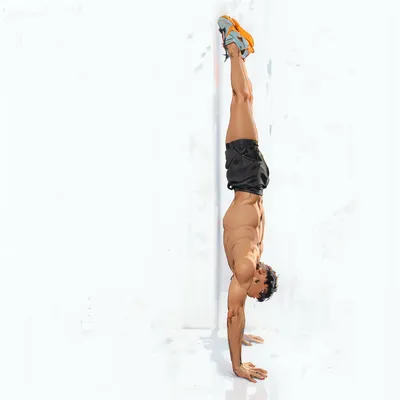
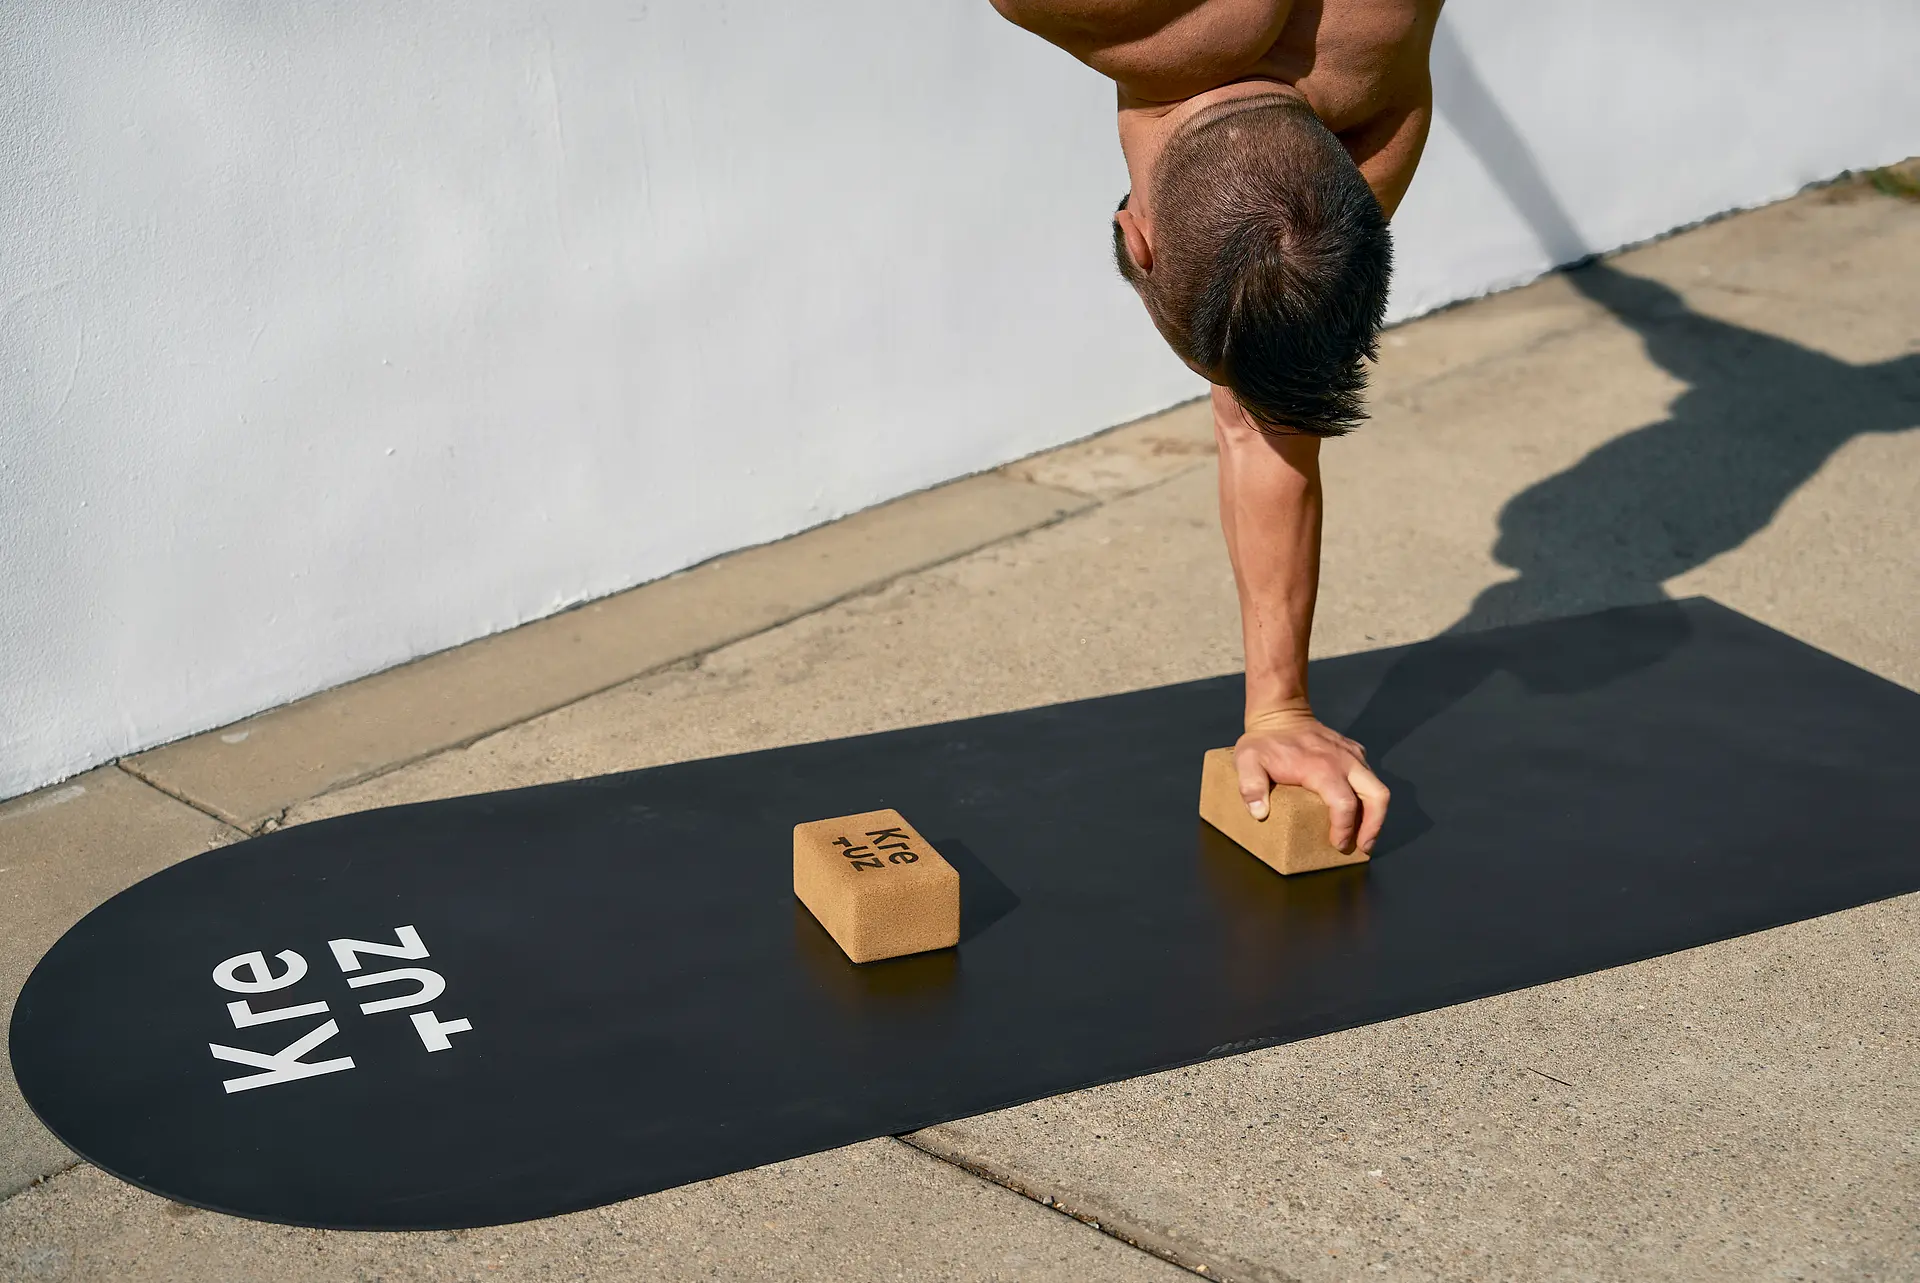
To understand how to prepare, you must first understand what you're preparing for. Let's dissect the handstand. Many believe it’s all about a rock-solid core. They're not entirely wrong, but they're missing the main event. The Handstand happens almost entirely in the shoulders. The non-negotiable goal is to achieve powerful Scapular Elevation. This isn't about just opening the shoulders into a 180-degree line; it's about actively pushing your body away from the floor, creating height and stability. It is far better to have a slight angle in the shoulders but be tall and elevated, than to have perfectly open shoulders with a depressed, unstable scapula. This is the secret to Control, stability, and most critically, Injury Prevention. To achieve this elevation, you must lock your elbows, look at your hands, and drive your shoulders up to cover your ears, pushing as tall as humanly possible. This creates the strong, stacked frame that is the hallmark of a controlled handstand.

2. Expose Your Weakest Link: Strength vs. Mobility
2.1. The Strength Deficit
It’s great to know what you’re good at, but it's more important to be brutally honest about your weaknesses. Your handstand will only ever be as strong as your weakest link. So, while you build on your strengths, you must obsess over your weaknesses. For nearly everyone working on their Handstand, the struggle boils down to one of two things: a lack of Strength or a lack of Mobility. You'll know immediately if you have a strength deficit. You won't be able to finish drills, and you'll live in constant fear of collapsing. In this case, our mission is simple: get stronger. This means relentless work on all kinds of Plank variations to forge your core, and a steady diet of Push Up progressions to build the general Overhead Pushing Strength required. Drills like Wall Walks and Pike Push Ups become your best friends, building not just power but also the endurance to hold your line under fatigue.
2.2. The Mobility Restriction
A lack of Mobility manifests differently. You'll notice your back is constantly arched, creating the infamous Banana Handstand. You’ll feel like you’re fighting your own body, physically unable to achieve a straight line, no matter how hard you push. Do not panic. With focused Consistency, this is solvable. The easy way out seems to be boring, static shoulder stretches, but focusing on building specific coordination and Active Flexibility is significantly more efficient. Yes, you have to improve your passive Shoulder Flexion, but this is a long game—a commitment of a year or two for drastic changes. In the meantime, daily work on awareness and active drills will transform your handstand in the next 8-12 weeks. You are forging a new Movement Pattern, teaching your body how to access the range of motion it already has.

3. The Daily Ritual: Your Pre-Flight Checklist
3.1. The Warm-Up: More Than Just a Sweat
If you've made it this far, the hardest work—the analysis—is done. Now, the fun begins. We know what to focus on and we’ve identified our personal weak spots. It's time to train. But before every single session, you must perform the ritual: the warm-up. A good warm-up doesn't just get you sweating; it actively prepares you for the war ahead by firing up the necessary muscles and pre-working your weaknesses. Assuming you are completely cold, a proper beginner's handstand warm-up should take up to 30 minutes. Start with some light-intensity, low-impact cardio. I enjoy jogging or rope skipping. Use this as an opportunity to sneak in some dynamic Hamstrings stretches. The more flexible they are, the easier it will be to get into your handstand.
3.2. Core and Shoulder Activation: The Foundation of Power
Next, you move to shoulder prehab and activation. This is, without a doubt, the most important part of your warm-up. These drills not only keep you healthy for the long haul but also actively improve your Scapular Control and handstand Alignment. Drills like Scapula Push Ups are non-negotiable. Following this is Core Stability work. While the handstand isn't all about the core, the midsection's role is to turn your body from an upside-down wet noodle into a rigid spear. We have to wake up the core muscles and remind them it's time to work. Foundational exercises like the Hollow Body Hold teach the concept of Full Body Tension which is critical for all inversions.

3.3. Wrist Preparation: Bulletproofing Your Base
Last, but certainly not least, right before you get upside down, you must prepare your wrists. The wrists are a delicate collection of small bones and tissues. With Overuse, you’ll feel pain and pressure from Inflammation. This is not a sign of weakness to be pushed through; it is a warning sign to be respected. Taking meticulous care of your wrists is one of the most profound lessons in any hand-balancer’s journey. Proper wrist preparation involves both mobility work to improve your range of motion and activation drills to prepare the tissues for the load they are about to bear. Never skip this step. Your longevity in this sport depends on it.

4. Embrace the Process: Your Path to Mastery
There is a reason they say preparation is the key to success. Your handstand is not a single skill to be unlocked; it is a process to be mastered. It is a reflection of your discipline, your honesty with yourself, and your respect for the craft. Before you train, analyze. Understand your strengths so you can build upon them, but hunt for your weaknesses relentlessly so you can eliminate them. Do not chase the freestanding hold with desperate, sloppy attempts. Instead, chase perfection in your preparation. Master your warm-up. Dominate your conditioning. Own your weaknesses. The handstand will come not as a result of luck, but as an earned consequence of your dedication to the process.
Get to work.