
Home | Press Prep Workout
Make sure to warm up well before training. It’s ok to break a light sweat before. Stay warm while you work out.
Start by training this routine twice a week but slowly over time add more advanced drills and work your way up to training handstands up to 4 times per week. You should never train press specific conditioning more than 3 times per week.
Focus on alignment, mind muscle connection and breathing.
Stay consistent!
Specific Warm Up
| Demo | Exercise | ||
|---|---|---|---|
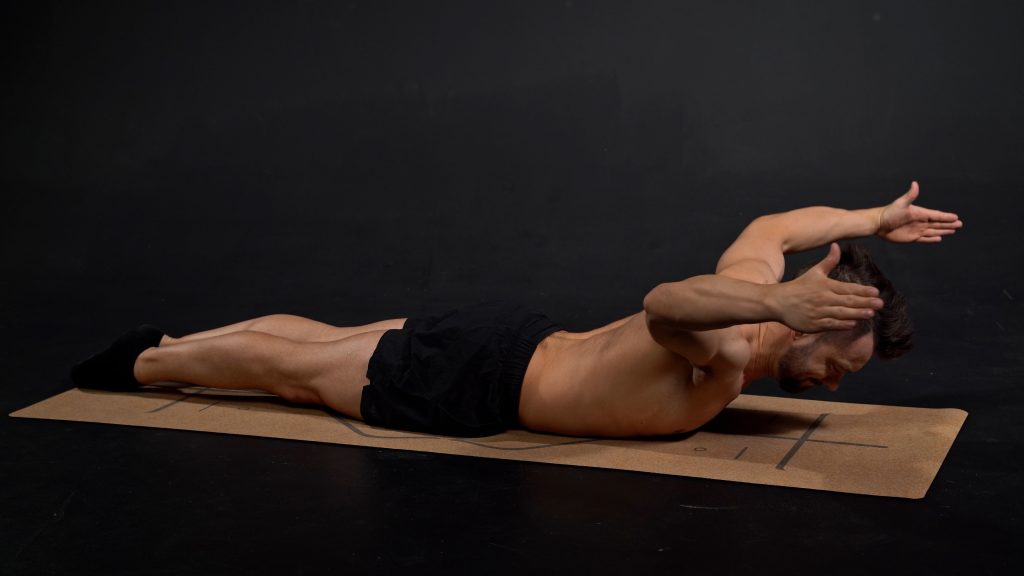
| Forehead to W6x | 1 set | ||
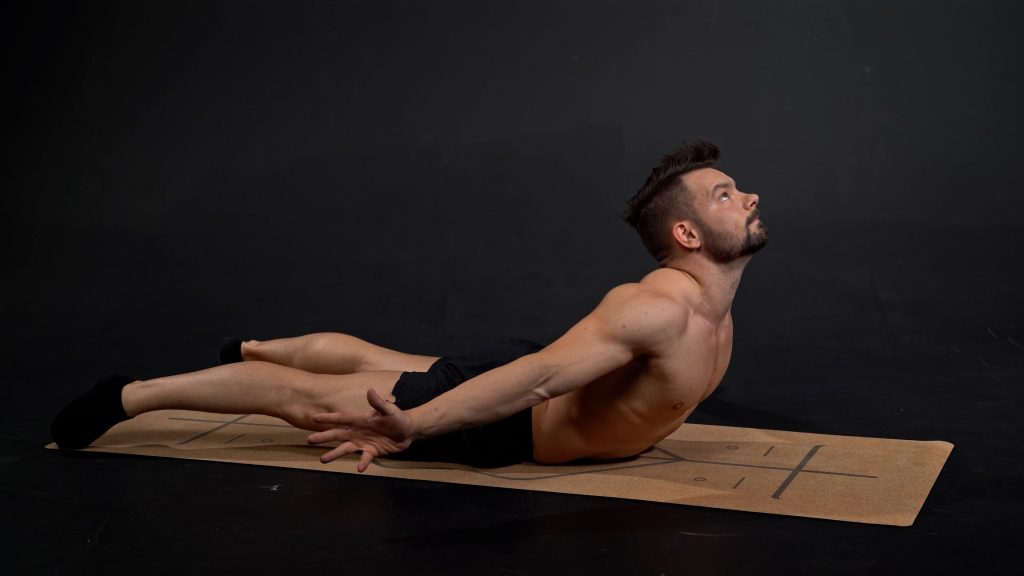
| Back Extensions6x | 1 set | ||
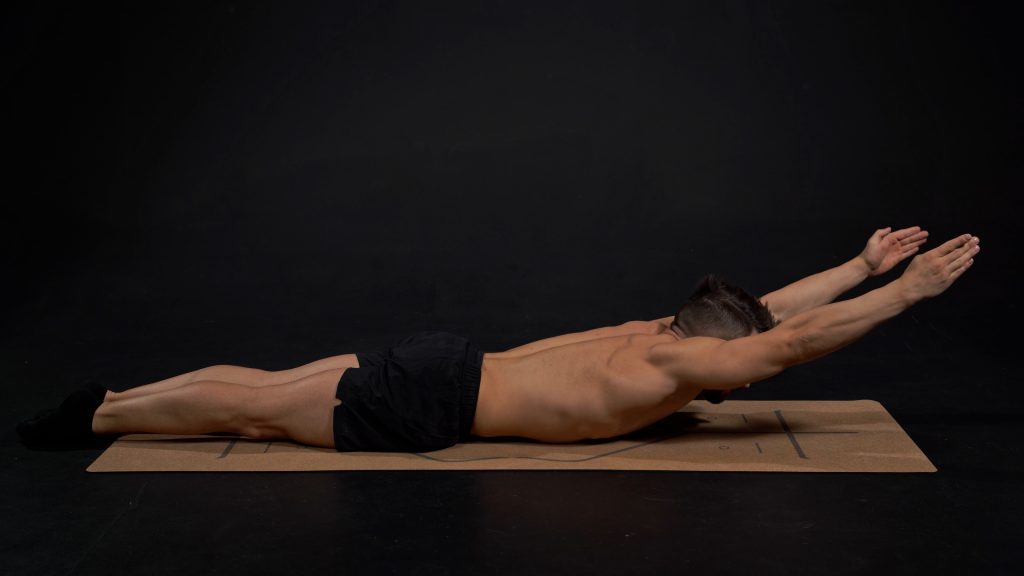
| Shoulder Lifts on Floor6x | 2 sets |
Specific Warm Up Stretches
| Demo | Exercise | ||
|---|---|---|---|
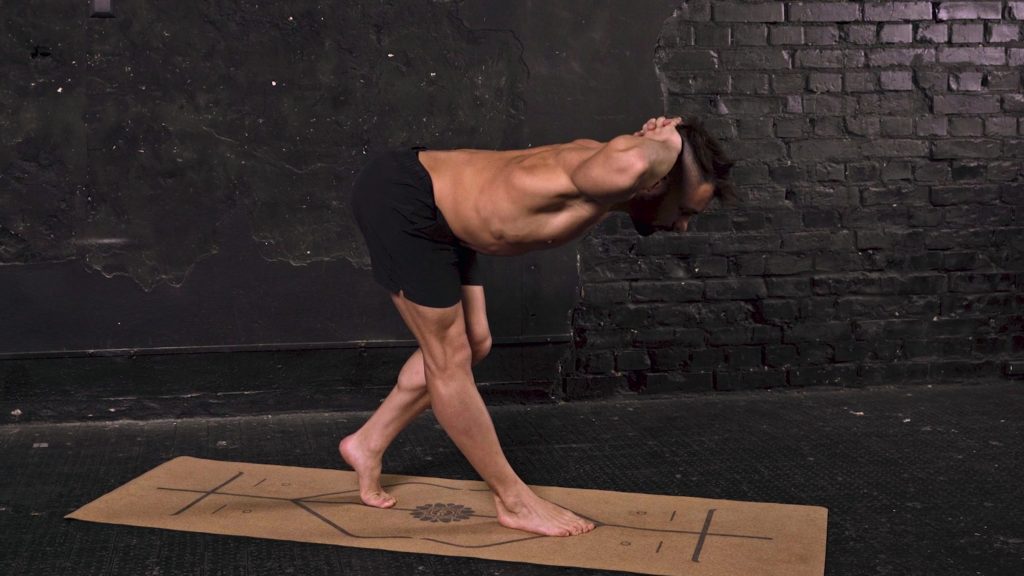
| 1 Legged Good Morning8x each side | 1 set | ||
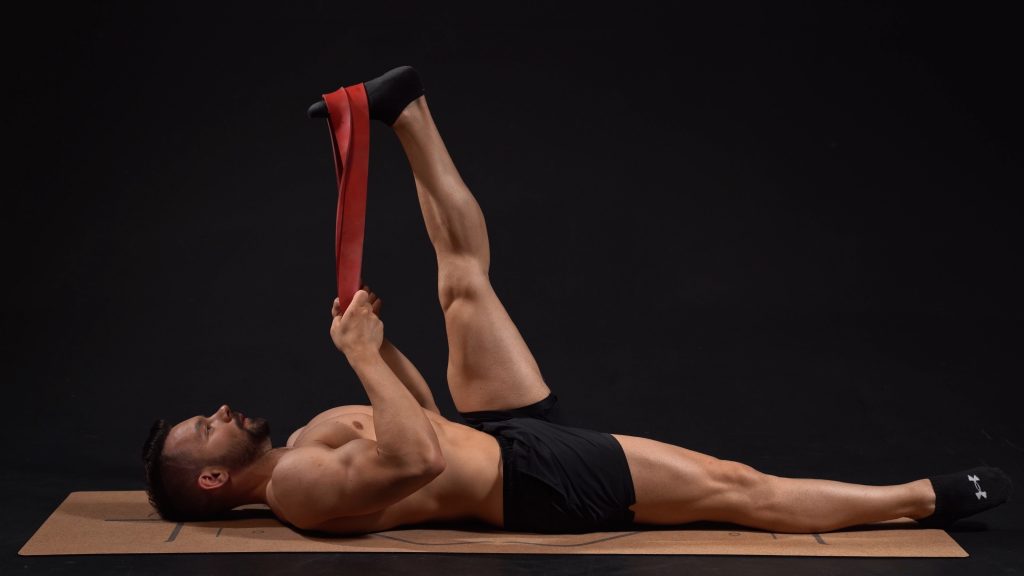
| Laying 1 Legged Hamstring Stretch - with Elastic10x each side | 1 set | ||
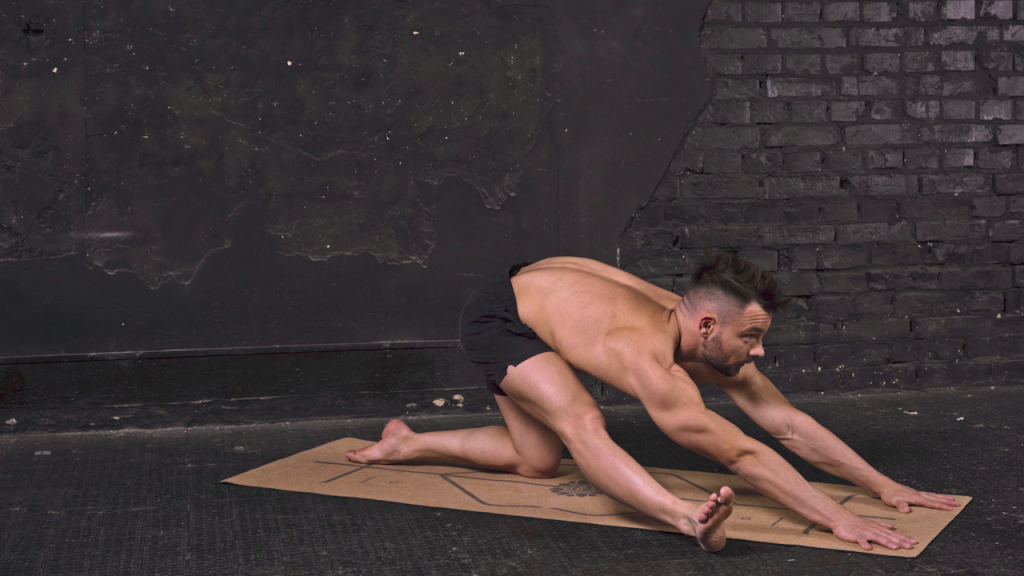
| Side Runners Stretch30sec each side | 1 set |
Intro to Presses
| Demo | Exercise | ||
|---|---|---|---|
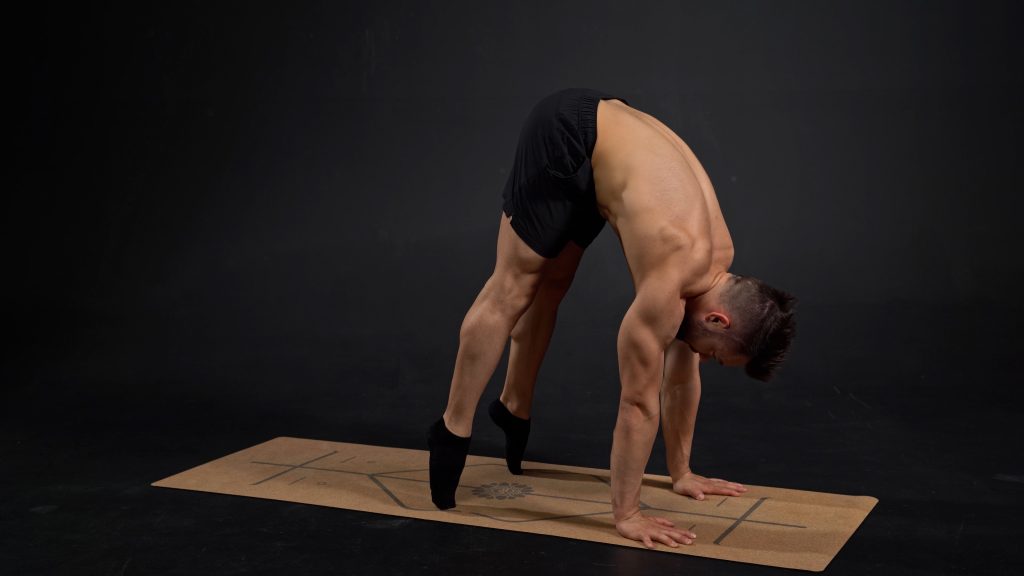
| Press Leans6x | 1 set | ||
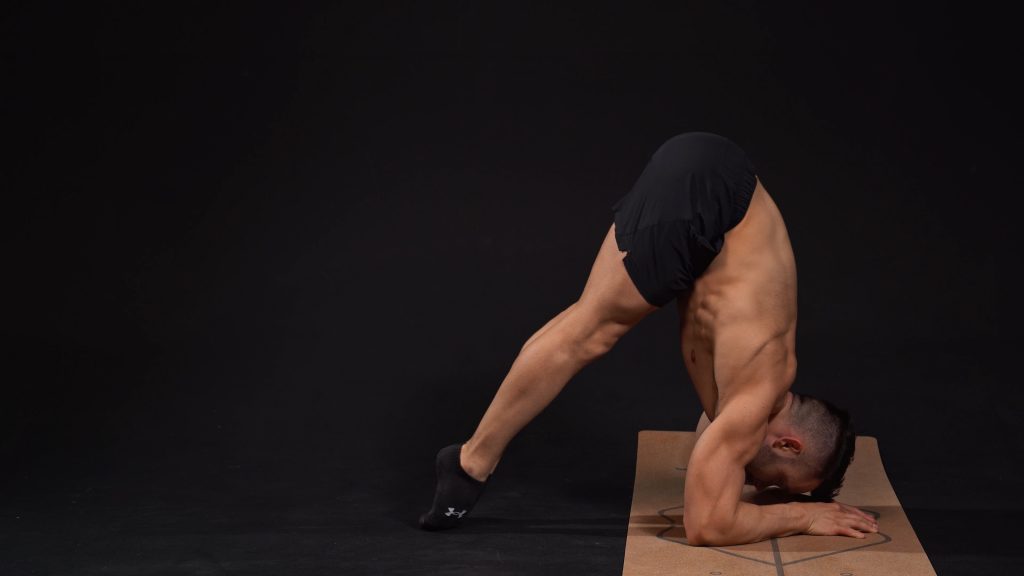
| Forearm Zombie3x | 2 sets | ||

| L Handstand Single Leg Isolations1x each leg | 2 sets | ||
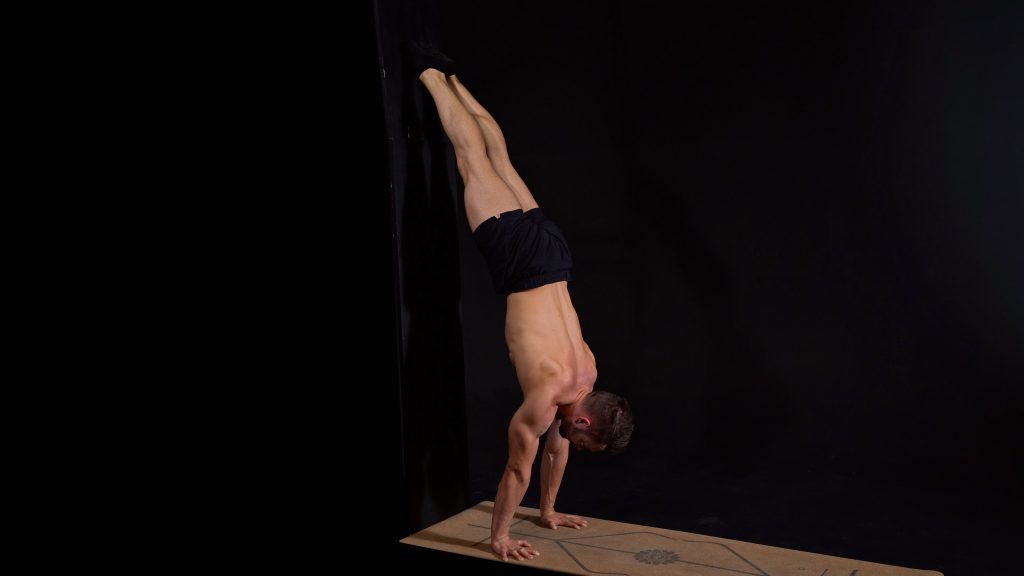
| Half Slide Away2x | 2 sets |
Conditioning
| Demo | Exercise | ||
|---|---|---|---|
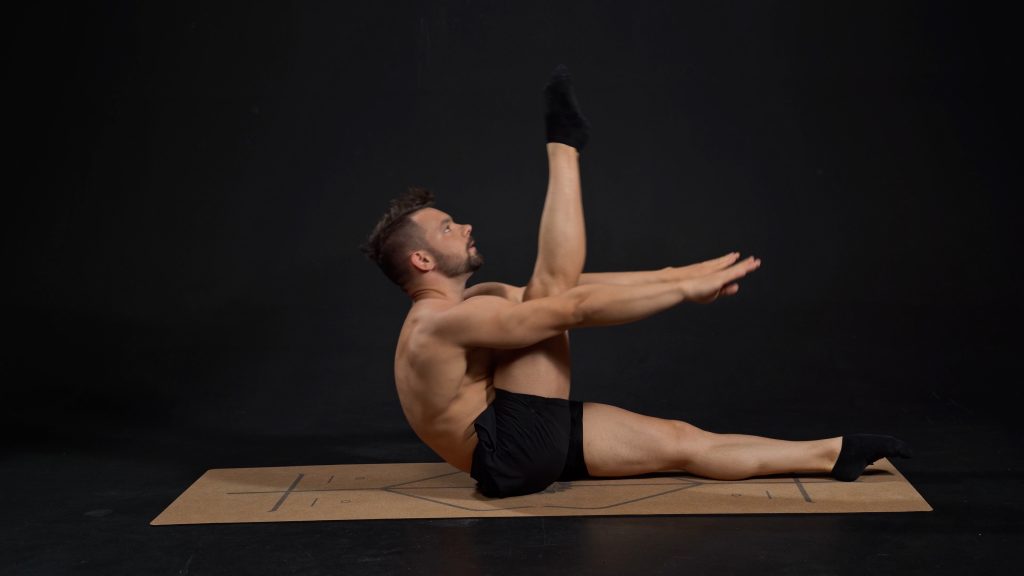
| V-Up Combi4x | 1 set | ||

| Prep for Swimmer6x | 1 set | ||

| Kneeling Shoulder Shrugs with Elastic8x | 1 set | ||
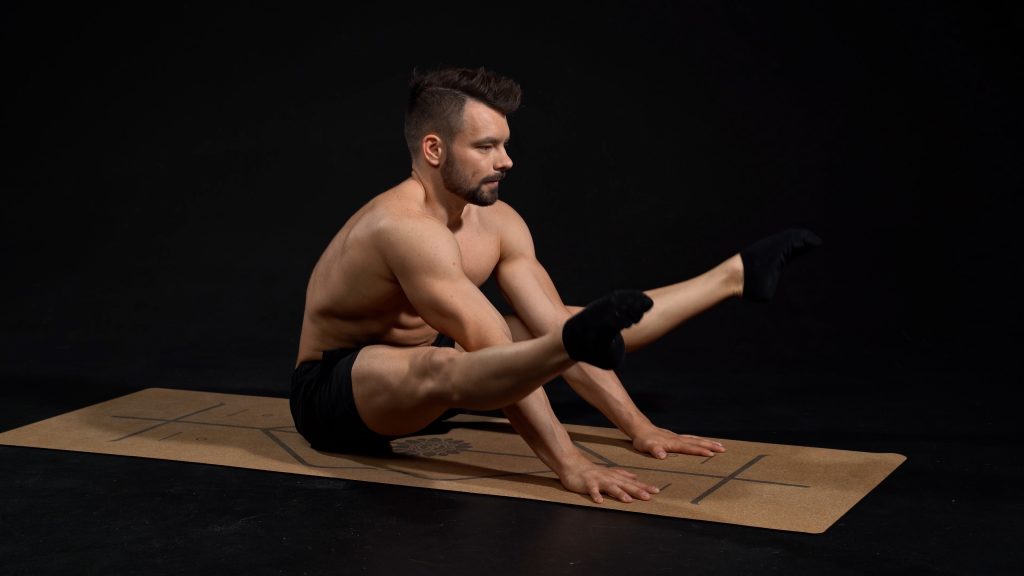
| Sitting Leg Lifts10x | 1 set |


