General Warm Up
Prehab
Wrists Prep
Handstand Technique Training
| Demo | Exercise | ||
|---|---|---|---|
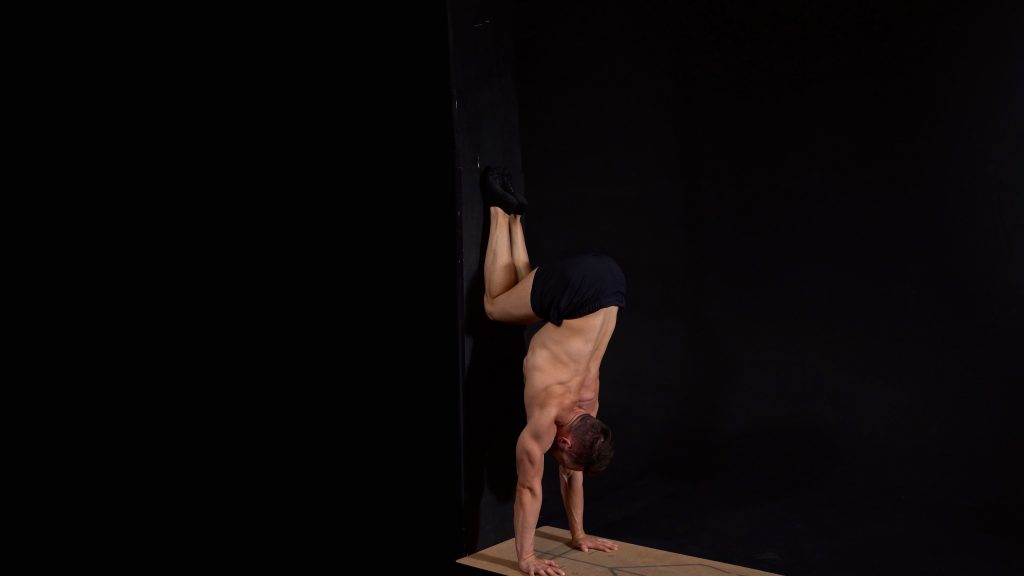
| Wall Walks2x | 2 sets | ||

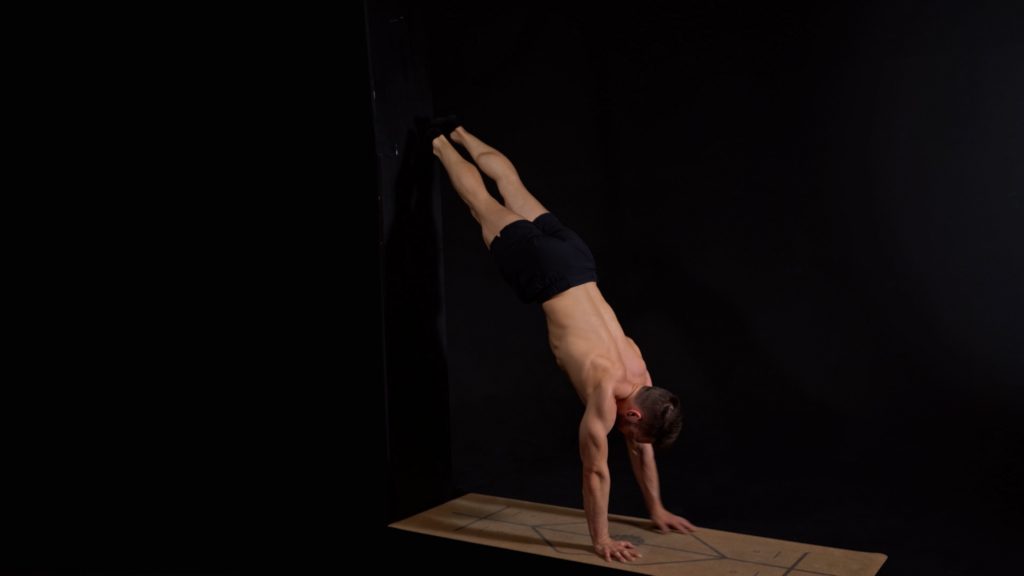
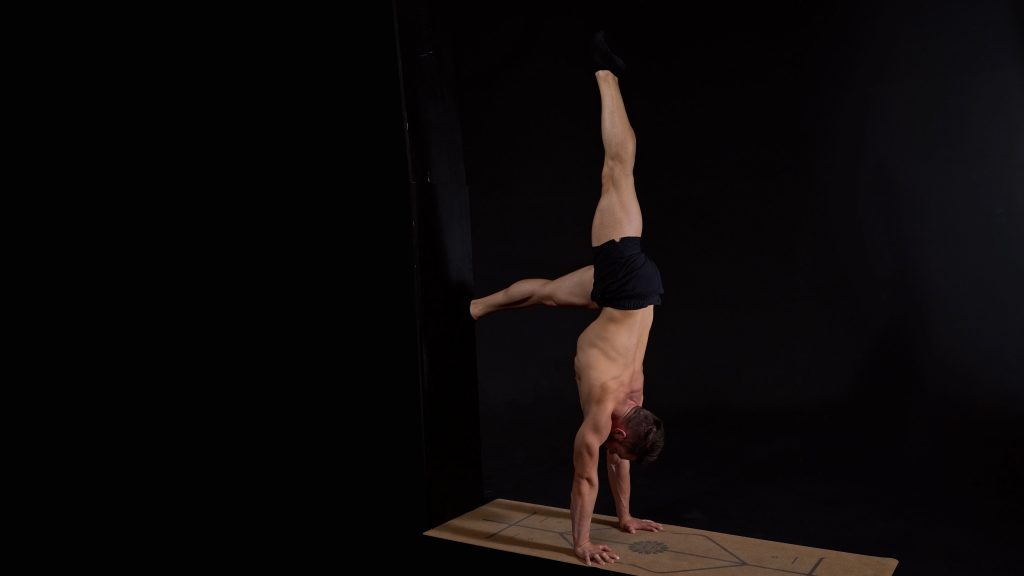
| L Handstand Single Leg Isolations2x each leg | 1 set | ||
| L Handstand Leg Isolations2x each leg | 1 set | ||
| L Handstand Wall Taps2x each leg | 2 sets | ||
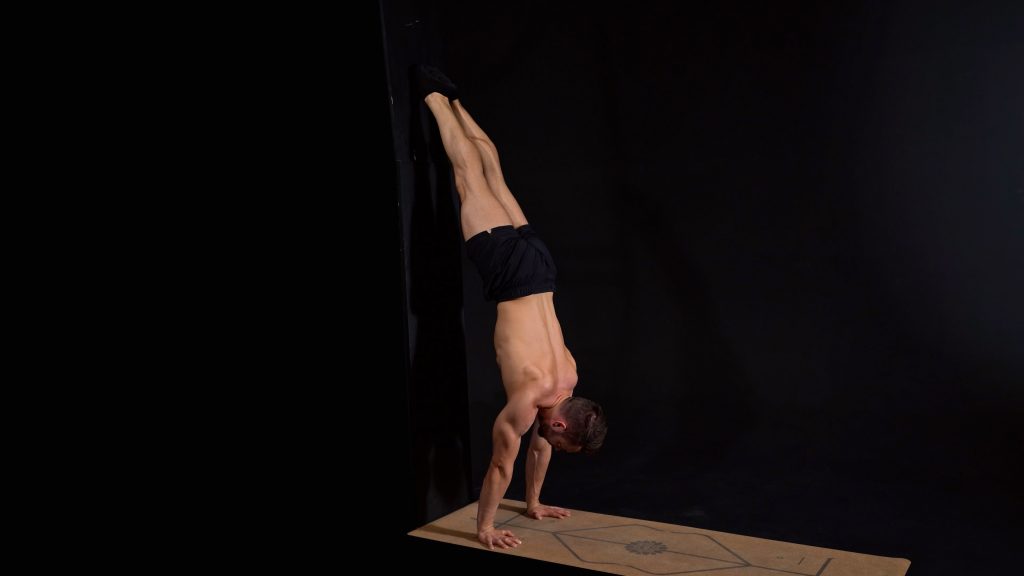
| Slide Away2x | 2 sets | ||
| Tuck Slides3x | 1 set | ||

| Tuck Jumps5x | 1 set | ||
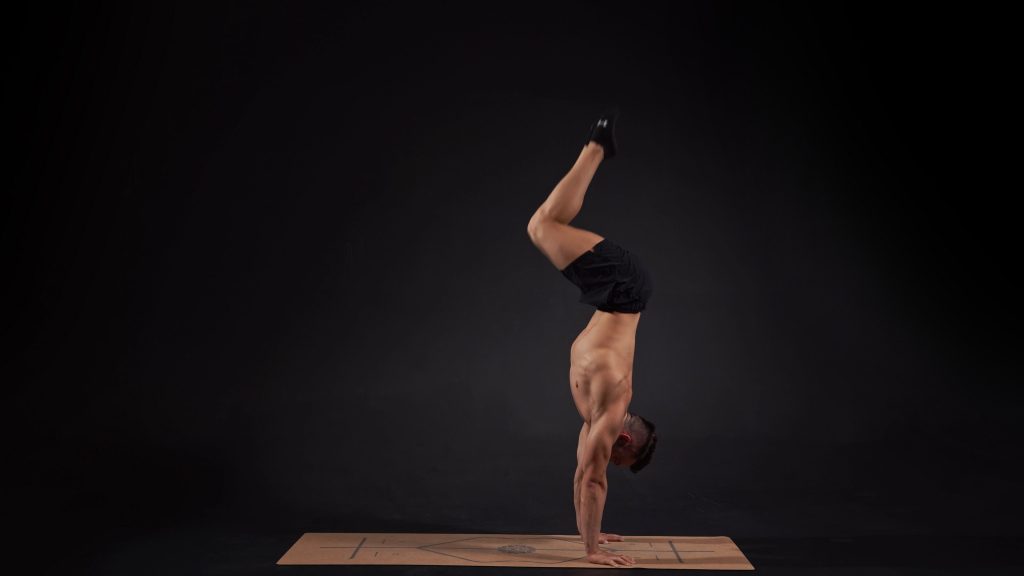
| Tuck to Straight2x | 2 sets | ||

| Straight Single Leg Isolation Negatives1x each leg | 2 sets | ||
| L Wall Jumps3x each leg | 2 sets | ||
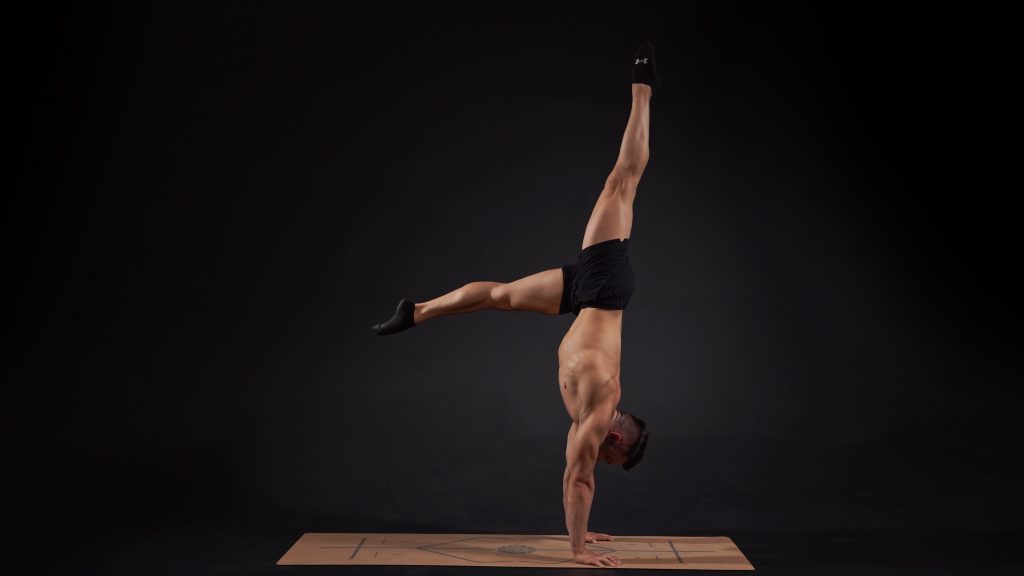
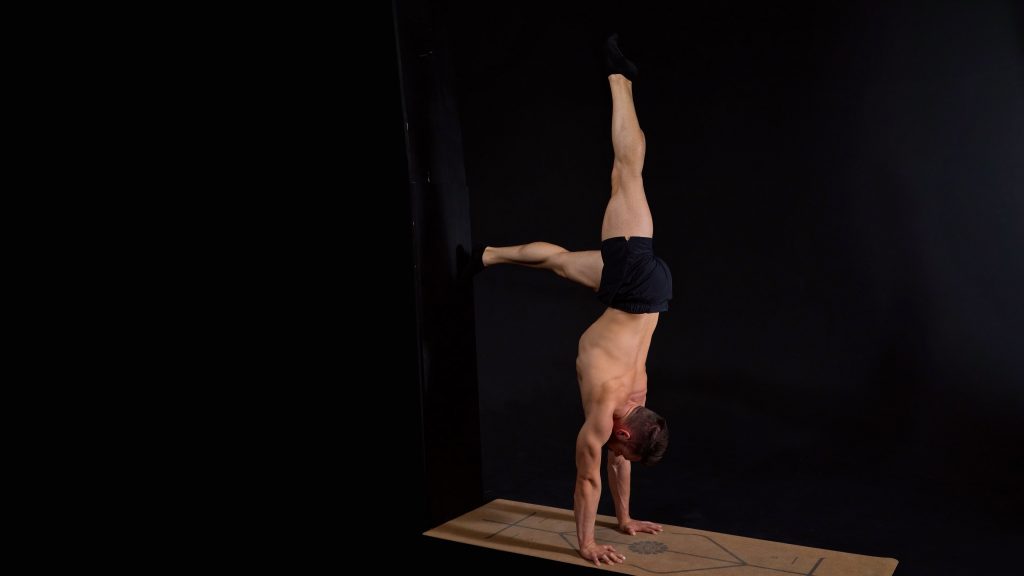
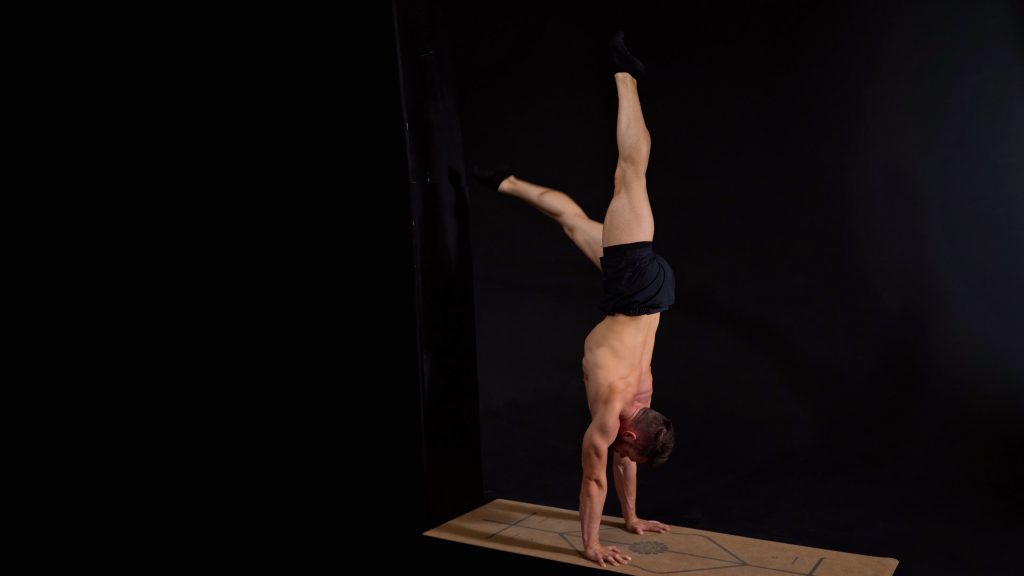
| Swing Up to L2x each leg | 3 sets | ||
| Swing up To Handstand2x each side | 1 set |