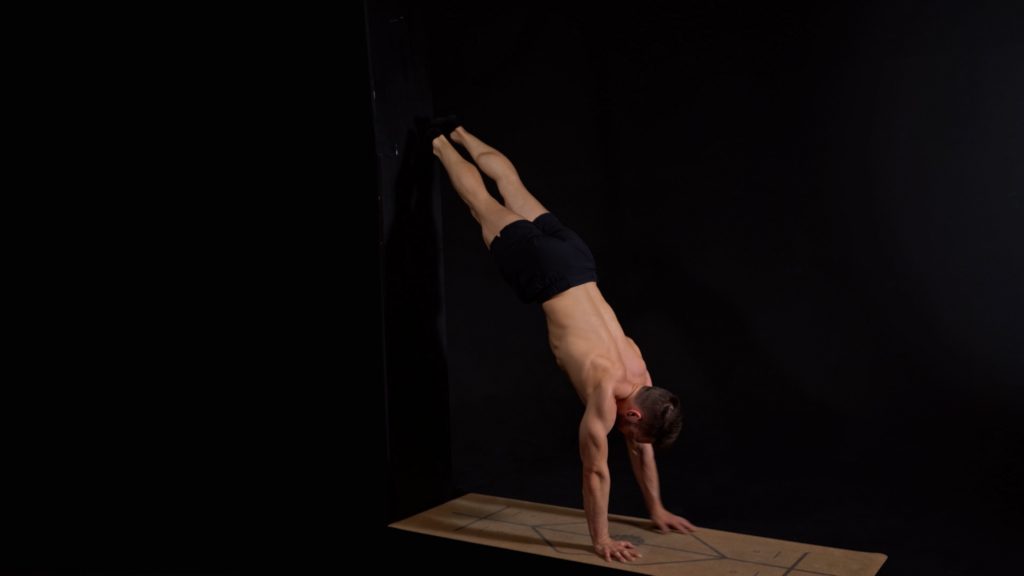
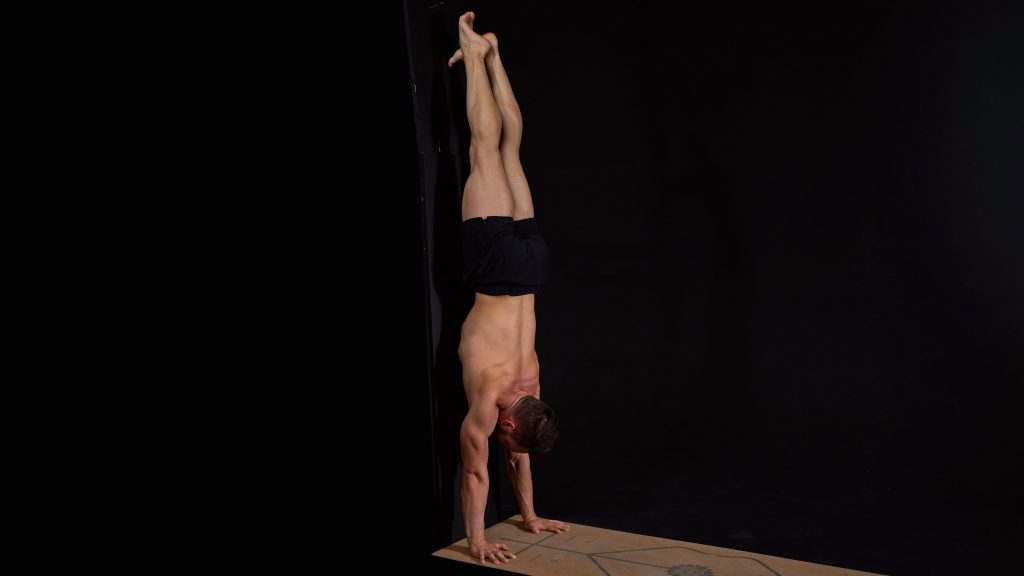
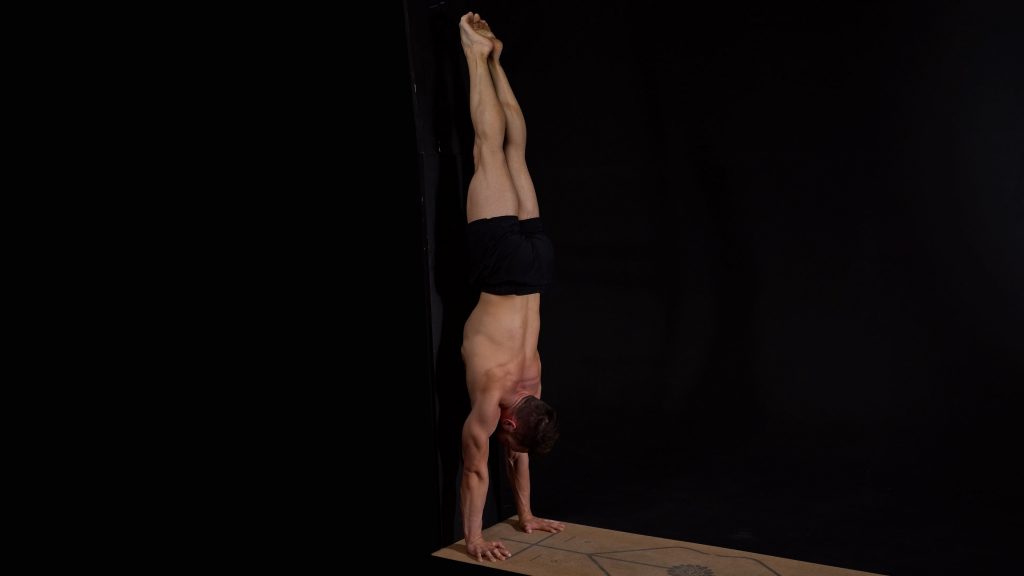
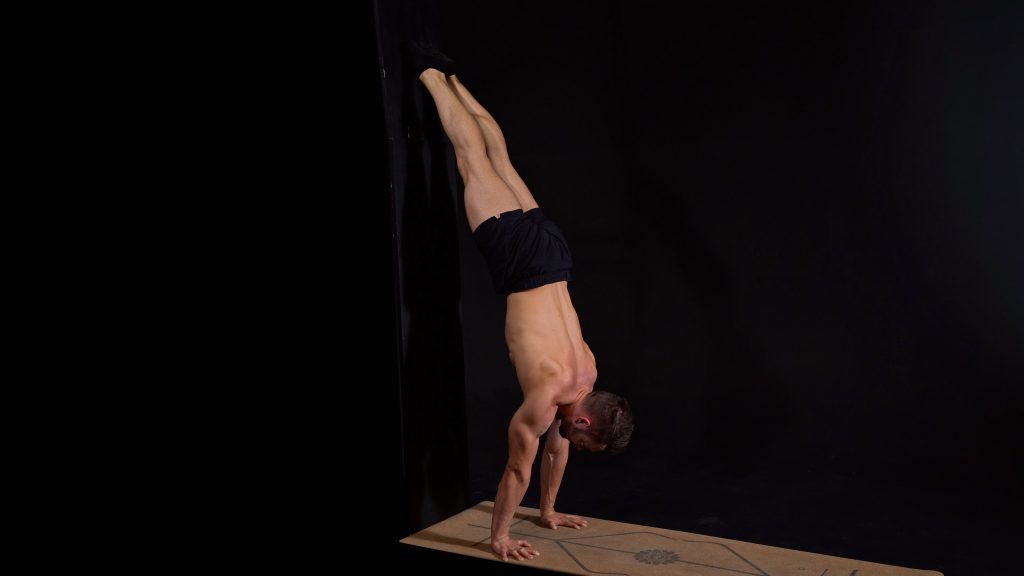
Wall to Free

How to Handstand

Wall to Free

How to handstand

General Warm Up

Prehab

Wrists Prep

Handstand Technique Training

DemoExercise
Wall Walks
2x | 2 sets
Wall Handstand Single Foot Isolations
2x each side | 1 set
Wall Handstand Foot Isolation
1x each side | 3 sets
Half Slide Away
3x | 2 sets
Tuck Slides
3x | 2 sets
Partial Tuck Jumps
3x | 2 sets

Conditioning

Post Workout Stretches

WordPress Video Lightbox

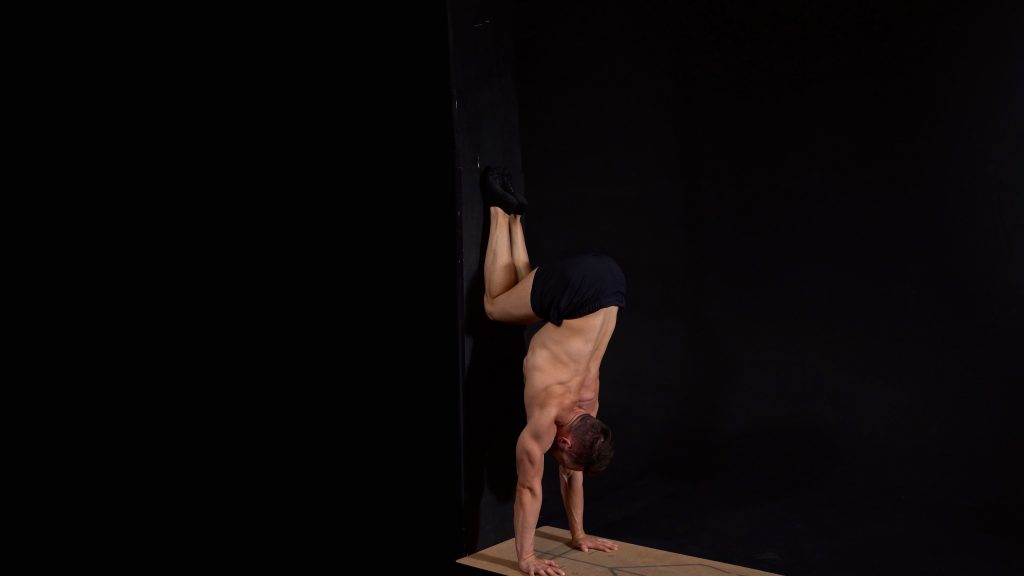
Scapular elevated at all times. Look at hands at all times. Walk as close as possible to the wall. Do not allow your stomach to touch the wall. Feet only!

Point1 foot a tthe time. Keep your ankles together. Do not move the leg! Nothing but the toes of the immobile foot touches the wall.

Point 1 foot first. Then point the second foot for a first moment of a freestanding handstand. Look at your hands and keep your scapula elevated at all times. Nothing but the feet should move. Keep your ankles together at all times!

Start with your body in a perfectly straight line. Feet are the only thing touching the wall. Look at your hands and push out tall. Elbows locked. Move your shoulders to the front and slide the feet down the wall. When you are about to fall over stop and push your feet back up on the wall back to your starting position. Do not pull your hips during this movement. Do not arch your back. The only position change should be in the shoulders!

Knees touch the wall. Knees stay together. Hands shoulder width apart! Look at your hands at all times. Do not round your lower back. Do not close shoulders.

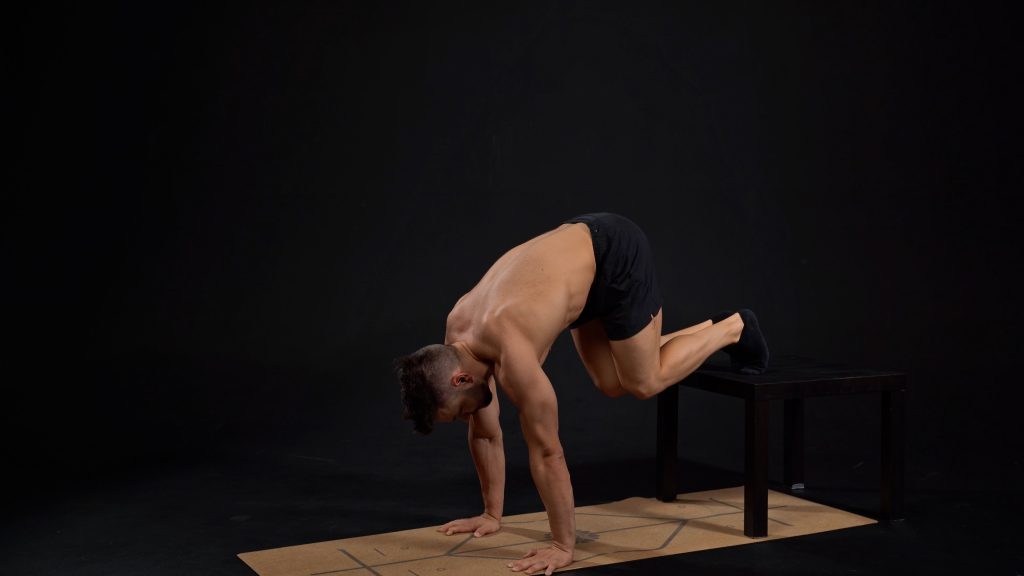
Start with your shoulders over your hands and keep them there at all times. Look at your hands and keep your elbows locked. Jump with your feet on the box right behind you without moving your shoulders backwards. in a second jump align your hips with your already aligned hands and shoulders. Do not focus on holding the tuck. The goal here is only to align everything and come straight back down.