Coaching Group - Wall To Free LV 2
Week 1 Day 5
Here is your full workout for today. This overview includes name, reps, and most important cues. IMPORTANT!! To see the video click the (“+”) symbol next to the exercise name, and it will expand.
Look after yourself and only do what feels safe enough. Rest long enough between sets to be fresh but short enough not to get cold!
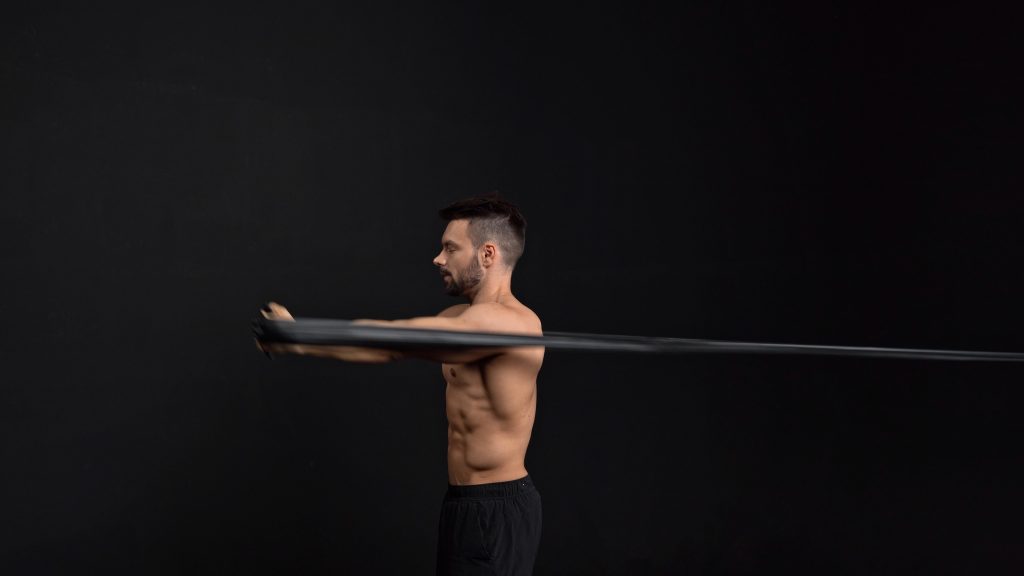
SLIDE AWAYS
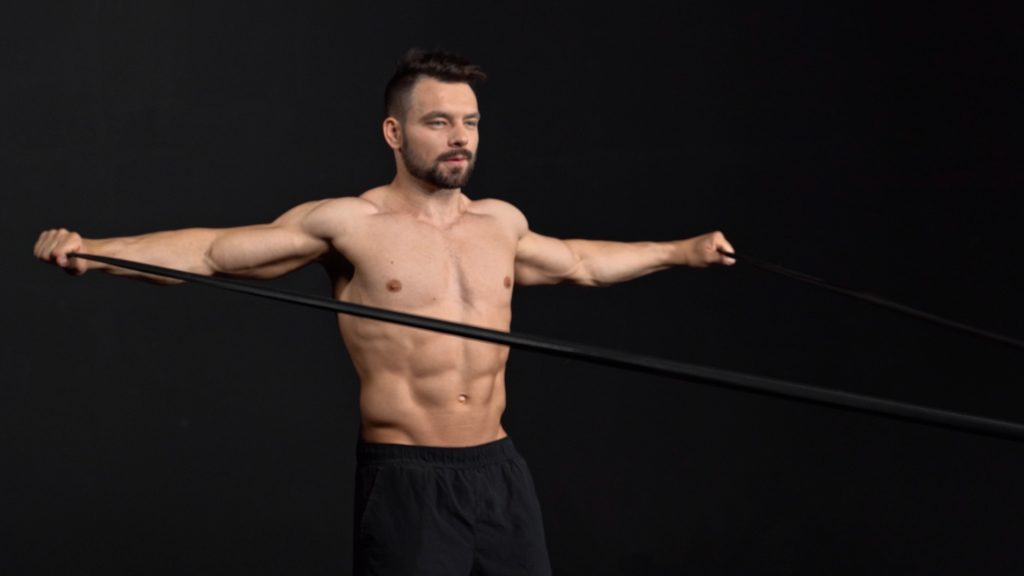
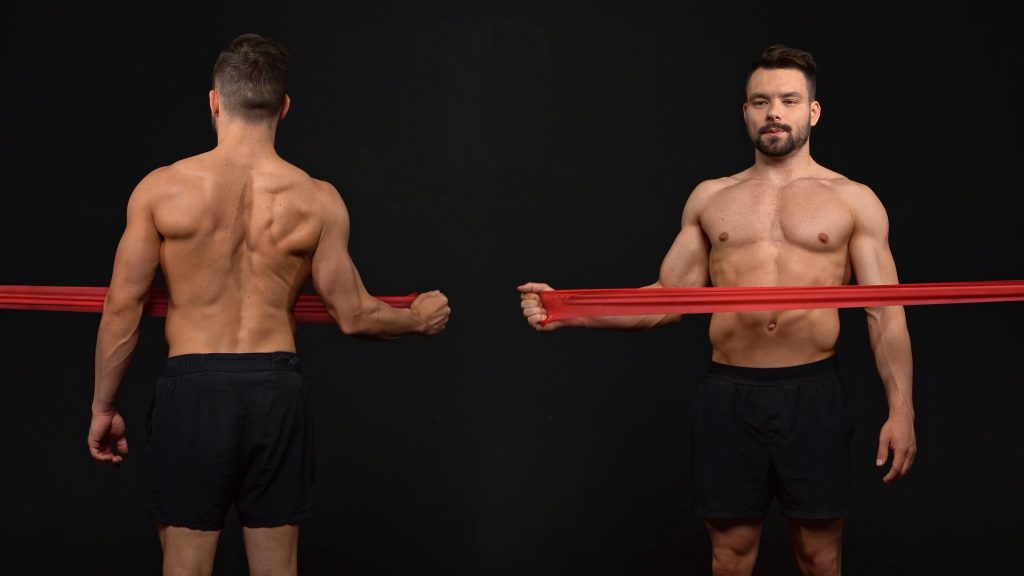
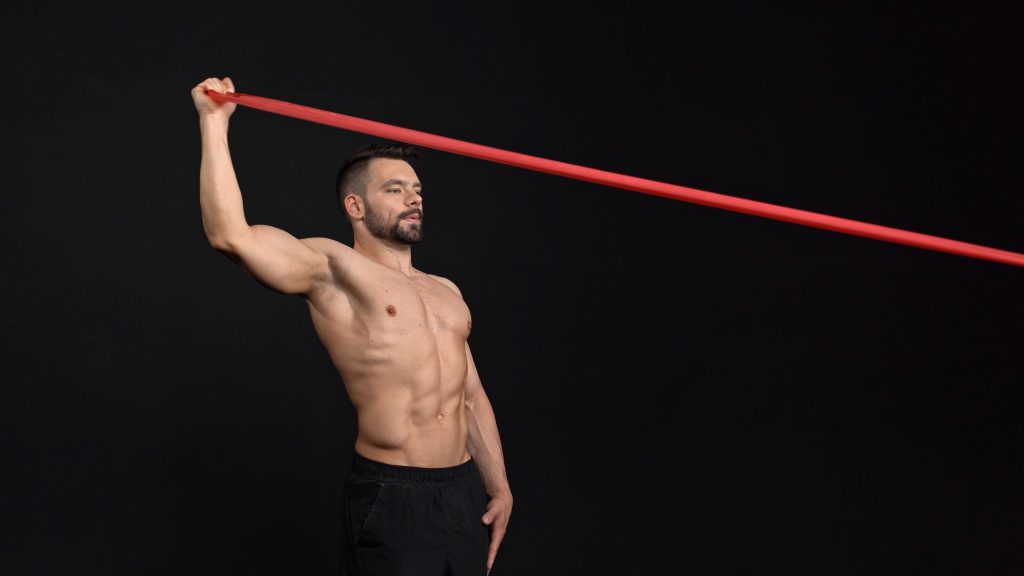
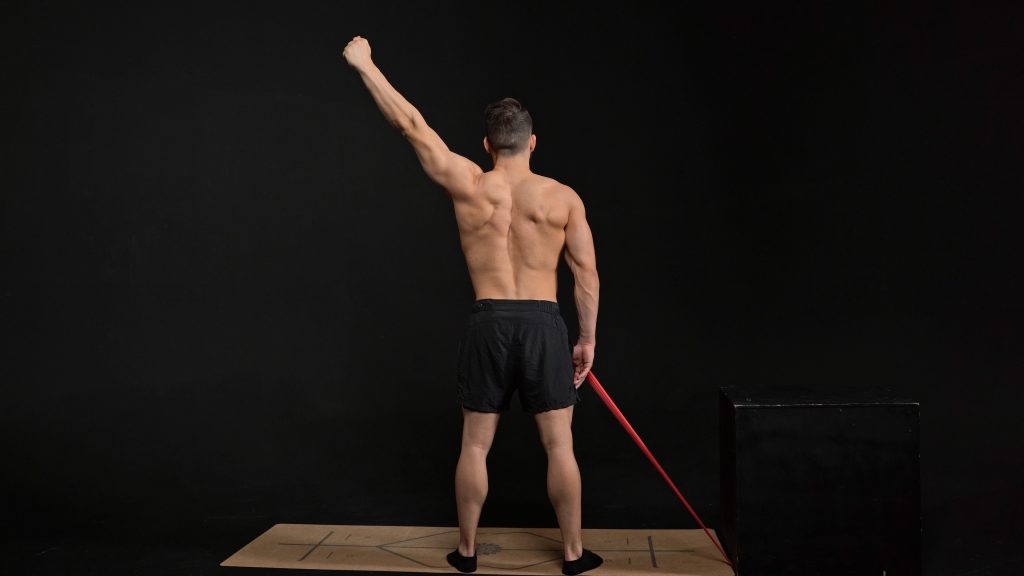
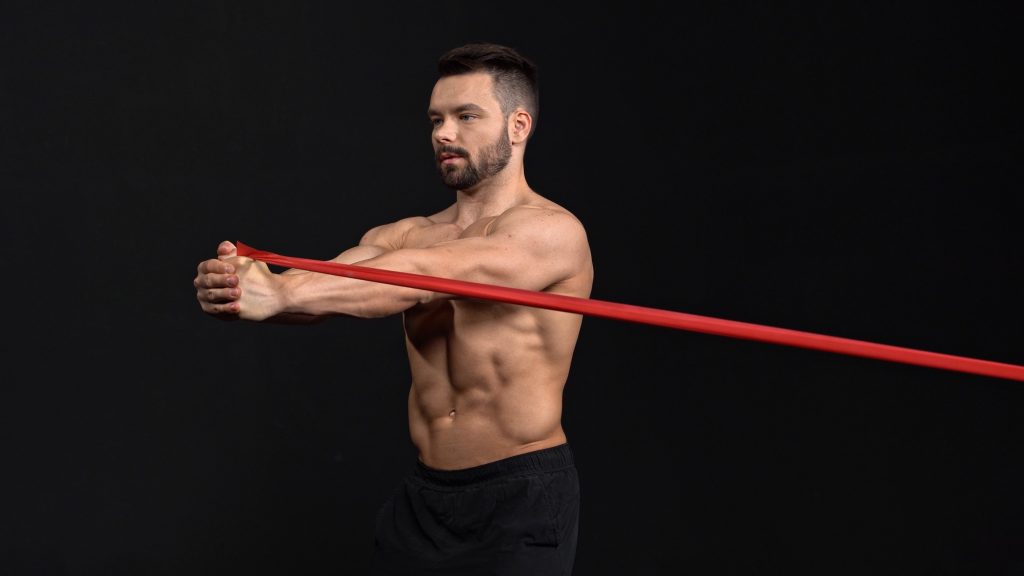
SHOULDER PREHAB
| Demo | Exercise | ||
|---|---|---|---|
| Elastics - Front Flies in 5 Angles8x each angle | 1 set | ||
| Elastics - Back Flies in 5 Angles8x each angle | 1 set | ||
| Elastics - Outward External Rotations8x each arm | 2 sets | ||
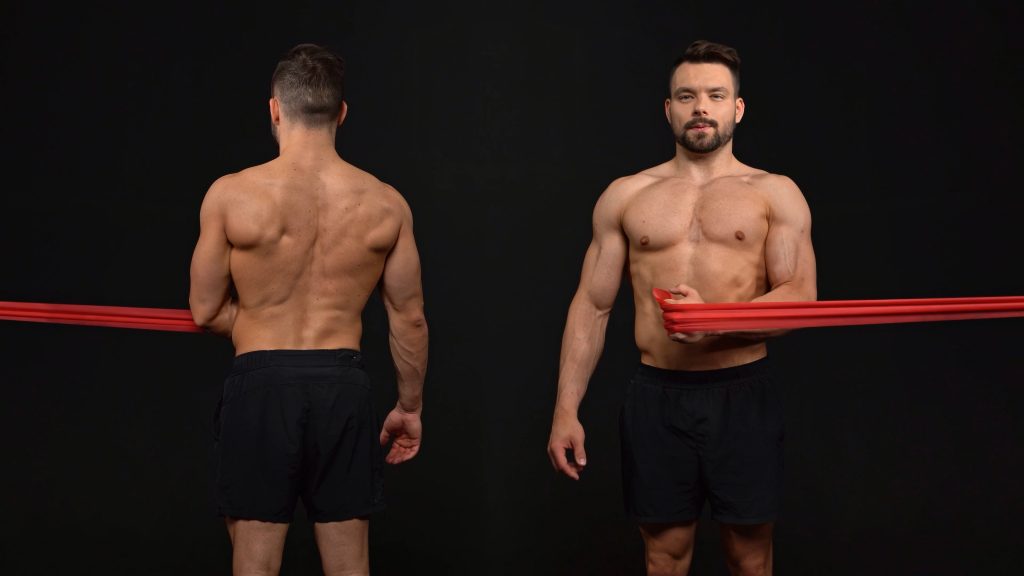
| Internal Shoulder Rotations with Elastic8x each arm | 2 sets | ||
| Upwards External Shoulder Rotations with Elastic8x each arm | 2 sets | ||
| Cross Pull Elastic Shoulder Rehab8x each arm | 2 sets | ||
| Mobility Back Row8x each arm | 2 sets |
HANDSTAND TRAINING
| Demo | Exercise | Reps/Sets | How to/Cues |
|---|---|---|---|
| Wall Walks | 2x2 | Scapular elevated at all times. Look at hands at all times. Walk as close as possible to the wall. Do not allow your stomach to touch the wall. Feet only! | |
| Half Tuck Slide | 1x2 each side | ||
| Tuck Slides | 2x3 | Knees touch the wall. Knees stay together. Hands shoulder width apart! Look at your hands at all times. Do not round your lower back. Do not close shoulders. | |
| Tuck Take Off | 2x2 | Have your hands slightly further than in a regular tuck slide. Do not lean forward with your shoulders to take the feet off the wall. Instead simply peel the feet off but bending the knees more. | |
| Half Slide Away | 1x4 | Start with your body in a perfectly straight line. Feet are the only thing touching the wall. Look at your hands and push out tall. Elbows locked. Move your shoulders to the front and slide the feet down the wall. When you are about to fall over stop and push your feet back up on the wall back to your starting position. Do not pull your hips during this movement. Do not arch your back. The only position change should be in the shoulders! | |
| Slide Away | 2x2 | Start with your body in a perfectly straight line. Feet are the only thing touching the wall. Look at your hands and push out tall. Elbows locked. Move your shoulders to the front and slide the feet down the wall. When you are about to fall over take off from the wall and align yourself in a straight, freestanding handstand. Come abck to the wall as one straight unit. Do not close your shoulders on the way back. Do not pull your hips during the slide away. Do not arch your back. The only position change should be in the shoulders! | |
| Straddle Slide Away | 2x2 | Do not pike. Do not arch your back. Go slow and focus on perfect technique! | |
| Slide Away to Straddle | 3x2 | First do your regular slide away and then open into a straddle. Do not drop the legs. Instead carefully carry them down. Do not try to outrun your balance! | |
| Standing Pike Planche Leans | 2x4 | The smaller the distance between your hands and your feet the harder this gets. Always look at your hands! Round your upper back. Imagine someone is pulling your upper body towards the front on the way back. Externally rotate your hands and feel pressur eon your thumbs the entire time. | |
| Bench Zombie | 4x total | Start by perfoming a bench lean. When your shoulders can not travel any further pull your hips up towards the ceiling. Simoutaniously your shoulders begin traveling back towards the bench. Your shoulders and hips should arrive on top of your hands simoutaniously. Squeeze there for a moment before returning on the exactly the same route back to your starting position! |
POST WORKOUT STRETCHES
| Demo | Exercise | ||
|---|---|---|---|
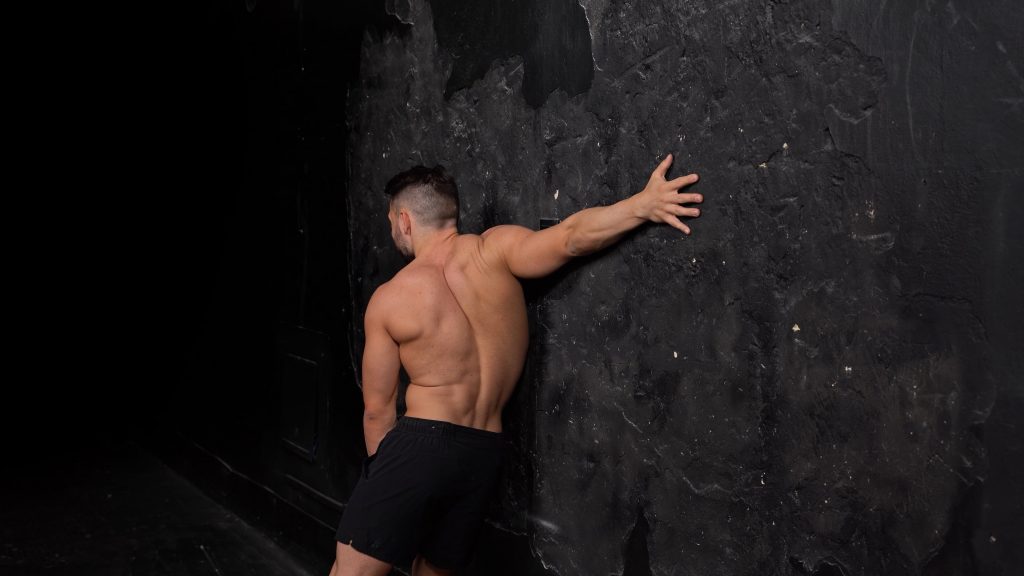
| Back of Shoulder Stretch at Wall30sec each arm | 1 set | ||
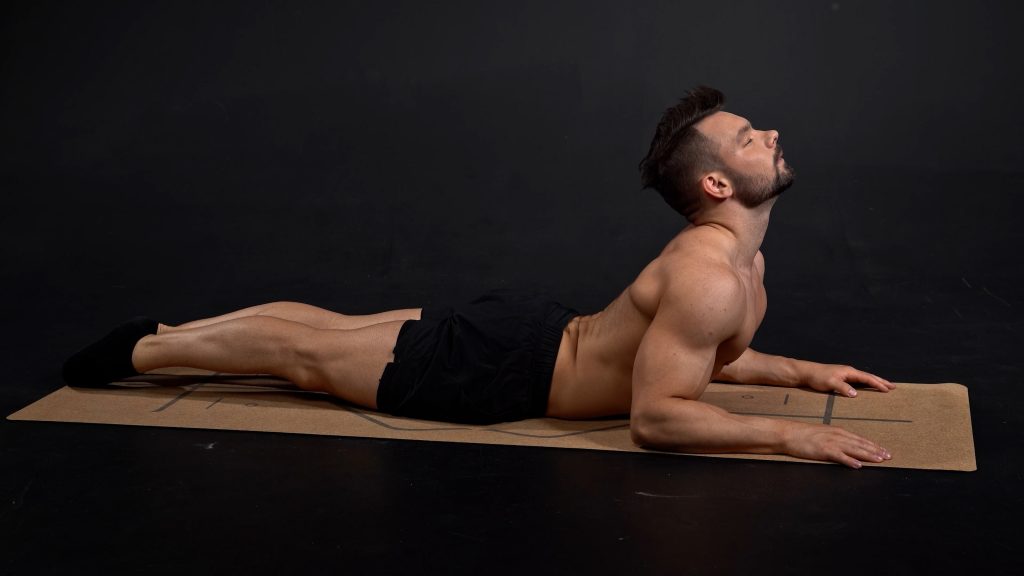
| Active Sphinx8x | 1 set | ||
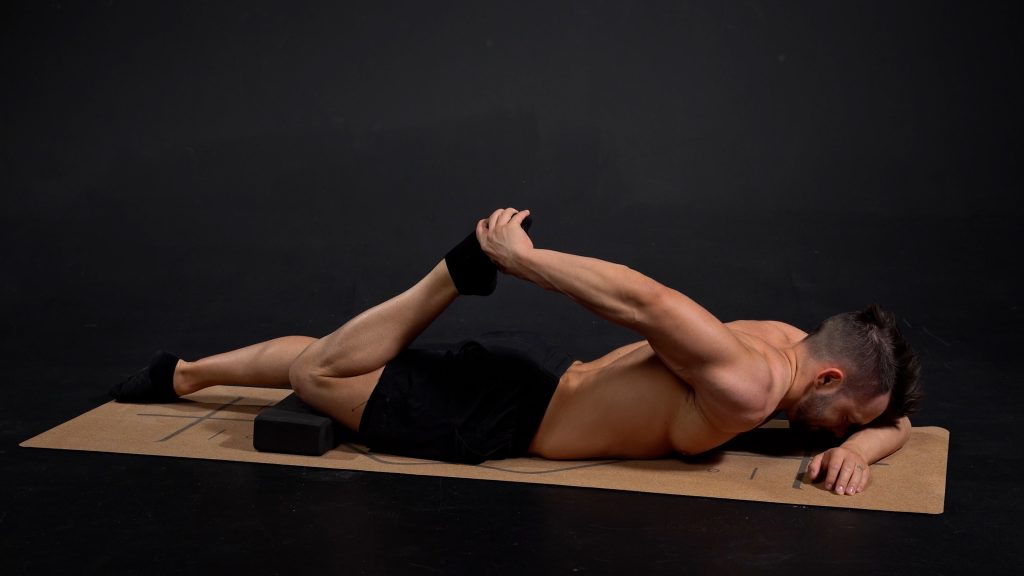
| Hip Opener with Yoga Block on Stomach30sec each arm | 1 set | ||
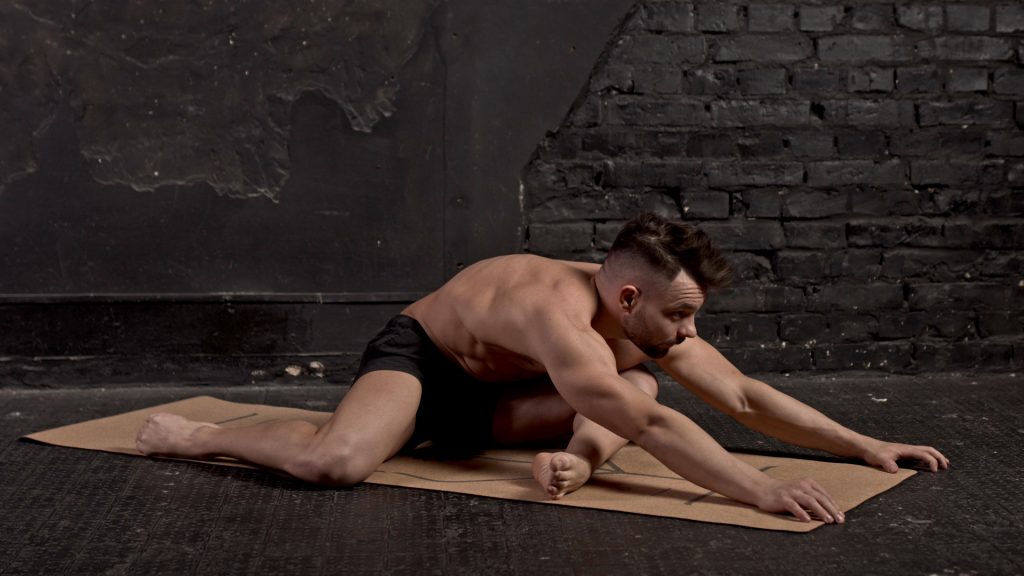
| Z-Stretch30sec each arm | 1 set | ||
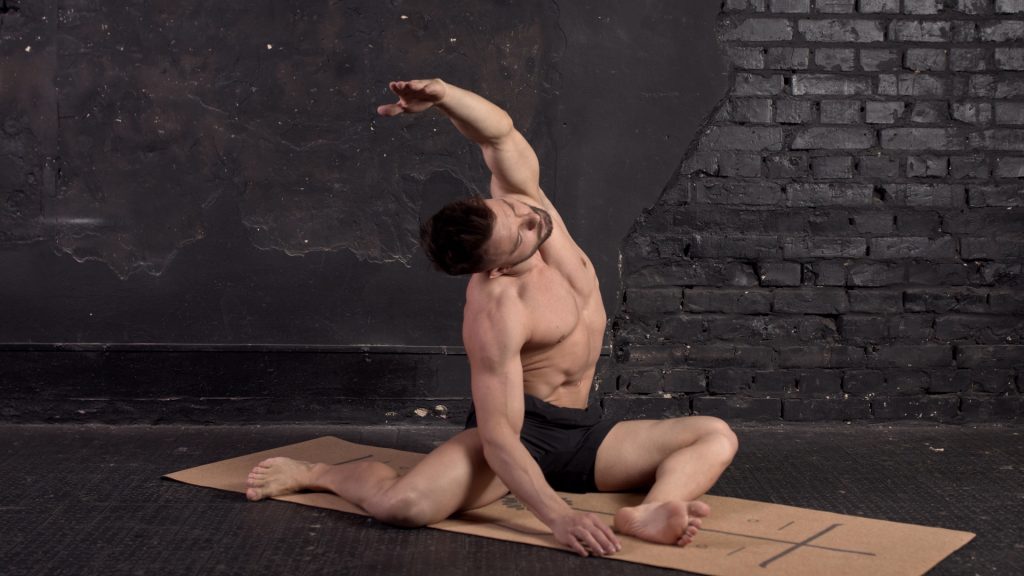
| Z-Stretch Side Bend30sec each arm | 1 set | ||

| Reverse Wrist Stretch20sec each hand | 2 sets |