Coaching Group - Wall To Free LV 2
Week 2 Day 3
Here is your full workout for today. This overview includes name, reps, and most important cues. IMPORTANT!! To see the video click the (“+”) symbol next to the exercise name, and it will expand.
Look after yourself and only do what feels safe enough. Rest long enough between sets to be fresh but short enough not to get cold!
CONDITIONING DAY
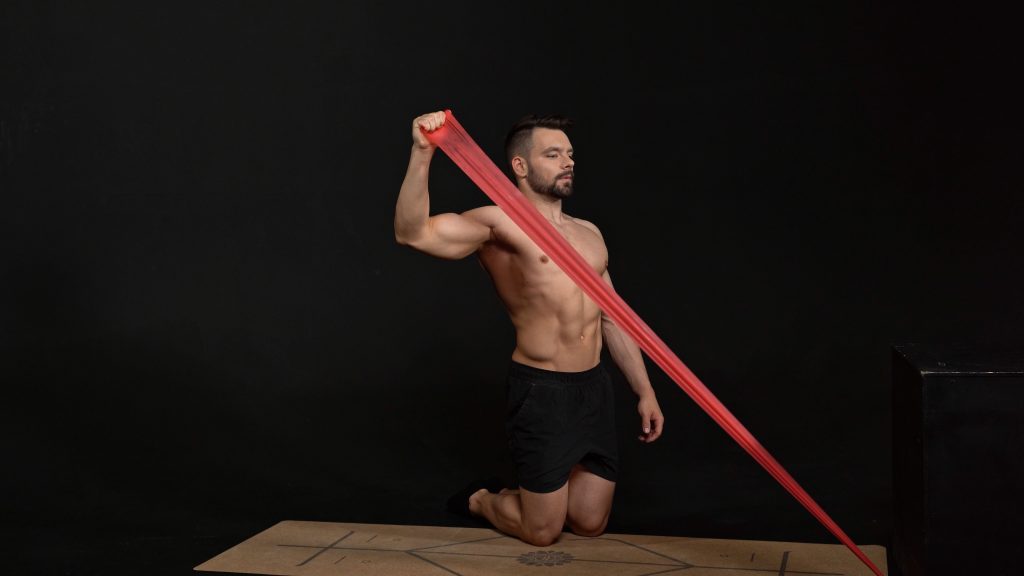
SHOULDER PREHAB
| Demo | Exercise | ||
|---|---|---|---|
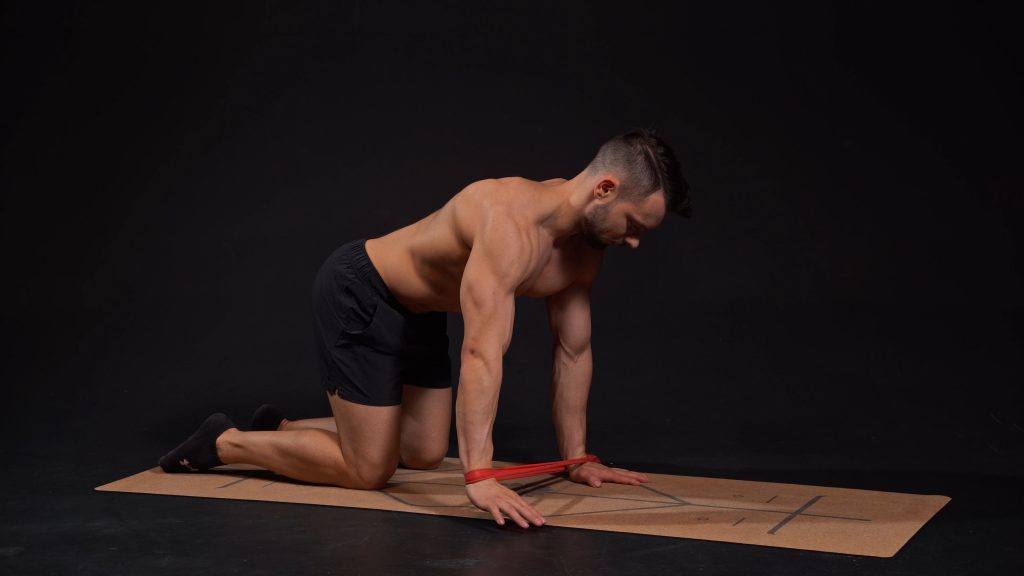
| Kneeling Ground Clocks3x each side | 1 set | ||
| Upper Back Mobility Elbow Raises on Knees8x each side | 2 sets | ||
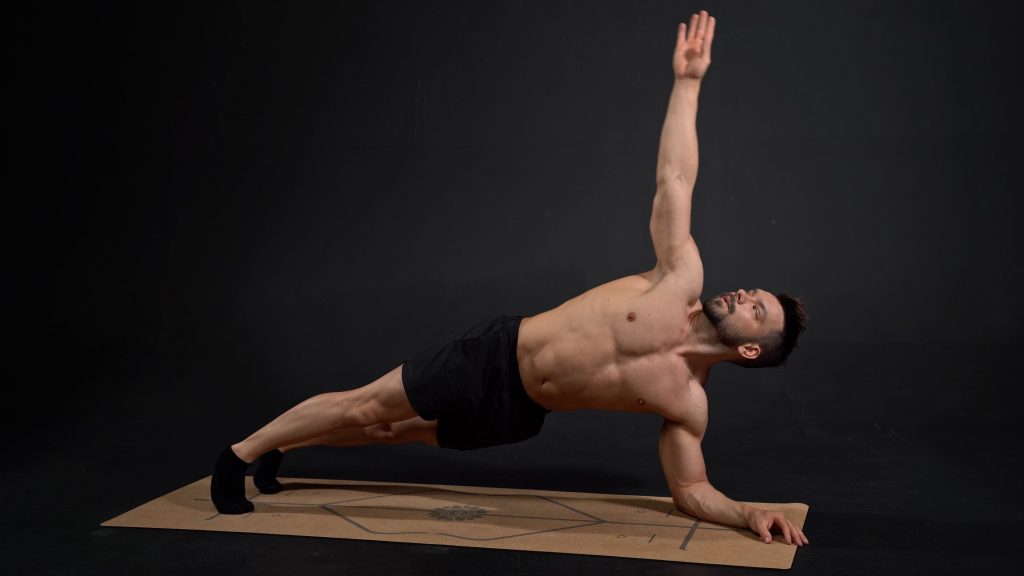
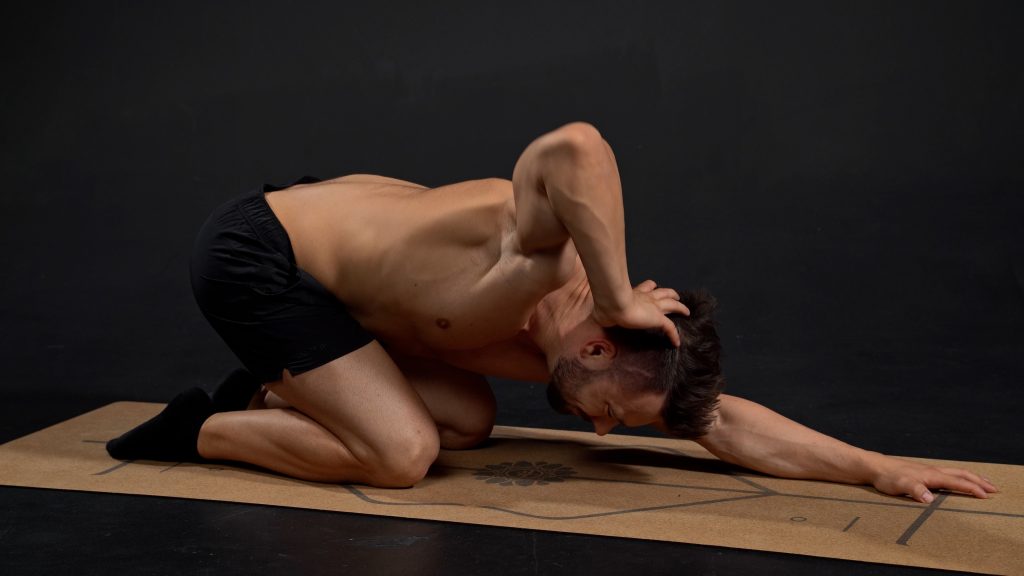
| Forearm Plank Trunk Rotations8x each side | 2 sets | ||
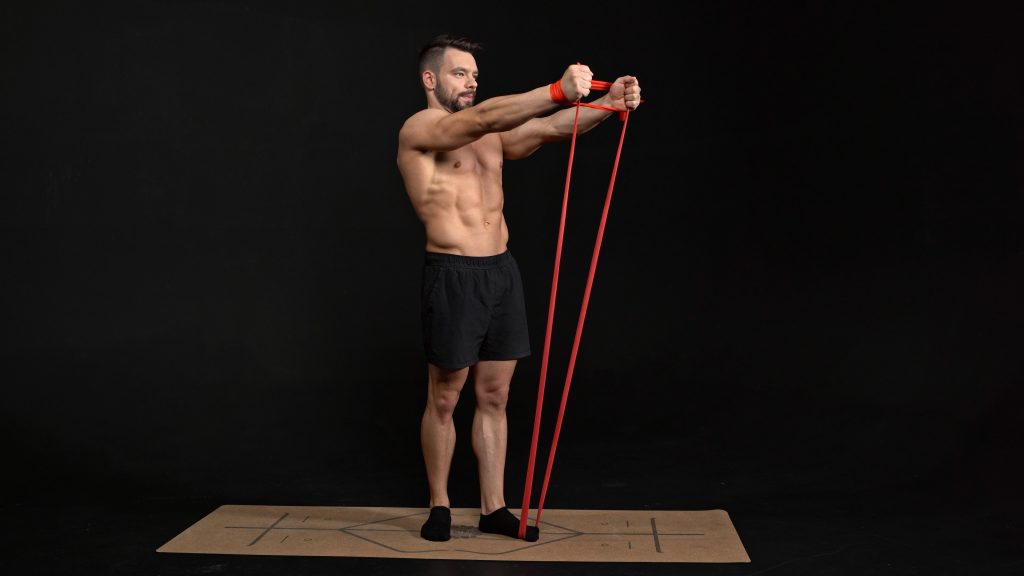
| Anterior Deltoid Raises with 2 Elastics8x | 1 set | ||
| Row - Rotate - Press6x each side | 2 sets |
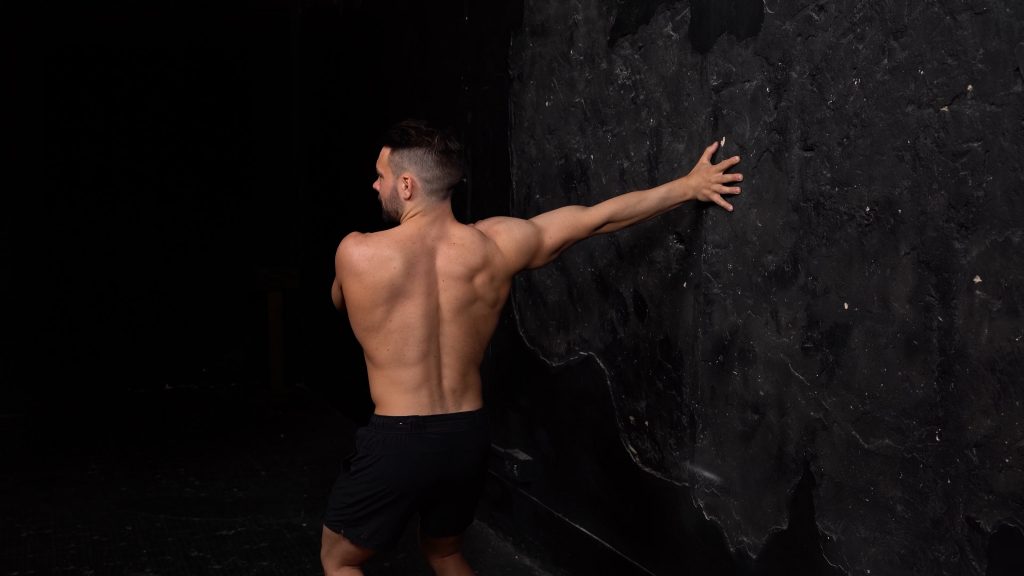
HANDSTAND TRAINING
| Demo | Exercise | Reps/Sets | How to/Cues |
|---|---|---|---|
| Crow Walk Away | 2x2 | Walk away from the wall after the chest to wall handstand. Skip the wall crow position on the way down and take at least 6 steps with your hands. | |
| Tuck Slides | 2x3 | Knees touch the wall. Knees stay together. Hands shoulder width apart! Look at your hands at all times. Do not round your lower back. Do not close shoulders. | |
| Half Slide Away | 1x3 | Start with your body in a perfectly straight line. Feet are the only thing touching the wall. Look at your hands and push out tall. Elbows locked. Move your shoulders to the front and slide the feet down the wall. When you are about to fall over stop and push your feet back up on the wall back to your starting position. Do not pull your hips during this movement. Do not arch your back. The only position change should be in the shoulders! | |
| Slide Away | 3x2 | Start with your body in a perfectly straight line. Feet are the only thing touching the wall. Look at your hands and push out tall. Elbows locked. Move your shoulders to the front and slide the feet down the wall. When you are about to fall over take off from the wall and align yourself in a straight, freestanding handstand. Come abck to the wall as one straight unit. Do not close your shoulders on the way back. Do not pull your hips during the slide away. Do not arch your back. The only position change should be in the shoulders! | |
| L Handstand Single Leg Isolation Shrugs | 1x2 each leg | Elbows locked. Hands, shoulders & hips in 1 line. Bring your foot right above and push tall from your shoulders to visually get taller. Now hold this newly gained height whilst bringing the leg back to the wall slowly. | |
| 45 Handstand Leg Isolation to Tuck | 3x1 each side | One step at the time. First hit the straight handstand then start moving into the tuck. Try going as slow as possible. Resist and keep your shoulders open and lower back straight for as long as possible. | |
| L Handstand Pulls | 2x3 | Start by aligning your shoulders over your hands. Use your back to pull your hips over your hands and shoulders. | |
| Bench Zombie to Slow Lower | 5x total | Focus on the Bench Zombie technique first! Then focus on working against gravity. Slow the downwards momentum down as much as possible. It is normal that your legs might drop to the floor like heavy stones during the first attempts. Over time you will identify and then train the muscles needed to control this drill! | |
| Extreme Sitting Pike Block Push | 2x6 | Look in front. Keep your knees locked and back straight. | |
| Alternating L Sit Leg Lifts | 2x8 each leg | Depress your scapula and elevate your hips off the floor. Lift 1 foot at the time as high as possible without rounding your back. Keep your knees fully locked |
POST WORKOUT STRETCHES
| Demo | Exercise | ||
|---|---|---|---|
| Static Biceps Shoulder Stretch30sec each side | 1 set | ||
|
| Biceps Shoulder Stretch with Vertical Movements8x each arm | 1 set | ||
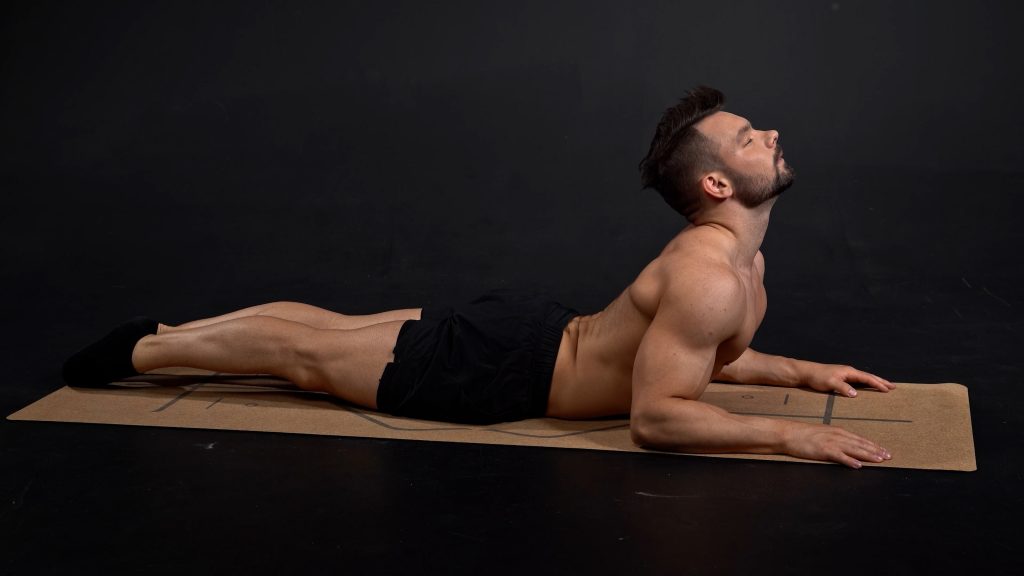
| Active Sphinx8x | 1 set | ||
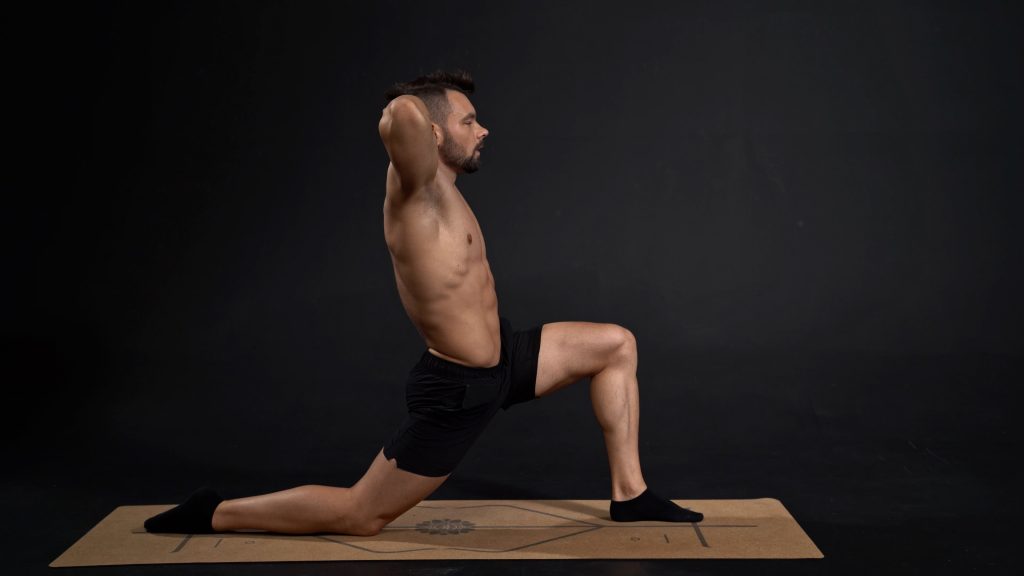
| Half Split30sec each side | 1 set | ||
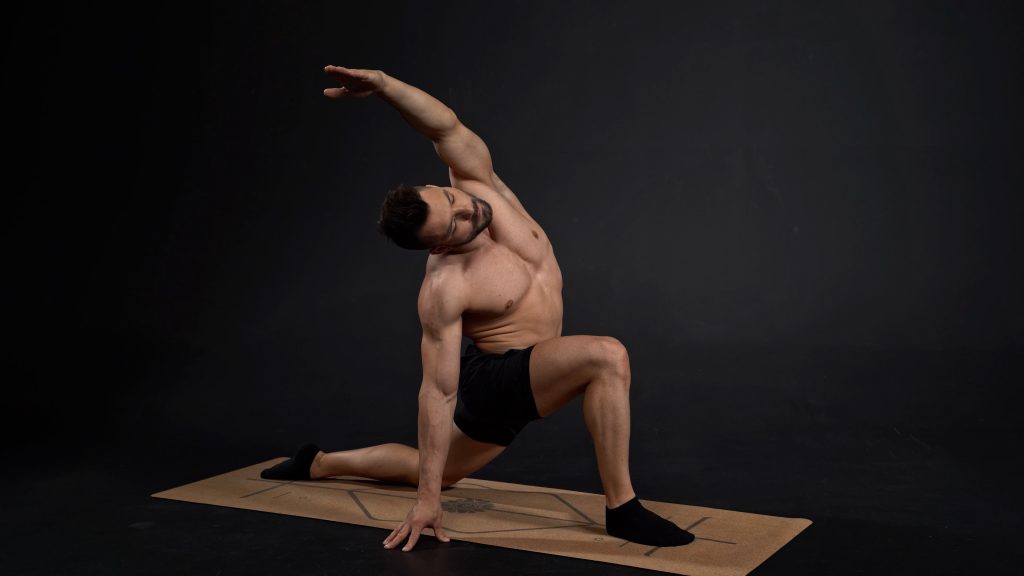
| Half Split Side Bends30sec each side | 1 set | ||

| Reverse Wrist Stretch20sec each hand | 2 sets |