Warm up
| Demo | Exercise | ||
|---|---|---|---|

| Jumping Jacks45sec | 1 set | ||
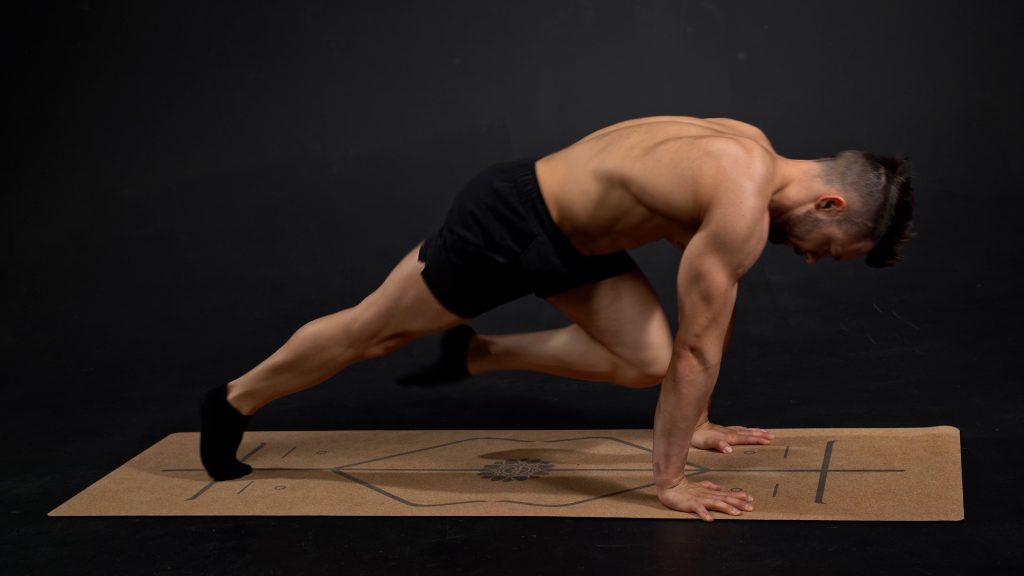
| Mountain Climbers45sec | 1 set | ||

| Dead Bug Circles10x each direction | 1 set | ||
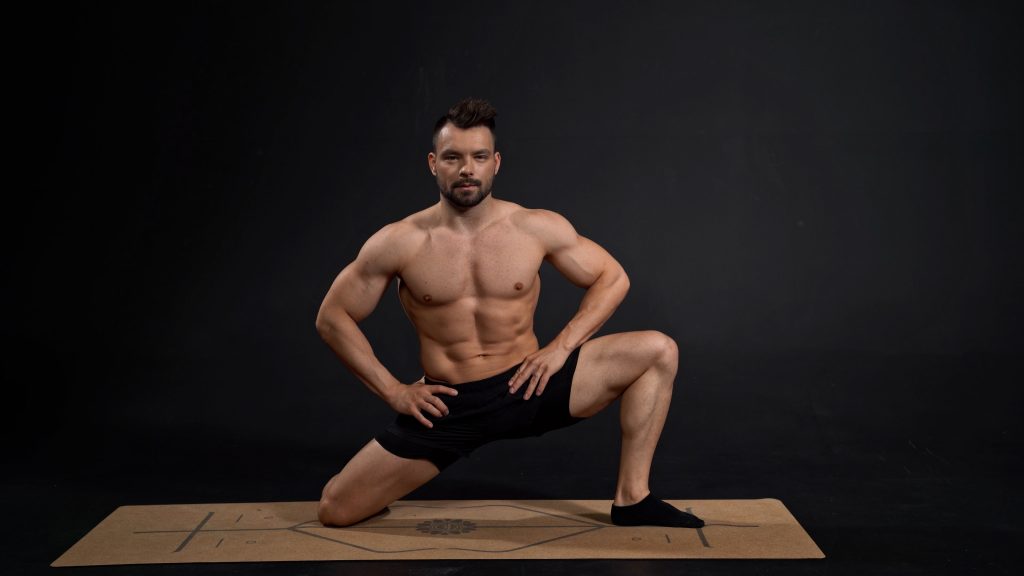
| Half Middle Split8x each side | 1 set | ||
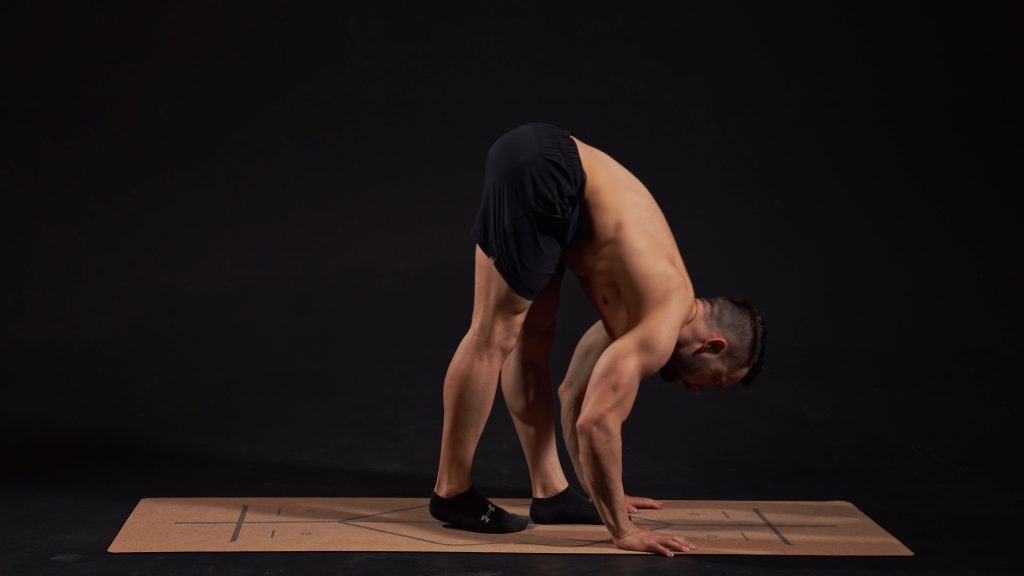
| Walking Pike20 steps | 1 set | ||
| Core Engagements on Back4x3sec | 2 set |
Shoulder Prehab
| Demo | Exercise | ||
|---|---|---|---|
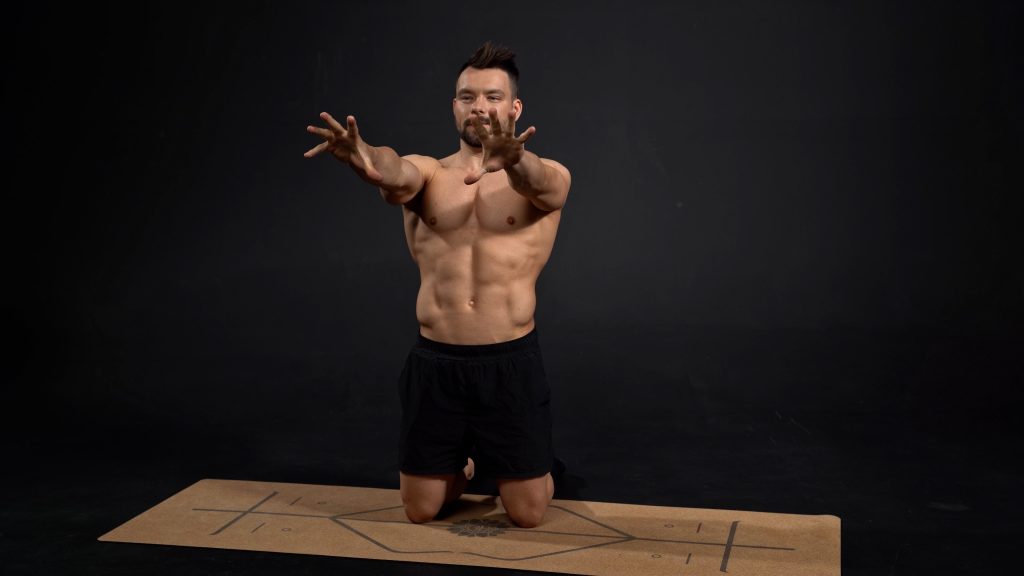
| Forehead to W5x | 2 sets | ||
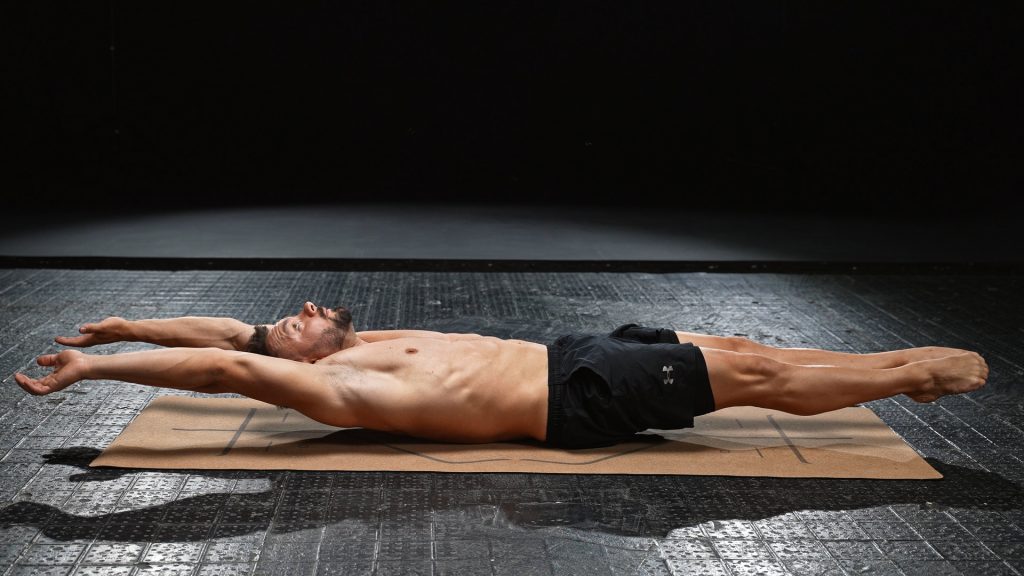
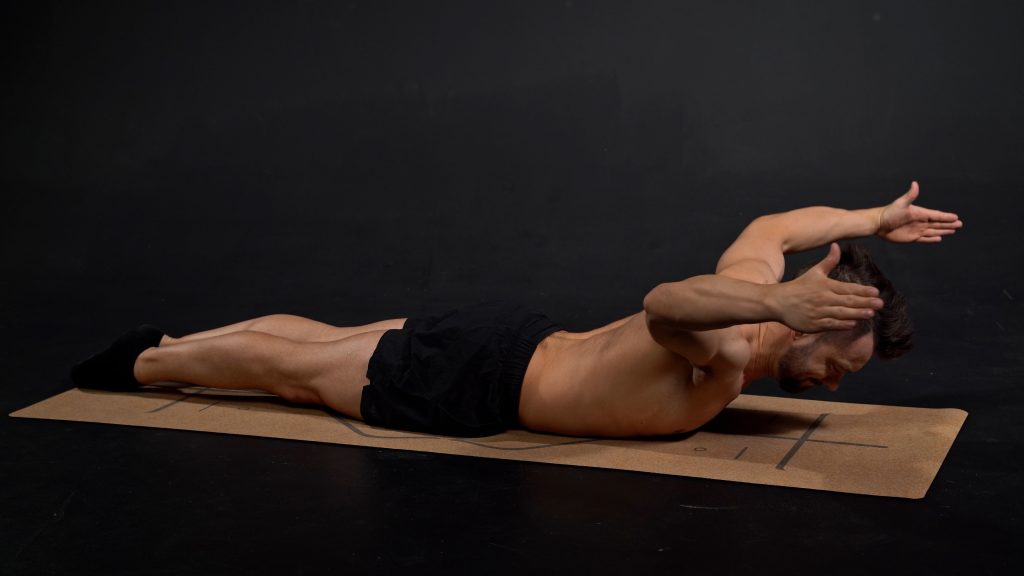
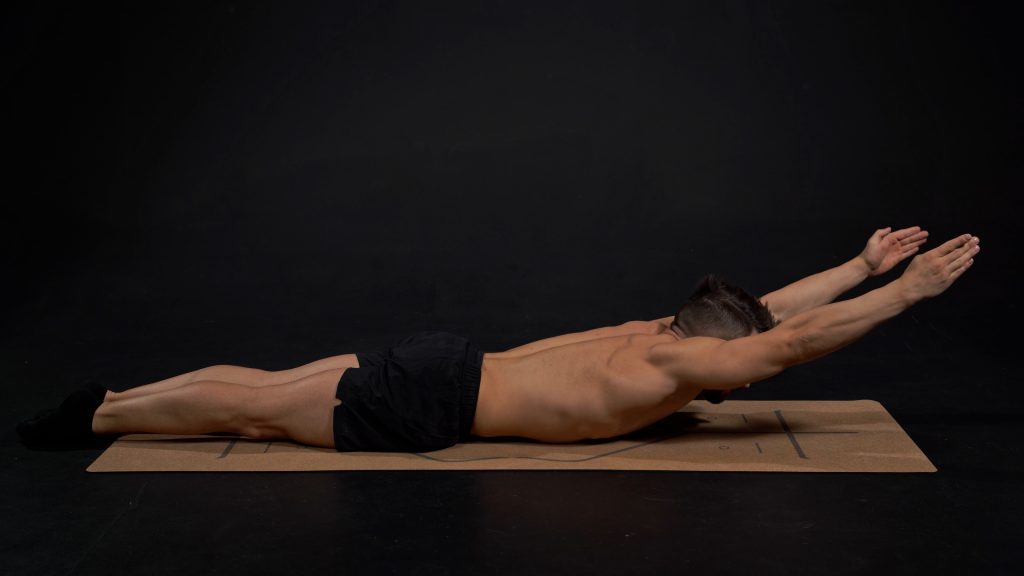
| Back Extensions4x | 2 sets |
Shoulder Openers
| Demo | Exercise | ||
|---|---|---|---|
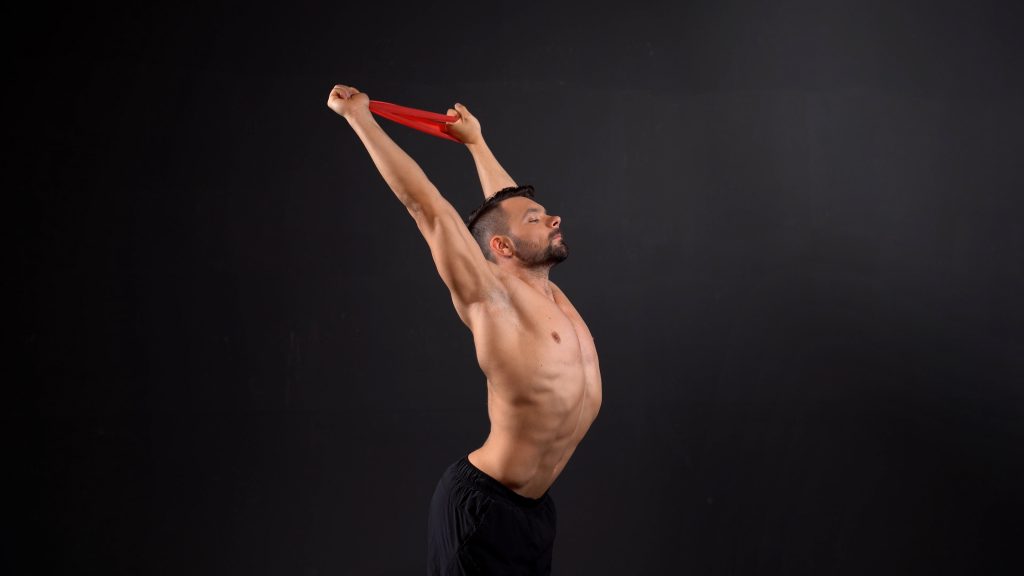
| Shoulder Warm Up with Elastic8x | 1 set | ||
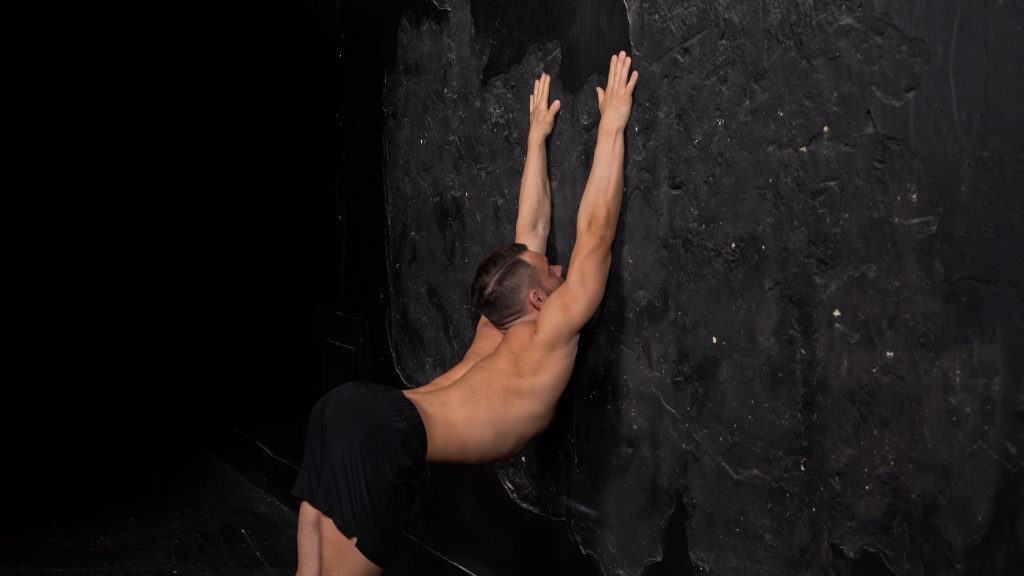
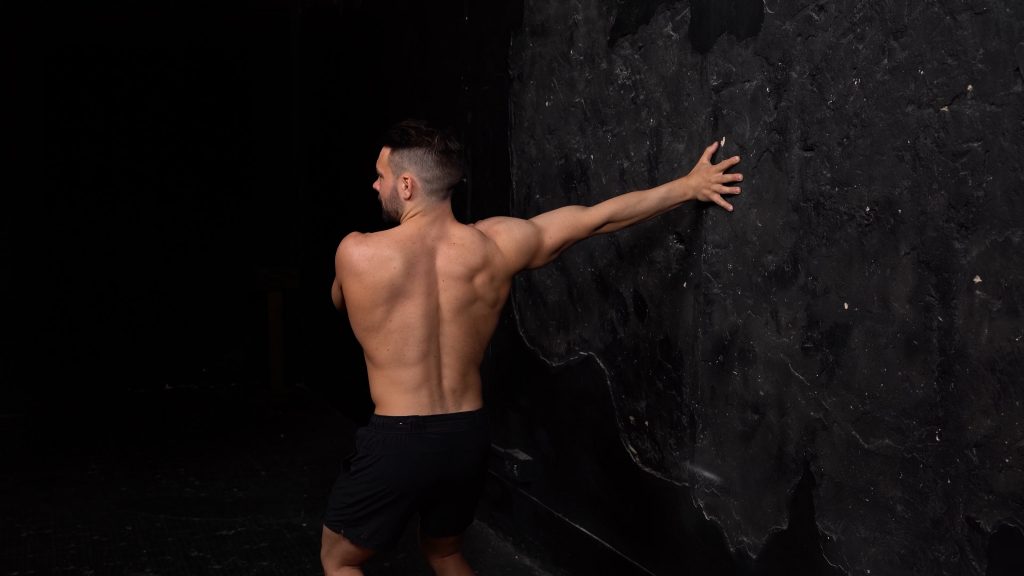
| Shoulder Opener at Wall30sec | 1 set | ||

| Shoulder Opener on Floor30sec | 1 set | ||
| Shoulder Lifts on Floor8x | 2 sets |
Wrist Prep
| Demo | Exercise | ||
|---|---|---|---|
| Open Close Hands10x | 1 set | ||

| Harp Wrist Warm Up10x | 1 set | ||

| Prayer Pose Wrist Stretch8x | 1 set | ||
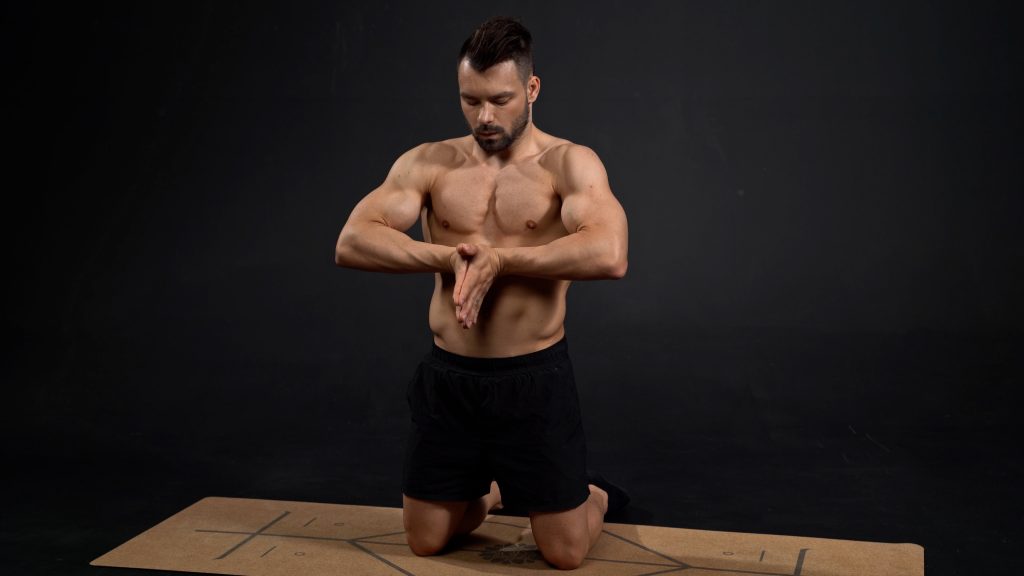
| Prayer Pose Wrist Stretch Rotations6x | 1 set |
Handstand Training
| Demo | Exercise | ||
|---|---|---|---|
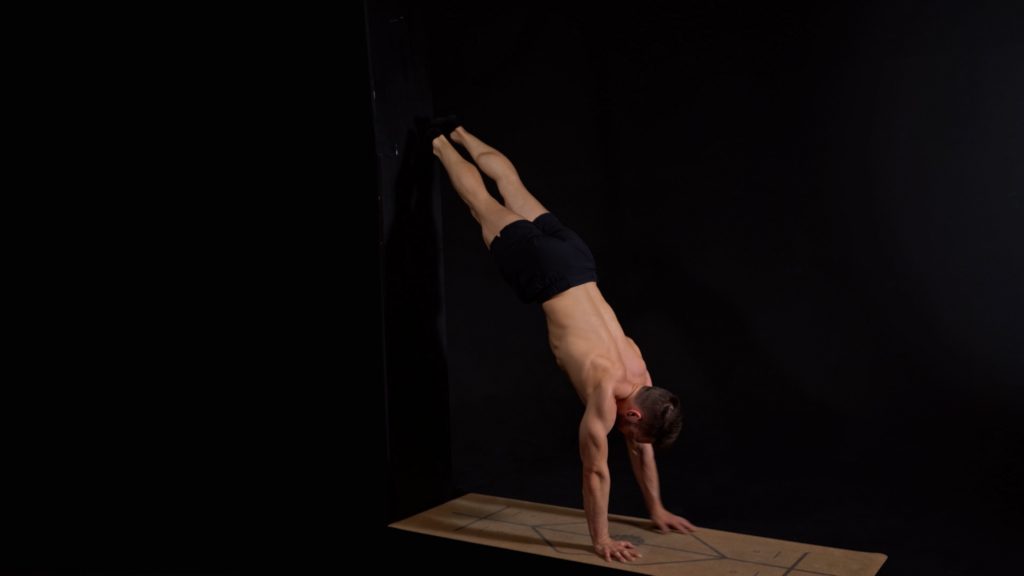
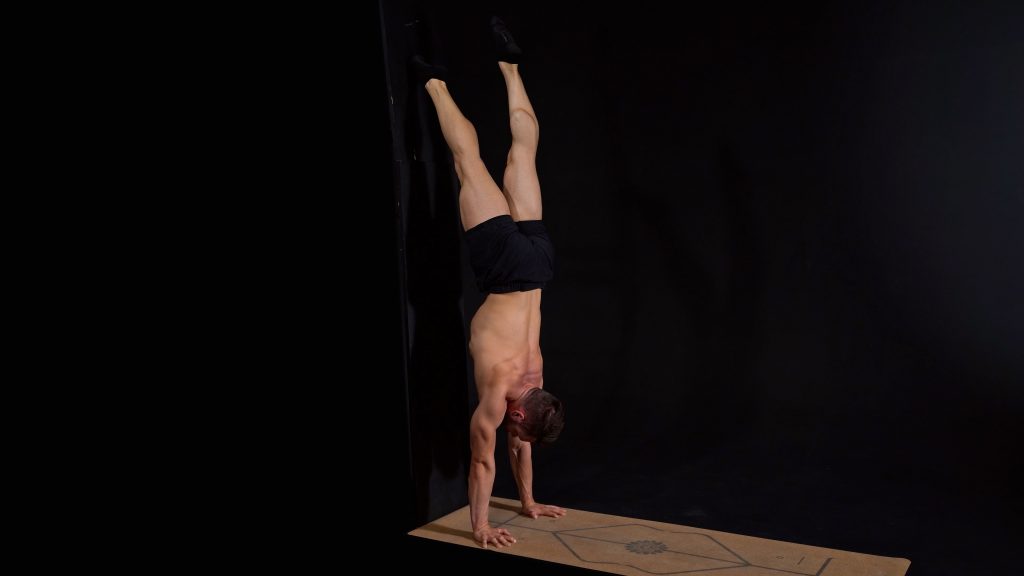
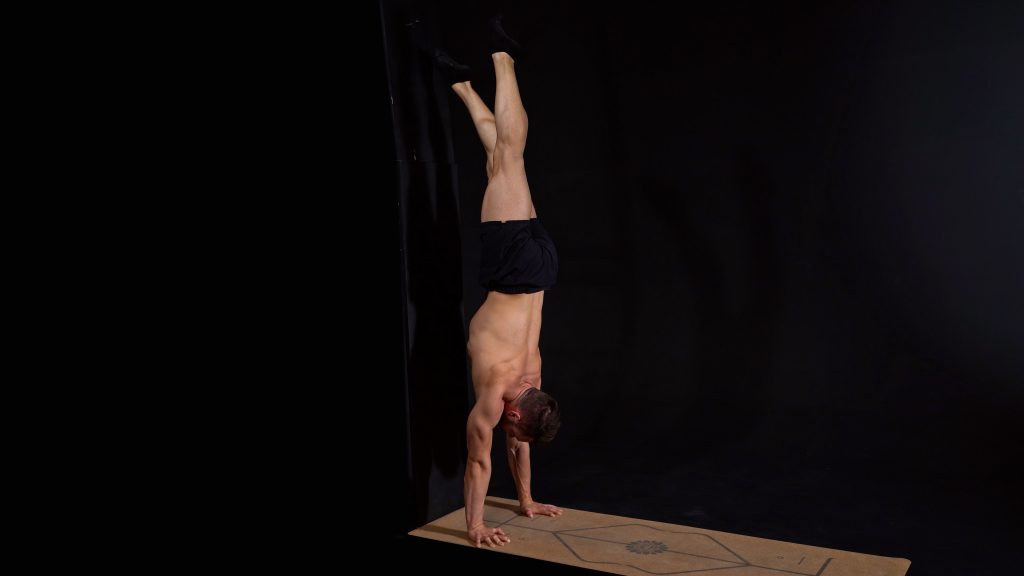
| Wall Walks2x | 2 sets | ||
| 45 Handstand Single Leg Isolation3x each leg | 1 set | ||
| 45 Handstand Leg Isolations2x each leg | 1 set | ||
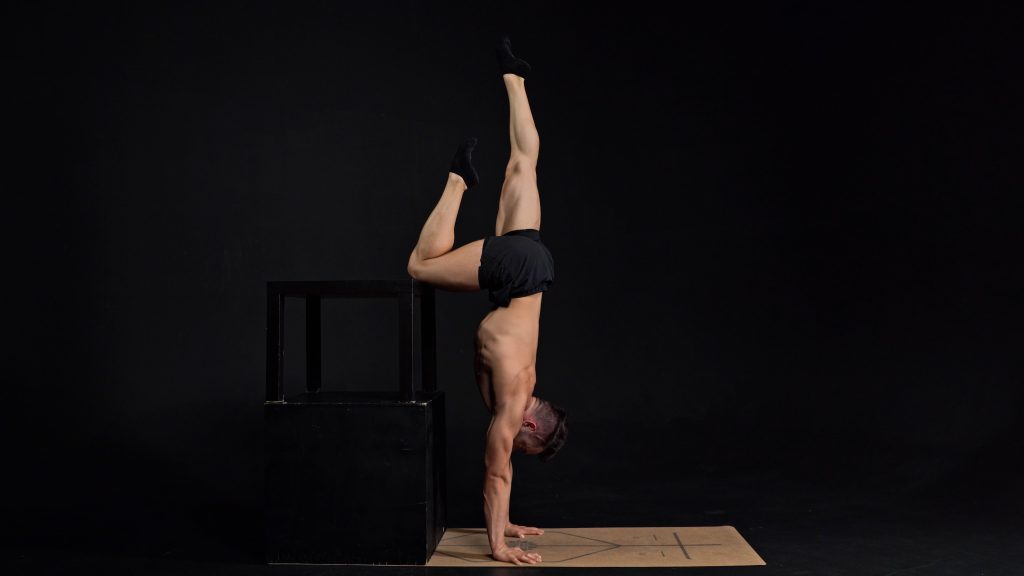
| Box Tuck Single Leg Isolation2x each leg | 1 set | ||

| Box Tuck Hover1x each leg | 1 set | ||
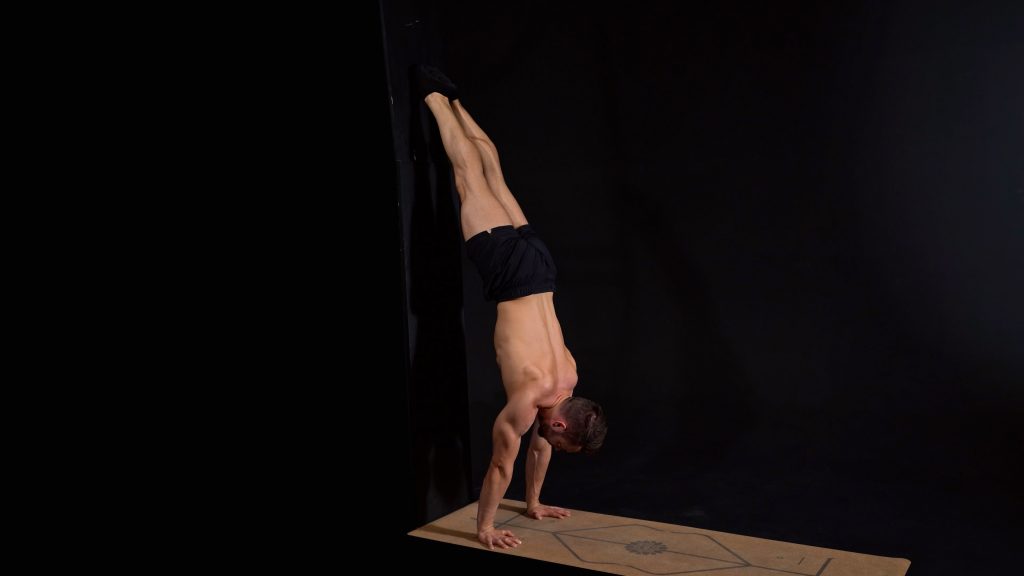
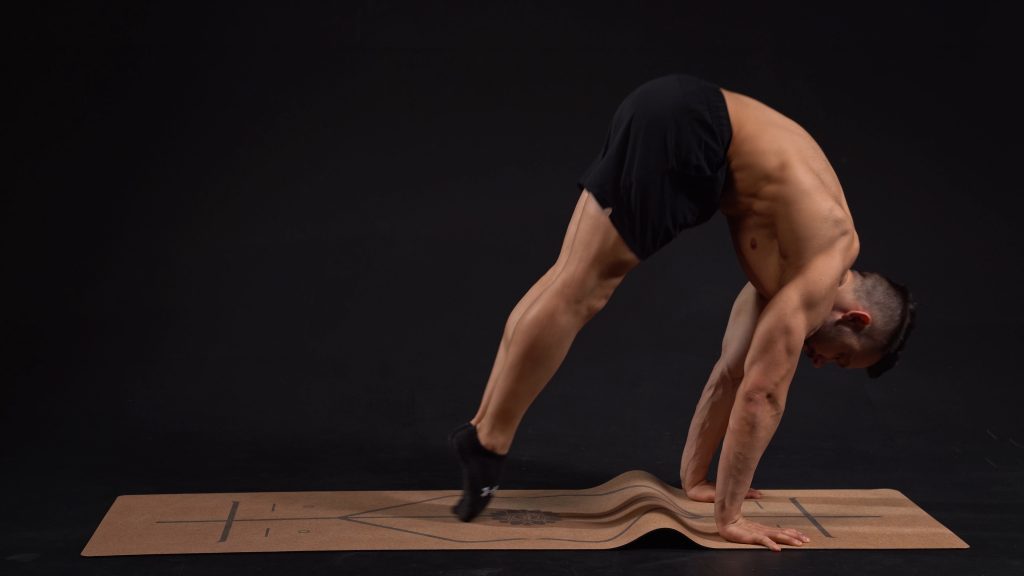
| Slide Away2x | 2 sets | ||
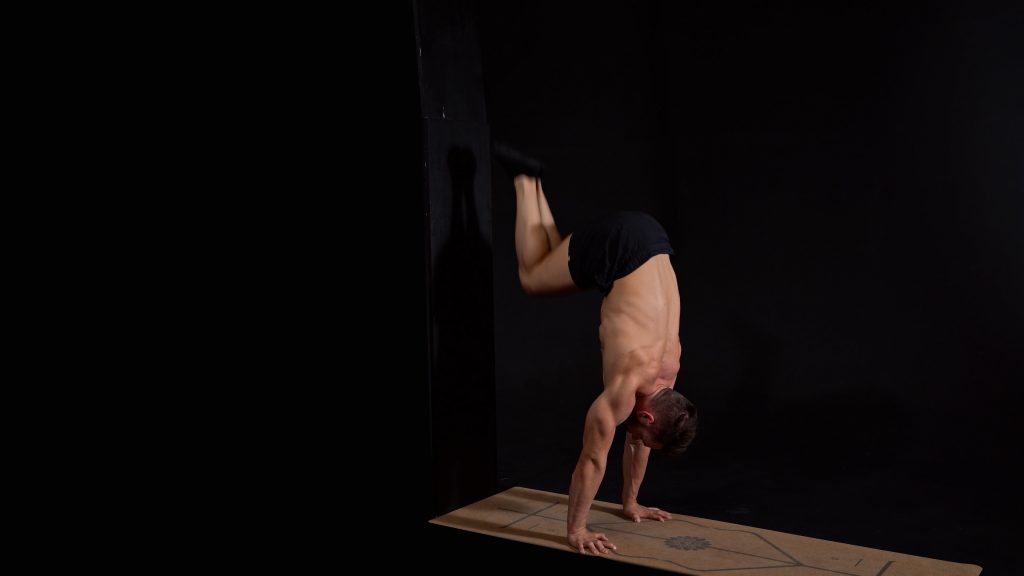
| Wall Tuck Jump to Handstand3x | 2 sets |
Conditioning
| Demo | Exercise | ||
|---|---|---|---|
| Zombie5x | 2 sets | ||
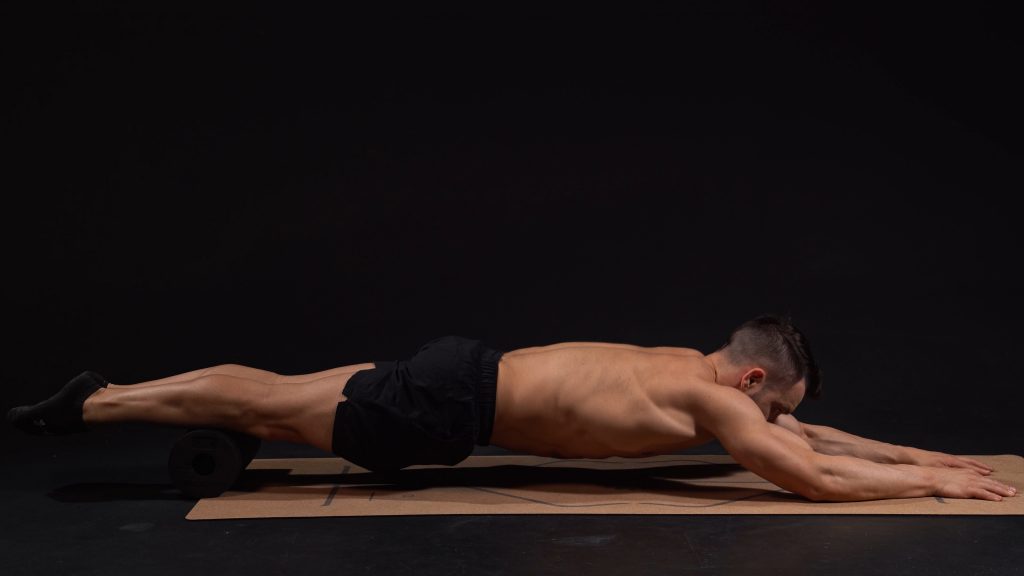
| Forearm Plank Slide with Roll4x | 2 sets | ||
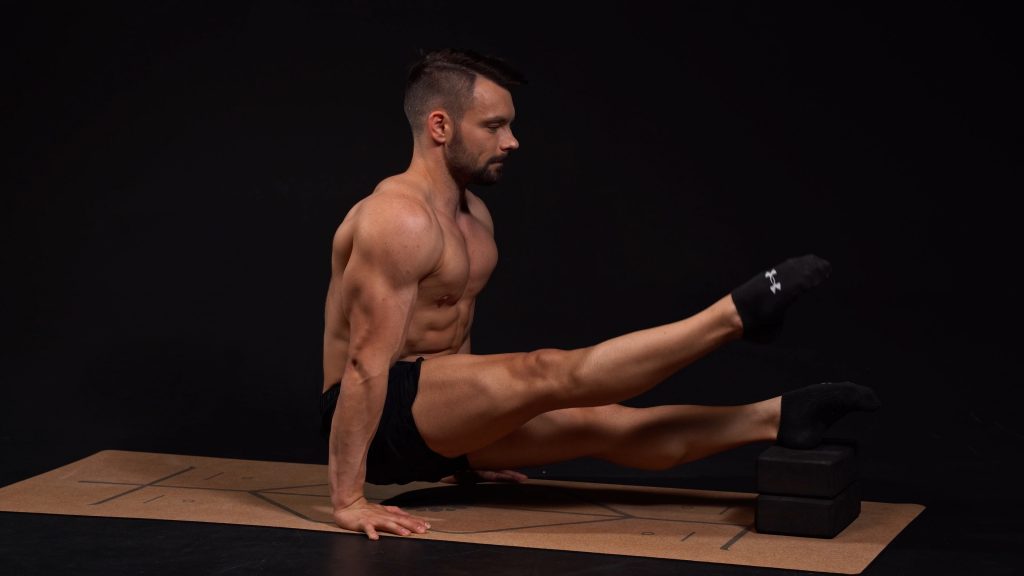
| Block Assisted L Sit Leg Lifts8x + 5sec hold | 2 sets | ||

| Kneeling Shoulder Shrugs with Elastic12x | 1 set |
Post Workout Stretches
| Demo | Exercise | ||
|---|---|---|---|
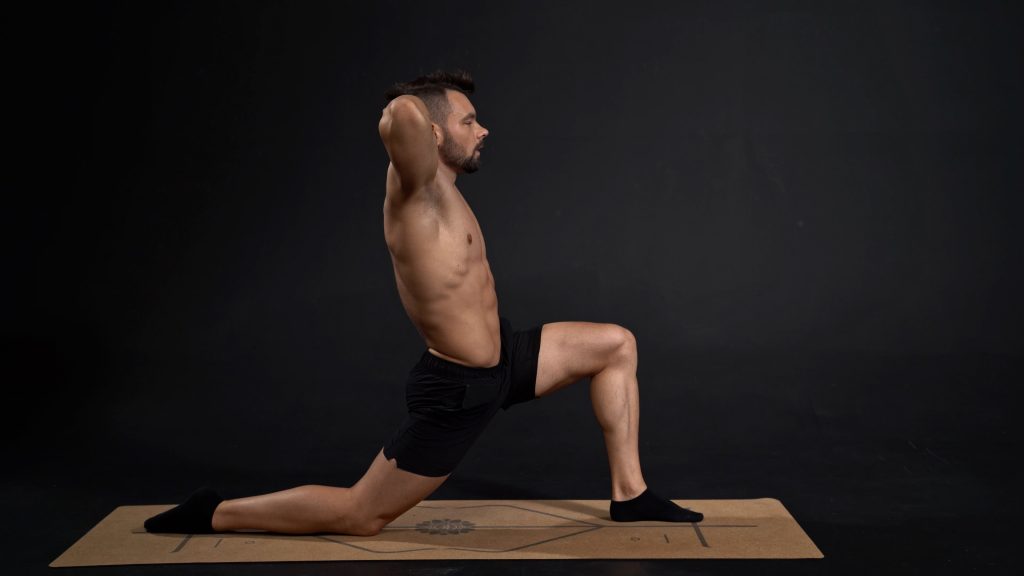
| Static Biceps Shoulder Stretch30sec each side | 1 set | ||
|
| Biceps Shoulder Stretch with Vertical Movements8x each arm | 1 set | ||
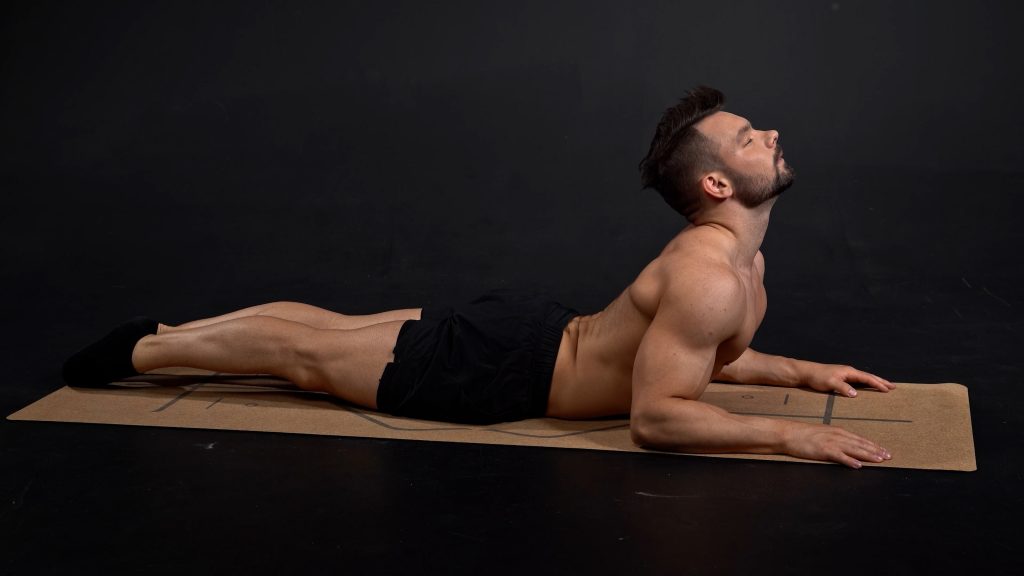
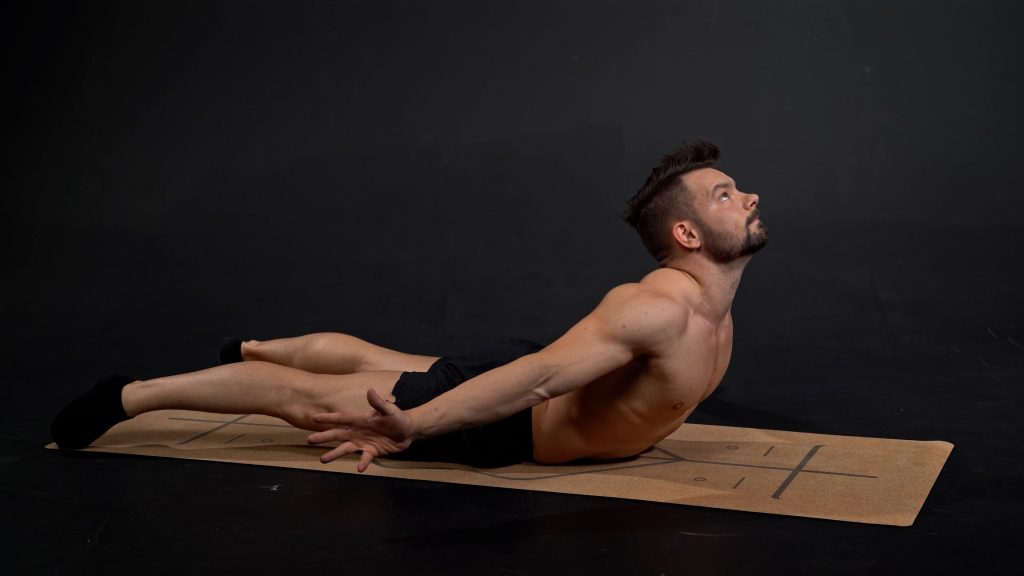
| Active Sphinx8x | 1 set | ||
| Half Split30sec each side | 1 set | ||
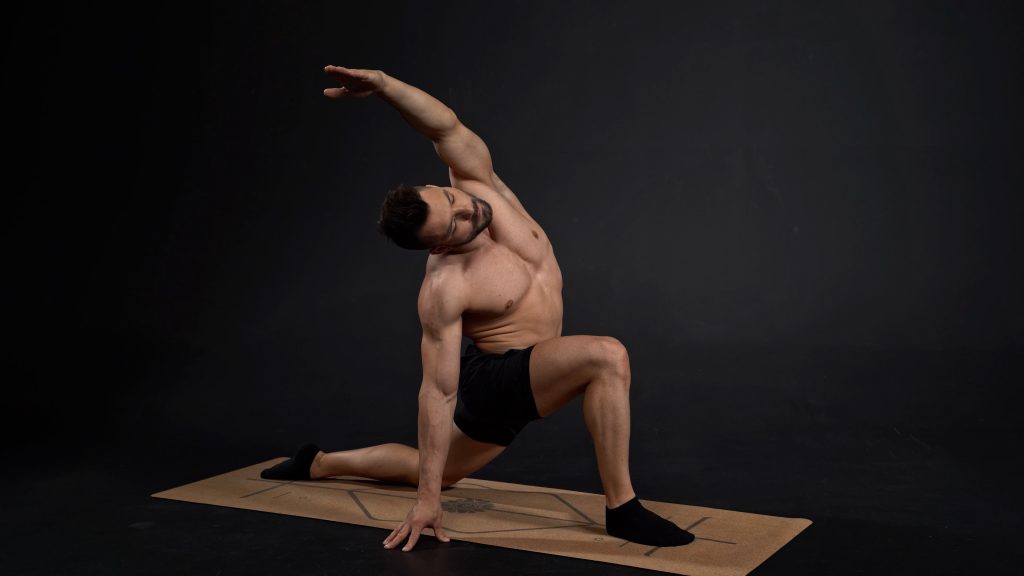
| Half Split Side Bends30sec each side | 1 set | ||

| Reverse Wrist Stretch20sec each hand | 2 sets |
