Let's get to work
Handstand Workout
Here is your full workout for today. This overview includes name, reps, and most important cues. IMPORTANT!! To see the video click the (“+”) symbol next to the exercise name, and it will expand.
Look after yourself and only do what feels safe enough.
Make sure to warm up well.
Dashboard | Workout
Specific Warm Up
| Demo | Exercise | Reps/Sets | How to/Cues |
|---|---|---|---|
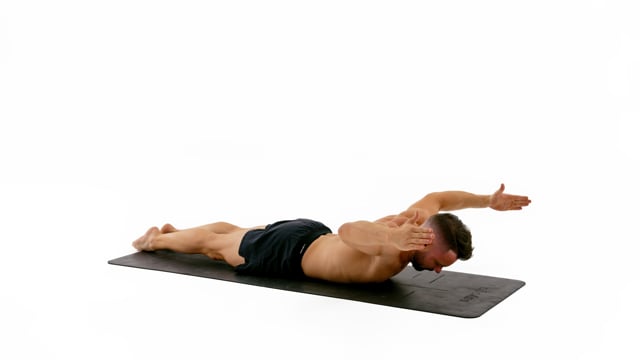 | Forehead to W 1x8 | Rotate your hands for the thumbs to point towards the ceiling as your bring your arms to the W. Make sure you have a 90 degrees angle in your shoulders and that your elbows are in line with the shoulders. Pull your hands and elbows up towards the ceiling and not back.Keep your chest on the floor the entire time and rotate your hands for the thumbs to point towards the ceiling.Keep your legs engaged but on the floor. Point your feet and make your ankles touch. | |
 | Straight to W 1x8 | On the way back stop with your elbows in line with your shoulders and a 90 degree angle in your elbows. Lift your forearms towards the ceiling and squeeze on top for a moment.Keep your chest on the floor the entire time and rotate your hands for the thumbs to point towards the ceiling.Keep your legs engaged but on the floor. Point your feet and make your ankles touch. | |
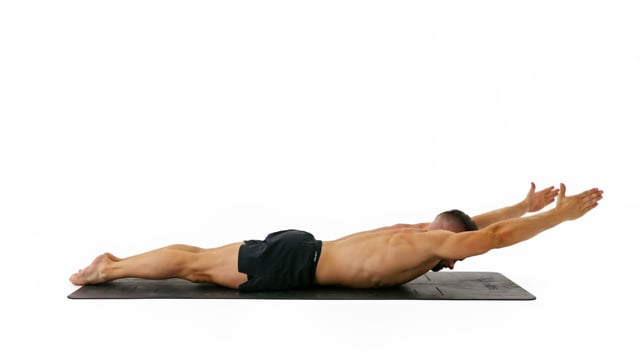
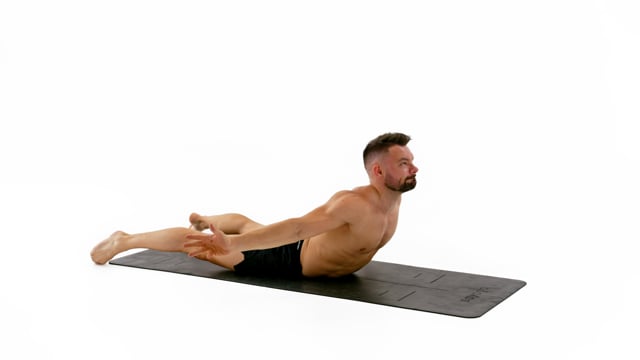 | Back Extension 1x8 | Then externally rotate your arms, squeeze your shoulder blades together in the back, look up towards the ceiling and engage the whole back lifting the upper body of the floor.Keep your feet about shoulder width apart on the floor the entire time.Move slowly! The longer this takes the more control and strength you will develop! | |
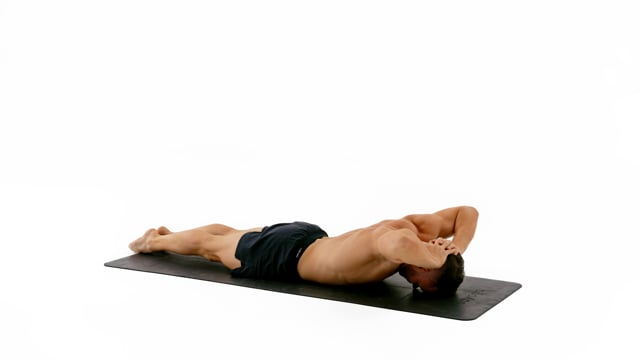 | Elbow Lift 1x8 | Lift your elbows up as you were trying to make them touch behind your head. Bring them back down slowly. Do not slam them into the floor.Keep your legs engaged but on the floor. Point your feet and make your ankles touch.Move slowly! The longer this takes the more control and strength you will develop! | |
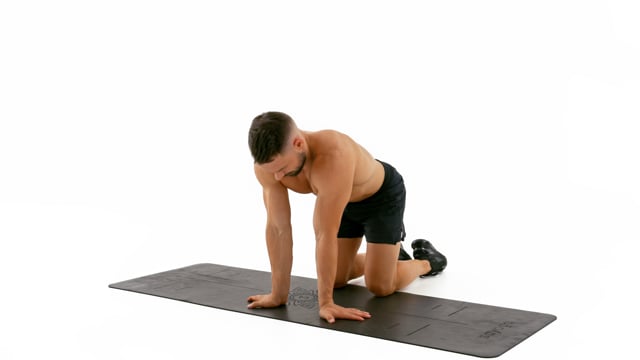
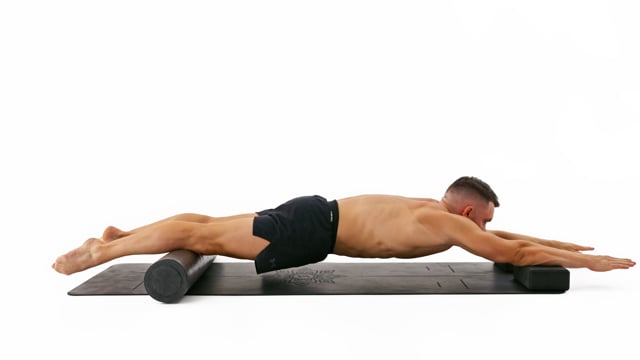 | Elevated Handstand Engagement on Stomach 2x4 | On the bottom end of the body the elevation should be on the quads just before the knees.Look at your hands and keep them around shoulder width apart.Push your lower back up and engage your core to create an even and slightly rounded line. | |
 | Wrist Warm Up as needed | Rotate, twist and move them to stretch them in each direction.Spend more time in positions where you feel less mobile or even stiff.Keep your elbows locked and hands shoulder wide apart. | |
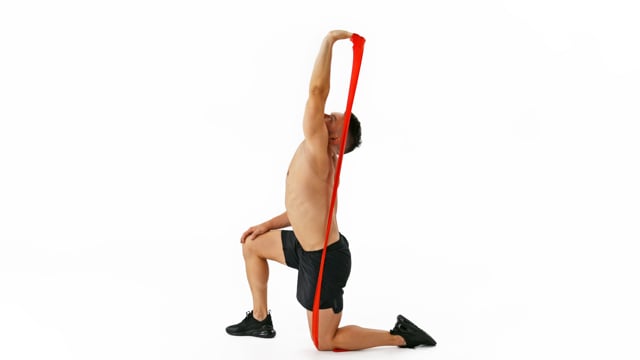 | Overhead Wrist Curl 2x8 each side | Place your hand overhead, lock your elbow and elevate your scapula. Look towards the front.Open your hand every time your wrist moves into extension and fully close as you move into flexion.Train your forearm muscles and fingers in exactly the way that you need the when fighting for balance in handstand or when gripping a bar or rings. |
Wall Handstand Refinement
| Demo | Exercise | Reps/Sets | How to/Cues |
|---|---|---|---|
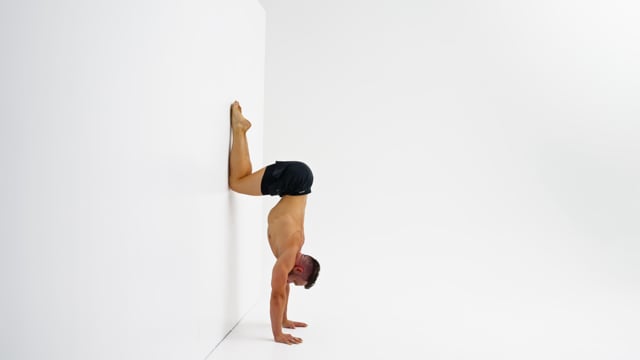
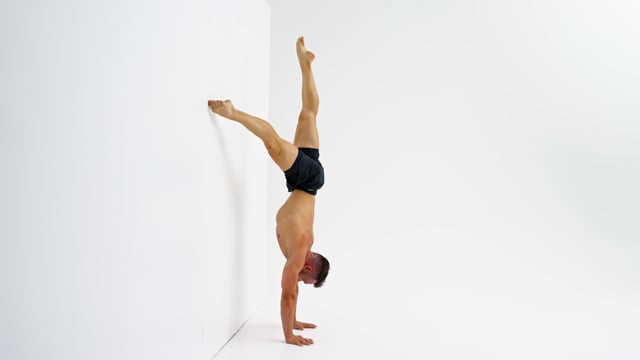
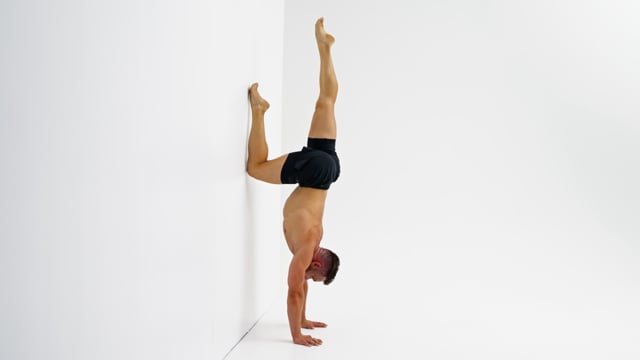
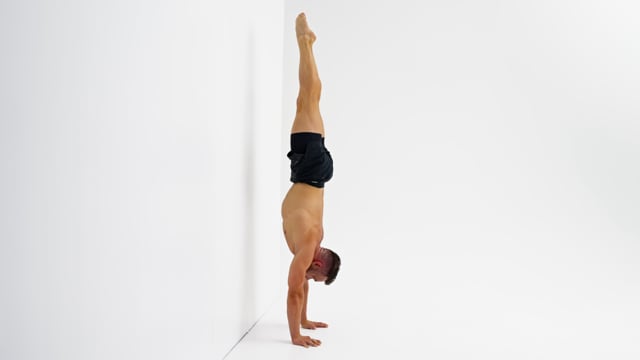
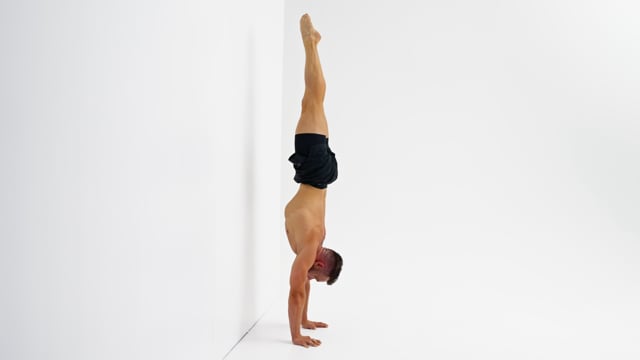
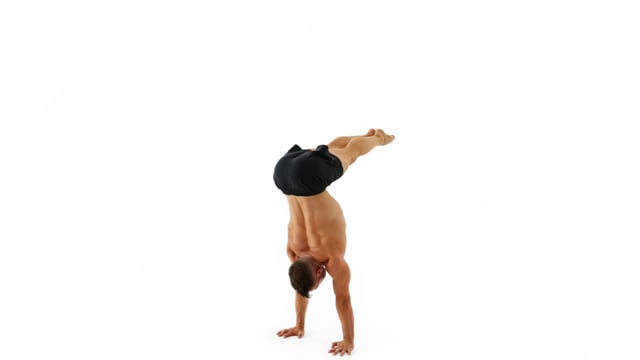
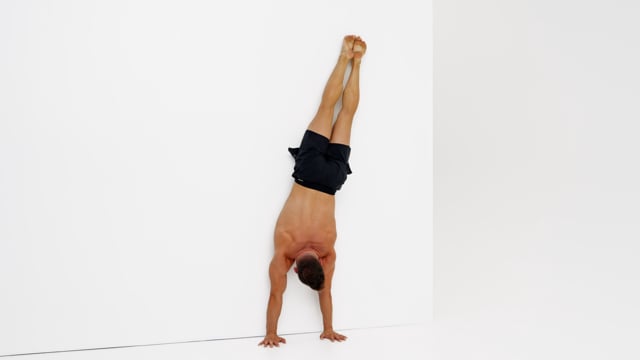
 | Wall Walk 1x3 | Take small and controlled steps with your hands facing towards the front.Only your feet should touch the wall. Do not place your knees, hips or chest on the wall.Look at the spot in between your hands. Do not look at the wall placing your chin on your chest. | |
 | Tuck Slide 1x4 | Keep your knees together and make them touch the wall as you pull them down.Pull your knees as low as possible whilst engaging your lower back. In the tuck position your hips need to be in a slight anterior pelvic tilt. As soon as your lower back rounds and your hips flip into a posterior pelvic tilt your knees are too low.Lock your elbows, elevate your scapula and look at the spot in between your hands. | |
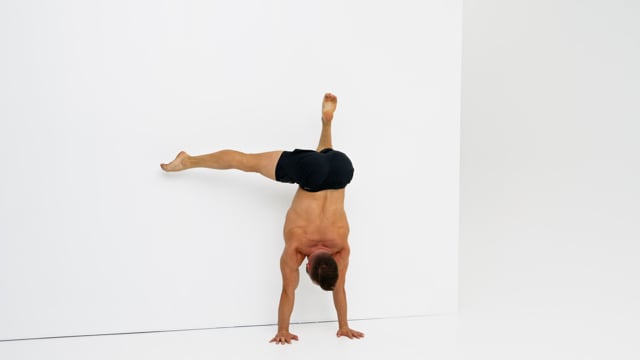
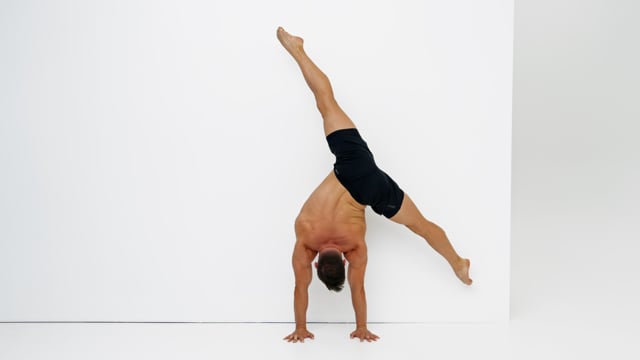
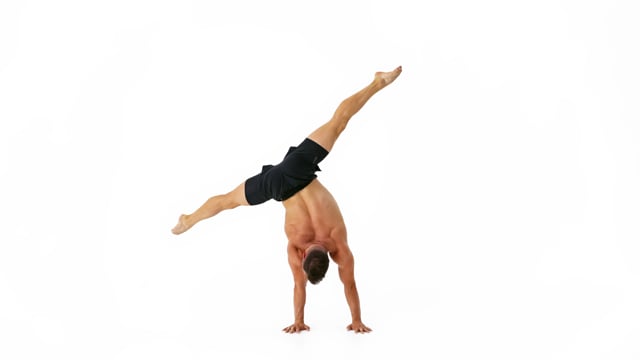
 | 45 Handstand Single Leg Circle 1x1 each side & each direction none alternating | Focus on the rotation of your leg inside of your hip. In the straddle position the leg needs to be externally rotated. When the leg is on top and in the tuck position it needs to be in parallel.Focus on the immobile leg. Keeping it perfectly still is much harder than moving the other one in a circle.Due to the nature of this exercise you will be slightly piked in your single leg straddle position. This is ok as you gain lots of shoulder strength and coordination but moving the wall leg not just against gravity but also against the friction of the wall. Find a flat and even wall and wear slippery socks! | |
 | Single Leg Tuck Take Off to Straddle & Back 1x2 each side | Keep your hips and shoulders perfectly squared and parallel to the floor.Make sure your shoulders stay right on top of the center of your hands. Do not push them open in the direction of your armpits or allow them to close and slide in the direction of your back.Remind yourself how to do a Single Leg Tuck Take Off first. Stay clean from start to finish. | |
 | Tuck Take Off Leg Circle - Straddle Straight Tuck 1x2 | Work on isolating the movement exclusively into your legs! Your elbows should stay locked and the shoulders fully elevated and immobile throughout the entire drill.Hold each position for at least a short moment and bring your body to a visual stop of movement.Do not try to outrun your balance. Stay cool! If something does not go as planned: come to a stop, fix your position and then move on. Alternatively, you can also come down and reset from the top or simply continue. | |
 | Tuck Take Off Leg Circle - Straight Straddle Tuck 1x2 | Work on isolating the movement exclusively into your legs! Your elbows should stay locked and the shoulders fully elevated and immobile throughout the entire drill.Hold each position for at least a short moment and bring your body to a visual stop of movement.Do not try to outrun your balance. Stay cool! If something does not go as planned: come to a stop, fix your position and then move on. Alternatively, you can also come down and reset from the top or simply continue. | |
 | Tuck Take Off - Lateral Leg Isolation 2x2 each side alternating | Focus on the rotation of your leg inside of your hip. In the straddle position the leg needs to be externally rotated. When the legs are in the tuck they need to be in parallel.Keep both elbows locked and shoulders elevated. Due to the nature of the movement you will have more weight on one side of your body. It is up to you to create the visual illusion of the weight staying perfectly even between your hands.You are very close to the wall which forces you to engage properly and follow correct form. If not your foot will touch the wall! |
Freestanding Training
| Demo | Exercise | Reps/Sets | How to/Cues |
|---|---|---|---|
 | Straight to Diamond & Diamond to Straddle 1x3 each | ||
 | Tuck Double Leg Isolation 1x | Extending both knees at the same time is heavy. You will feel a lot of pressure on your back and lots of hamstring mobility is required. Consider only extending your legs 50% of the way or bringing the knees up slightly first.Move slow and try to hold the position with the extended legs for a moment.Engage your lower back to pull on your hips. Do not allow your lower back to round or your shoulders to collapse towards the front. | |
 | Extended Diamond Single Leg Circles from Straight 1x1 each side & each direction | ||
 | Pike Leg Circle 1x2 | ||
 | Small Transfer Shrug - Legs Together at Wall 1x2 each side | Lock your elbows, push out tall and work on staying in control at all times!Freeze at every movement change. This will allow you to check on your positions and forces you to stay up longer and ultimately to get stronger.Engage your legs! They make up a significant part of your handstand. Lock your knees, point your feet and squeeze the water out of them. | |
 | Miami Straddle Straight Straddle 2x2 each side | Focus on one movement at the time. First step is getting up into the Miami. Only when you are stable move on to the next part.Place equal amounts of weight on both hands.Bend your block elbow so your shoulders and hips remain parallel to the floor. Elevate your scapula to cover your ears.Place equal amounts of weight on both hands. | |
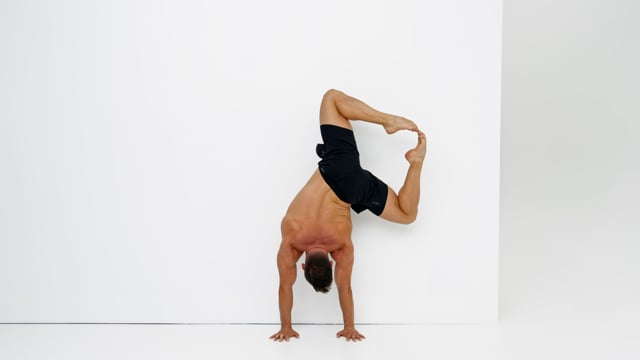
 | Straddle Slide Away Deep Side Bend 1x2 each side altternating | Start small and work deeper over time. Always put quality first! It is normal that one side will be easier than the other.Keep your shoulders stable and isolate the side bend between your last rib and the hip bones! Do not allow the shoulder that you are side bending on to collapse towards the front. Look at the spot in between your hands. Do not shift your gaze!Push your legs open and externally rotate them inside the hips to lock them. Do not allow one of them to close or slide out! | |
 | Deep Side Bend 2x1 each side | Keep your shoulders stable and isolate the side bend between your last rib and the hip bones! Do not allow the shoulder that you are side bending on to collapse towards the front. Look at the spot in between your hands. Do not shift your gaze!Push your legs open and externally rotate them inside the hips to lock them. Do not allow one of them to close or slide out!Start small and work deeper over time. Always put quality first! It is normal that one side will be easier than the other. | |
 | Straddle Slide Away Deep Side Bend - Diamond 2x2 each side | Keep your shoulders stable and isolate the side bend between your last rib and the hip bones! Do not allow the shoulder that you are side bending on to collapse towards the front. Look at the spot in between your hands. Do not shift your gaze!Imagine you are in a toaster. You do not want to burn your knees or shoulders. Do not rotate!Start small and work deeper over time. Always put quality first! It is normal that one side will be easier than the other. | |
 | Small Transfer Shrug - Full Straddle 2x2 each side | Aim to keep your free hand flat on the floor. Of course this is not possible but it will help you to isolate the work into the supporting shoulder and to keep the free shoulder low by your ear.Freeze at every movement change. This will allow you to check on your positions and forces you to stay up longer and ultimately to get stronger.Lock your elbows, push out tall and work on staying in control at all times! | |
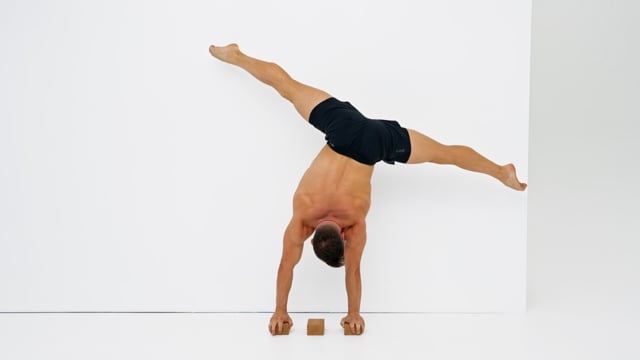 | Straddle Slide Away to 3 Blocks Step There - Full Straddle 3x each side | When your hands moves the body should be completely immobile.Remind yourself how to do a Slide Away. Lean your shoulders towards the front the get the feet off the wall.Push your legs open actively to lock them in the full straddle. | |
 | Small Transfer Shrug - Legs Together 2x2 each side | Aim to keep your free hand flat on the floor. Of course this is not possible but it will help you to isolate the work into the supporting shoulder and to keep the free shoulder low by your ear.Freeze at every movement change. This will allow you to check on your positions and forces you to stay up longer and ultimately to get stronger.Lock your elbows, push out tall and work on staying in control at all times! | |
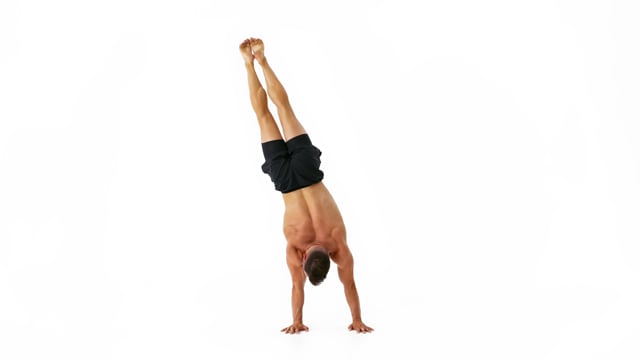
 | Narrow Slide Away 2x | Do not pull your hips or arch your back. Stay in a perfectly straight line from shoulders to toes. The only position change should be in the shoulders and wrists.Keep your elbows locked and elevate your scapula fully at all times.Use 2 blocks touching each other or place your hands on the floor right next to each other where the thumbs are either crossed aligned side by side. | |
 | Narrow Straddle Slide Away 2x | Don't just lock your legs inside of your hips but actively push them open. Do not accidentally close your legs whilst leaning towards the front., Lock your legs inside of your hips. Do not accidentally close your legs whilst leaning towards the front.Use 2 blocks touching each other or place your hands on the floor right next to each other where the thumbs are either crossed aligned side by side.Keep your elbows locked and elevate your scapula fully at all times. |
HSPU Conditioning
| Demo | Exercise | Reps/Sets | How to/Cues |
|---|---|---|---|
 | Vertical Wall Walk - Legs Together 1x down up on each side | Freeze at every movement change. This will allow you to check on your positions and forces you to stay up longer and ultimately to get stronger.Place your floor hand close to the block to make getting on top of it easier.Before pushing up align your block hand, shoulder and opposite hip. For this bend your block elbow and bend towards the side between your hip bones and the last rib. | |
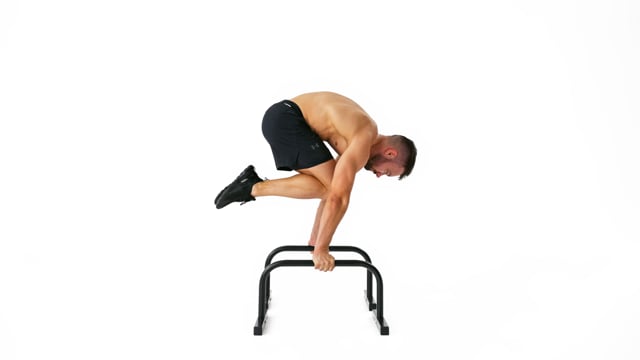 | Tuck Planche to Tuck L Sit 5x | Resist with your shoulders and protract them. Keep your head in a neutral position.Go as slow as possible and try to stay in control the entire time! If you feel like you are about to lose control: Stop and simply try to freeze in place!Fully lock your elbows. This is a straight arm skill! Treat it as such! | |
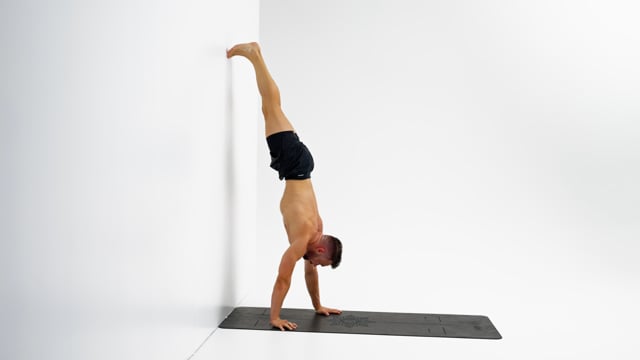
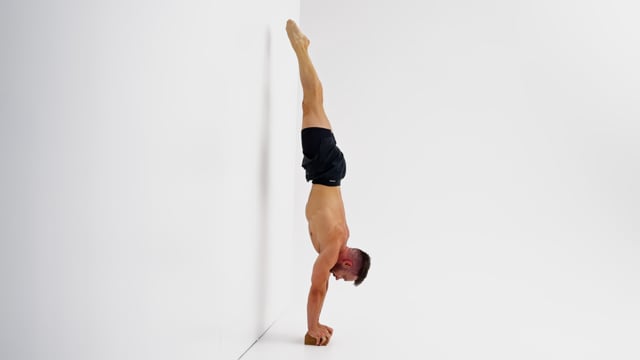
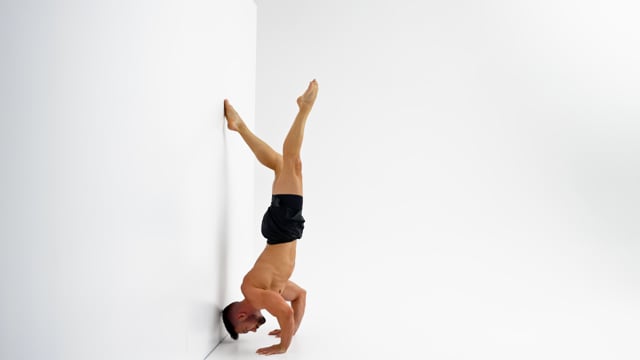
 | HSPU - Chest to Wall 5x total | Aim your head further towards the front and embrace the angle in your body. Focus on engaging your chest muscles and protract your shoulders slightly.Your upper body should travel down and back up on the same line. Keep your back straight. Make sure not to look at your hands and not to push your shoulders towards your armpits on top.Play around with the distance to the wall. It might take you some time to find out what is the right distance for you. | |
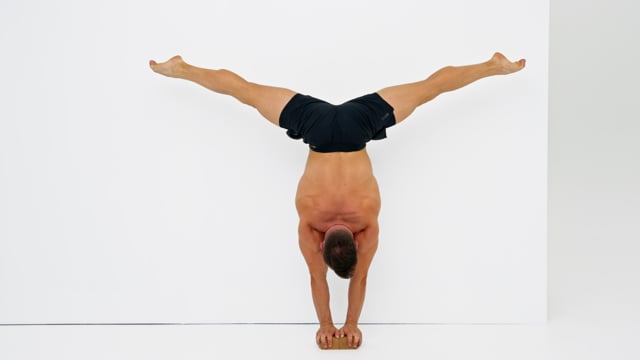
 | HSPU - Back to Wall 3x3 | Keep a straight line between your head and the foot that is not touching the wall but allow this foot to move away form the wall to bring the body into an angle. Move pressure from your shoulders into your upper chest.Your upper body should travel down and back up on the same line. Keep your back straight. Make sure not to look at your hands and not to push your shoulders towards your armpits on top.Place your hands shoulder width apart on the floor with your fingers facing towards the front! Lock your elbows and rotate their pits towards the front. Elevate your scapula! | |
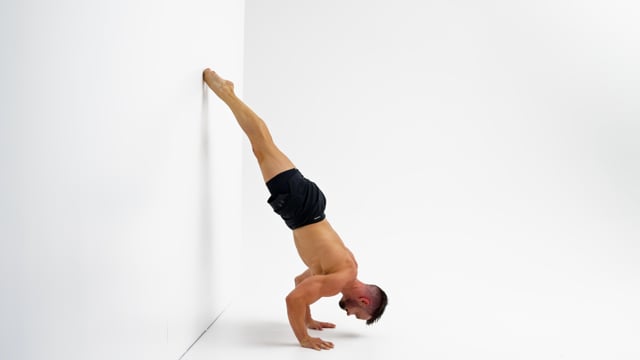
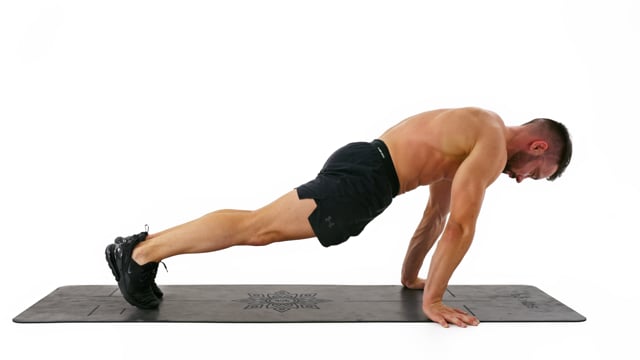 | Walking Lean Push Up 2x3 | Protract your shoulders and focus on keeping protraction the entire time. To do so you must combine strength and coordination.When extending your arms your head and shoulders should travel in a vertical line. This is not easy. Overcompensate! It should feel as if you were pushing forward and up in a slightly diagonal line.Externally rotate your hands to ease the pressure on the wrists. |