Assessment List
Here is your full workout for today. This overview includes name, reps, and most important cues. IMPORTANT!! To see the video click the (“+”) symbol next to the exercise name, and it will expand.
Look after yourself and only do what feels safe enough.
Make sure to warm up well.
Dashboard | Assessment List
Here is your assessment video list.Keep in mind that this is not a proper workout. Please do your own warm up, only film what feels safe & add more where you believe I should know more.Click on the exercises to unfold them in order to see the exercise video.Once done filming please follow the link below and upload the videos to my drive. You do not have to name them edit them in any form. Please only upload 1 video per exercise.Make sure to WhatsApp me once all videos are on the drive so I can start working on your workouts. If the drive gives you any problems do not bother and simply WhatsApp me the videos.Good luck!
One Arm Handstand Assessment
| Demo | Exercise | Reps/Sets | How to/Cues |
|---|---|---|---|
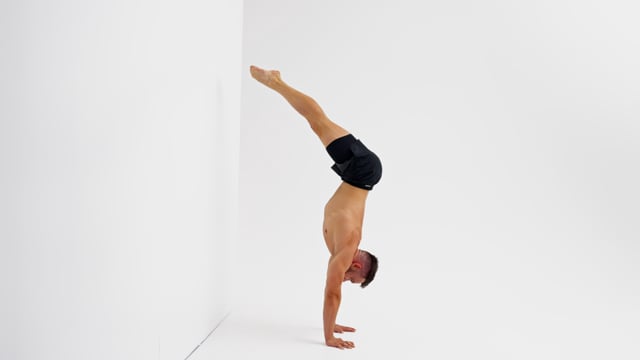
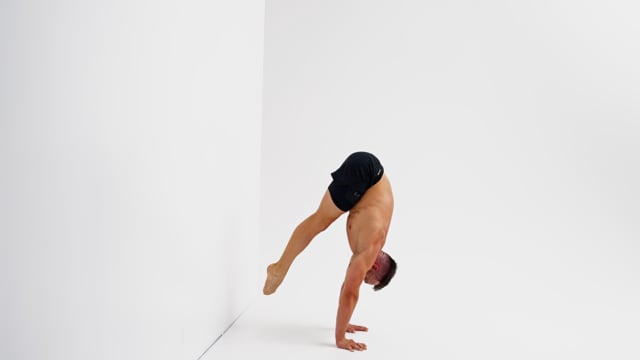
| Lateral Leg Isolation from Straight | Focus on the immobile leg. Keeping it perfectly still is much harder than moving the other one to straddle and back.Focus on the rotation of your leg inside of your hip. In the straddle position the leg needs to be externally rotated. When the leg is on top it needs to be in parallel.Keep both elbows locked and shoulders elevated. Due to the nature of the movement you will have more weight on one side of your body. It is up to you to create the visual illusion of the weight staying perfectly even between your hands.Engage your legs! They make up a significant part of your handstand. Lock your knees, point your feet and squeeze the water out of them. | ||
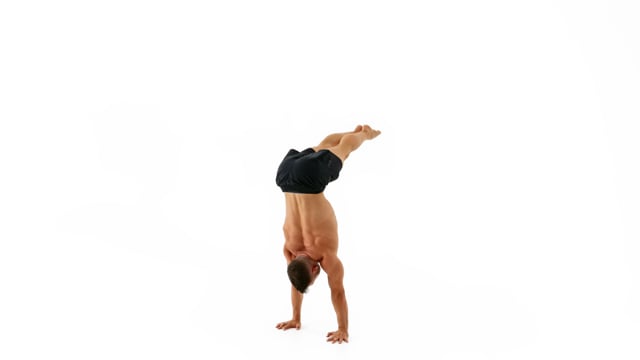
| Straight Single Leg Isolation | Keep your immobile leg perfectly on top of the hands, shoulders & hips. Do not arch it towards the back as a counterweight.Make sure your shoulders stay right on top of the center of your hands. Do not push them open in the direction of your armpits or allow them to close and slide in the direction of your back.Whilst the aim is to bring the leg all the way down to parallel you can start by only going until around 45 degrees If you are limited by your current level of flexibility or skill.Carry your leg down slowly and don't drop it. Stay in control at all times. A spectator should be able to say stop at any moment and you should be able to freeze. | ||
| Deep Side Bend | Imagine you are in a toaster. You do not want to burn your feet or shoulders. Do not rotate!Keep your shoulders stable and isolate the side bend between your last rib and the hip bones! Do not allow the shoulder that you are side bending on to collapse towards the front. Look at the spot in between your hands. Do not shift your gaze!Push your legs open and externally rotate them inside the hips to lock them. Do not allow one of them to close or slide out!Start small and work deeper over time. Always put quality first! It is normal that one side will be easier than the other. | ||
| 3 Blocks Step - Full Straddle | Align your supporting shoulder and opposite hip through side bending on top of your supporting hand in each step.Look at the hand that you are standing on and connect the side of your face with the supporting shoulder.Each time transfer onto the same hand. Step there and step back. This will help you find, understand and solidify your alignment.Freeze at every movement change. This will allow you to check on your positions and forces you to stay up longer and ultimately to get stronger. | ||
| 3 Blocks Step - Legs Together | Align your supporting shoulder and opposite hip through side bending on top of your supporting hand in each step.Look at the hand that you are standing on and connect the side of your face with the supporting shoulder.Each time transfer onto the same hand. Step there and step back. This will help you find, understand and solidify your alignment.Freeze at every movement change. This will allow you to check on your positions and forces you to stay up longer and ultimately to get stronger. | ||
| Stretched Out Fingertip Taps - Full Straddle | Focus on one movement at the time. First step is holding the Stretched Out Fingertips One Arm Handstand Position.Instead of lifting the free hand upwards, away from the floor think of rotation the arm inside of your shoulder and drawing a tiny portion of a circle with your hand. This will allow your free shoulder to stay low by your ear.Do not push your body out towards the side and then quickly lift the hand off. Instead align yourself properly before taking the hand off. You know that you are ready for the tap because your arm feels weightless.Push out tall from your supporting shoulder, align your opposite hip on top and look at your hand. Connect the side of your face with your shoulder. | ||
| Extreme Miami Floor Combi - Full Straddle | Add a Miami Inside Hold every time that you are on top of the block. Keep your block elbow bent, look at the block hand and align the opposite hip, shoulder and hand.Freeze at every movement change. This will allow you to check on your positions and forces you to stay up longer and ultimately to get stronger.When your hands moves the body should be completely immobile.Look at the hand that you are standing on and connect the side of your face with the supporting shoulder. | ||
| Vertical Wall Walk - Legs Together | Squeeze your legs together. This is the first priority! Make sure to use a flat and even wall and wear slippery socks.Freeze at every movement change. This will allow you to check on your positions and forces you to stay up longer and ultimately to get stronger.Place your floor hand close to the block to make getting on top of it easier.Before pushing up align your block hand, shoulder and opposite hip. For this bend your block elbow and bend towards the side between your hip bones and the last rib. |
| Demo | Exercise | Reps/Sets | How to/Cues |
|---|---|---|---|
| L Sit to Tuck Planche - Reps | Lean your shoulders towards the front and pull your knees towards your chest.Round your back and protract your shoulders. Keep your head in a neutral position looking down in the planche.Fully lock your elbows. This is a straight arm skill! Treat it as such!Try to squeeze on top and hold the Planche for a moment in each rep. |
| Demo | Exercise | Reps/Sets | How to/Cues |
|---|---|---|---|
| HSPU - Back to Wall | Bend one of your knees and place the foot against the wall. Use this for stability and to create distance between you and the wall. Alternate the wall leg either between reps or sets.Keep your body in a vertical line and focus your work mainly into your shoulder and not your chest muscles.Your upper body should travel down and back up on the same line. Keep your back straight. Make sure not to look at your hands and not to push your shoulders towards your armpits on top.Place your hands shoulder width apart on the floor with your fingers facing towards the front! Lock your elbows and rotate their pits towards the front. Elevate your scapula! |

| Demo | Exercise | Reps/Sets | How to/Cues |
|---|---|---|---|
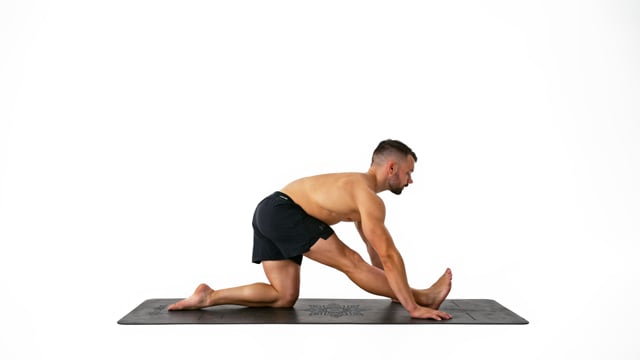
| Half Split | Focus on your posterior pelvic tilt first. Do not allow your lower back to arch.Place your foot far enough towards the front so at the deepest position of your stretch your knee is on top of the foot with you shin in a vertical line.Push your hips towards your front foots heel.Keep your shoulders low and squared with your hips. | ||
| Half Split Back Knee Straight | Start by fully locking your back knee before bringing your upper body in an upright position and pushing your hips down. Keep your back knee fully locked the entire time.Tuck your tailbone under and focus on the posterior pelvic tilt.Flex your back foot on the floor and gently extend it to push your back leg into your hips helping with the posterior pelvic tilt.Keep your shoulders depressed, squared with the hips and parallel to the floor at all times. Do not allow your body to turn out. |
| Demo | Exercise | Reps/Sets | How to/Cues |
|---|---|---|---|
| Bridge From Floor | Before you begin place your feet shoulder width apart on the floor with your heels as close to your glutes as possible.Rise up through a hamstring first before extending the elbows.Push your hips towards the ceiling. Keep equal weight between your hands and shoulders to create an even arch.Pull your head back as if you were trying to look at your heels. |
| Demo | Exercise | Reps/Sets | How to/Cues |
|---|---|---|---|
| Hollow Back Wall Tap | Open your shoulders in the direction of your armpits carefully and bring your feet towards the wall arching your back and lengthening the hip flexors. Start with your hands close to the wall and over time increase difficulty by increasing the distance to the wall.You can not see the wall coming and don't want to place any weight on the wall. You therefore have to move very slowly.Focus especially on the moment when you come back to your regular handstand. Aligning the shoulders back on top of the center of the hands whilst staying in control is not easy! Move slowly and extremely focused.Lock your elbows, push out tall and work on staying in control at all times! | ||
| Bridge Table Tap | Start with your hands overhead and feet shoulder wide apart pointing towards the front. Depress your shoulders and lock out your knees and elbows.With your hands guiding the movement reach back opening each part of the back 1 section at the time to its fullest potential. Return back to your starting position in the opposite order. Your hands should be the last thing that comes up. Look back as early as possible on the way down and continue to look back for as long as possible on the way back up.Keep your knees locked, avoid pushing your hips out towards the front, stay in control at all times and do not place any weight on your hands at the bottom of the movement.Adjust the height of the box to match your current level of flexibility. Keeping form quality high is significantly more important than depth and range of motion. Decrease the height of the box slowly over time and do not make sudden changes. |