Let's get to work
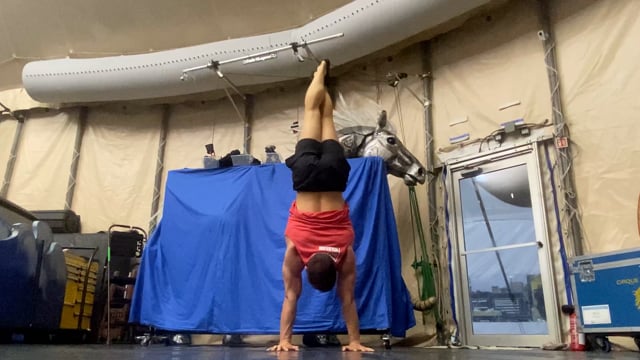
Handstand Workout
Here is your full workout for today. This overview includes name, reps, and most important cues. IMPORTANT!! To see the video click the (“+”) symbol next to the exercise name, and it will expand.
Look after yourself and only do what feels safe enough.
Make sure to warm up well.
Dashboard | Workout
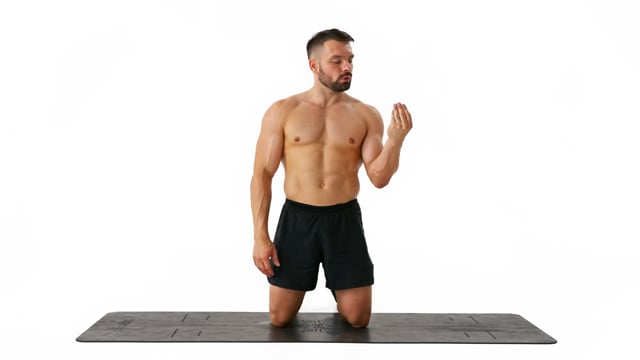
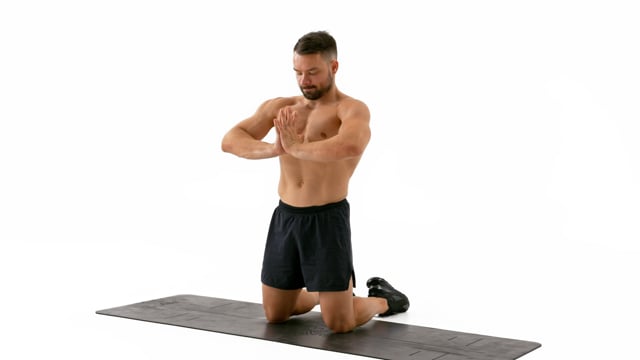
Specific Warm Up

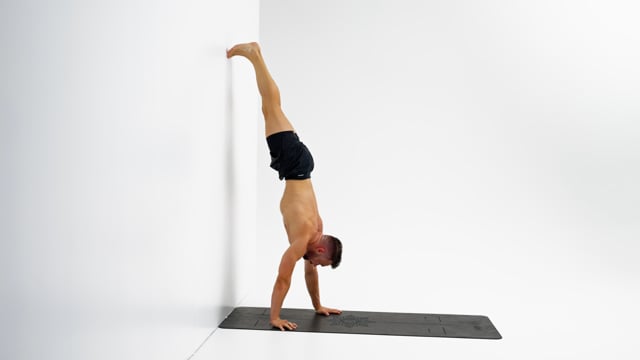
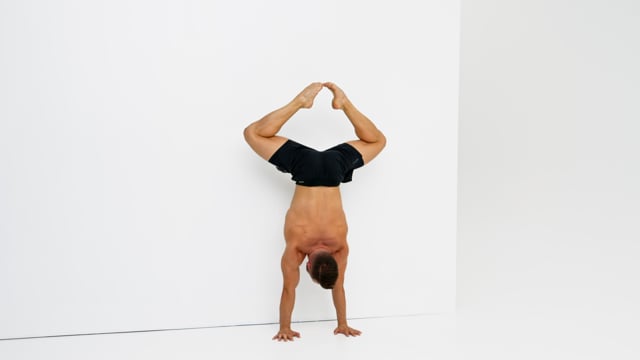
Wall Handstand Refinement
Freestanding Training


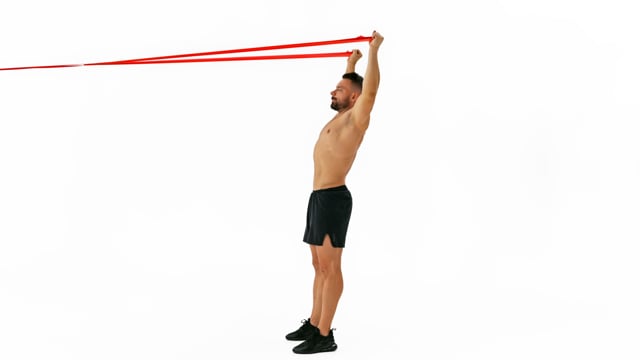
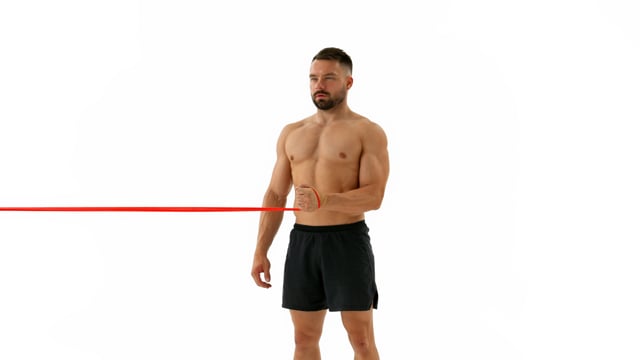
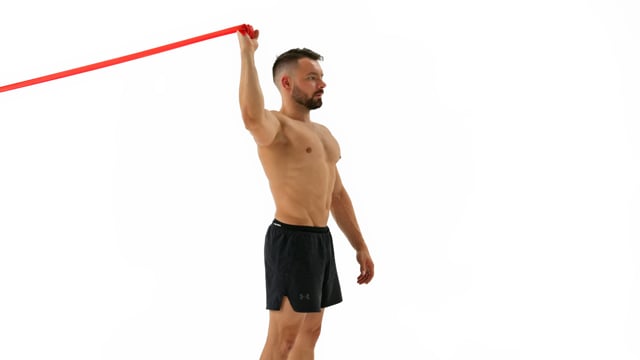
Conditioning
| Demo | Exercise | Reps/Sets | How to/Cues |
|---|---|---|---|
| Bench Forearmstand Hip Engagements | 1x4 | ||
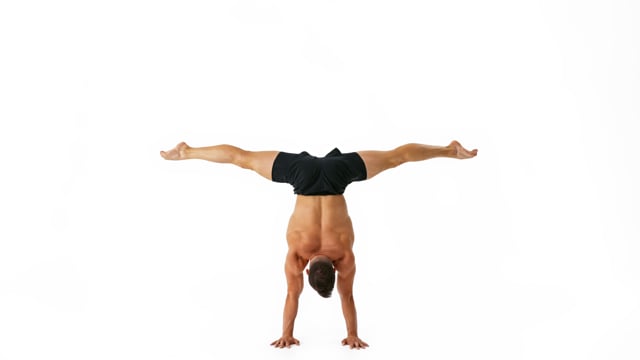
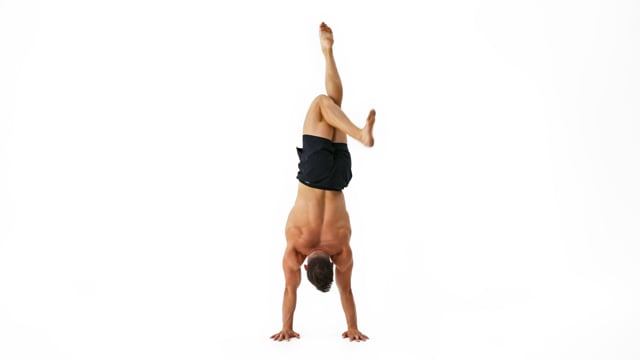
| Bench Press to Handstand | 2x total | Start with your shoulders and hips vertically aligned on top of the center of your hands. Ideally your hips are even in a slight anterior pelvic tilt. The exact height of the box will depend on your body proportions and hamstring mobility.All that is left from here is to bring the legs around. Your hips and shoulders should not have to move anymore.Engage your legs! Lock your knees, point your feet and squeeze the water out of them.Lock your elbows, elevate your scapula and look at the spot in between your hands. | |
| Low Bench Zombie Take Off to Press | 4x total | Alternate between Bench Zombie Take Offs and Bench Zombie Presses.Use the momentum created during the Bench Zombie to pull your hips into an anterior pelvic tilt and lift your feet off the bench. Keep your hip flexors fully engaged to keep your legs low and to stay compressed.Use a bench slightly lower than what you would use for your regular Bench Zombie. If you do not have a different bench available elevate your hands!Lock your elbows, elevate your scapula and look at the spot in between your hands. | |
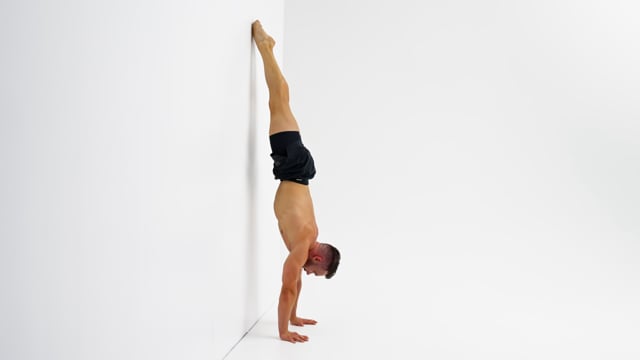
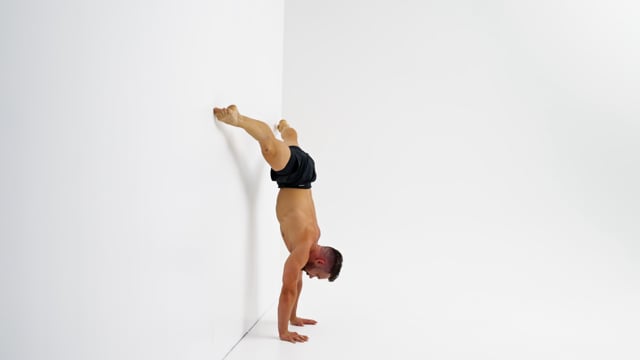
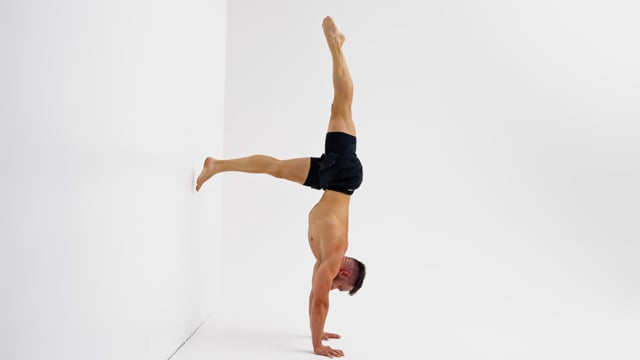
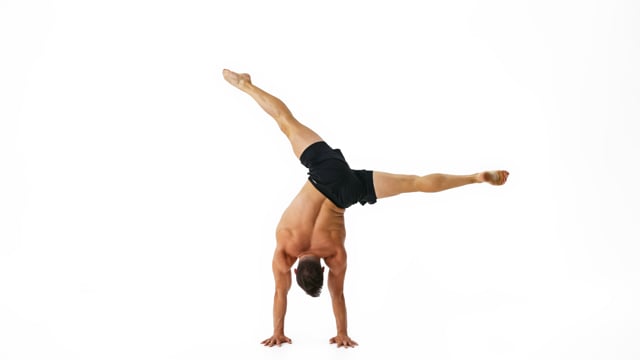
| Extreme Chest to Wall Leg Lift | 2x2 | Separate your movements! First pull your feet away from the keeping your shoulders perfectly stable. Then keeping the angle in the hips immobile close your shoulders bringing the feet even further away from the wall.When you return to the wall first open your shoulders fully and then untighten your hip flexors to bring the heels back to the wall. If your heels touch the wall whilst you open the shoulders you know you did not properly hold your compression.Start with your hands, shoulders and hips vertically aligned with only feet touching the wall. The exact distance to the wall will depend on your current level of flexibility.Engage your legs! Lock your knees, point your feet and squeeze the water out of them. | |
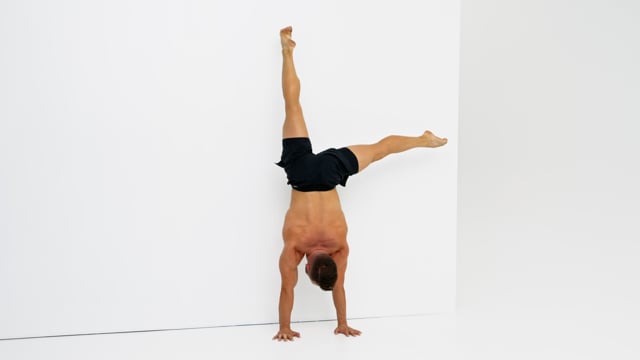
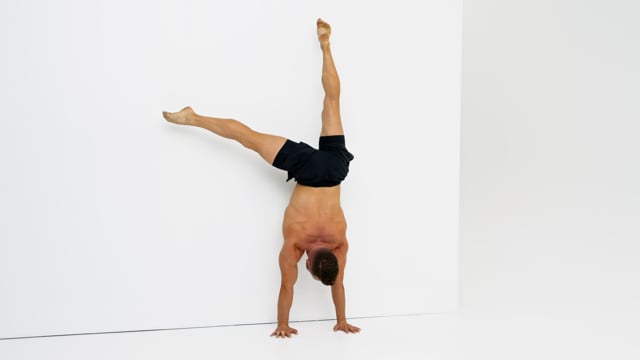
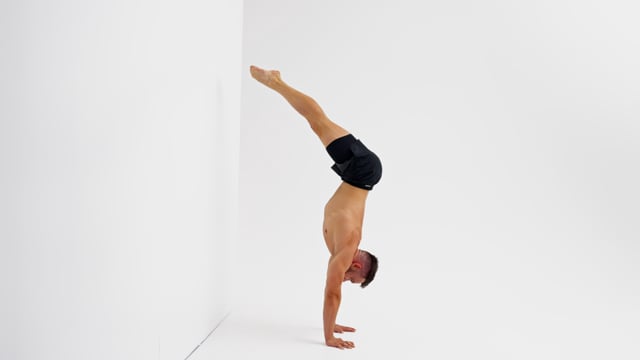
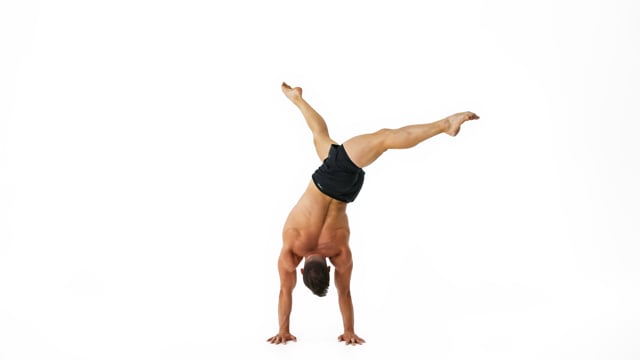
| Chest to Wall Press | 5x total | Start with your hands, shoulders and hips vertically aligned with only feet touching the wall. The exact distance to the wall will depend on your current level of flexibility.Draw a big circle on the wall by bringing your legs around through the deepest straddle eventually moving into a pancake position to bring your feet down., When lowering to the Stalder the most important moment is when your feet leave the wall. Ideally your shoulders should still be on top of the center of your hands and your hips in a slight anterior pelvic tilt. Use your hip flexors and compression muscles only to pull your feet away from the wall.Resist with your shoulders to keep them open the entire time. Use your back muscles to pull on your hips. Prevent them from slipping into a posterior pelvic tilt for as long as possible.On the way back up try to reestablish the straight back and even slight anterior pelvic tilt as early as possible. | |
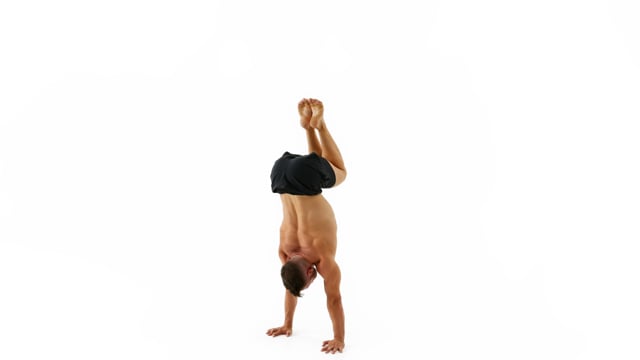
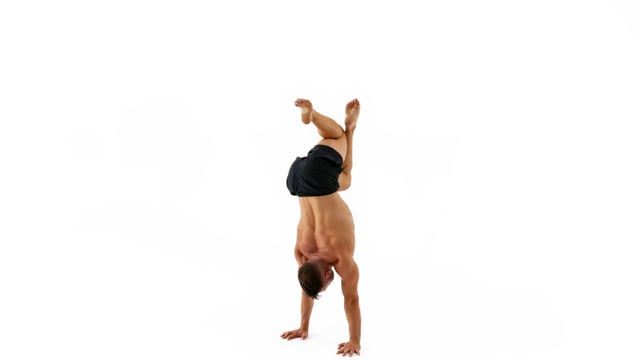
| Bench Zombie to Compression Hold | 5x total | Start by leaning your shoulders towards the front only. Then engage your back to pull your hips up and into a slight anterior pelvic tilt whilst bringing the shoulders back. The goal here is to align the shoulders and hips on top of the hands.As you take your feet off first try to keep your hands, shoulders and hip line active. Use your hip flexors only to pull the feet in. When you can not go any further allow your shoulders to move towards the front and for your hips to dip down.Freeze with your toes hovering off the floor. Actively push your shoulders open and use your back to pull your hips towards an anterior pelvic tilt.Place your hands shoulder width apart on the floor with your fingers facing towards the front! Lock your elbows and rotate their pits towards the front. Elevate your scapula! | |
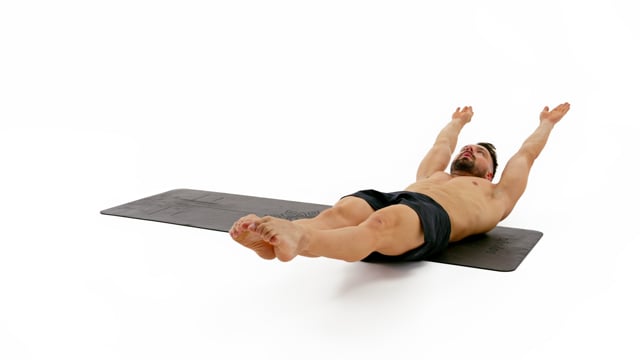
| Extreme Walking Dead | 2x10 |