Let's get to work!
Handstand Workout B
Here is your full workout for today. This overview includes name, reps, and most important cues. IMPORTANT!! To see the video click the (“+”) symbol next to the exercise name, and it will expand.
Look after yourself and only do what feels safe enough.
Make sure to warm up well.
Dashboard | Workout
Specific Warm Up
| Demo | Exercise | Reps/Sets | How to/Cues |
|---|---|---|---|
| Butterfly Shoulder Warmup | 3x up and down | Start with your arms fully extended in front of your chest with your palms facing each other.Apply constant outwards pressure on the elastic as you raise your arms overhead and back.Keep your shoulders down and look towards the front.Engage your core to stabilize your position. | |
| Overhead Warm Up Push | 1x8 | Start with your elbows 90 degrees bent by your side and your wrists connected with the elastic. Rotate your hands so your palms are facing each other.Separate your movements. First rotate your arms inside of your shoulders to bring the elbows in front of your chest. Then push your hands overhead.Keep your shoulders down and look towards the front.Apply outwards pressure on the elastic the entire time but do not externally rotate your arms. | |
| External Rotation with Loop | 1x8 | Start with your elbows 90 degrees bent by your side and your wrists connected with the elastic. Rotate your hands so your palms are facing each other.Externally rotate your arms against the pressure of the elastic whilst keeping your elbows connected to your side.Keep your shoulders down and look towards the front.Engage your core to stabilize your position. | |
| Looped Wall Step | 1x6 step each way | Place your hands shoulder width apart on the wall in front of you.Keep your shoulders down and look towards the front.Slide your hand out on the wall against the pressure of the elastic. Keep your elbows locked.Engage your core to stabilize your position. | |
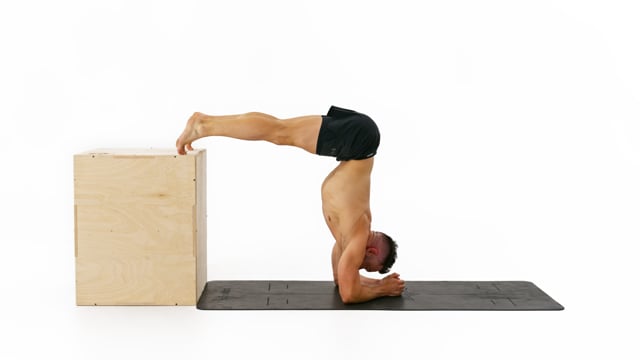
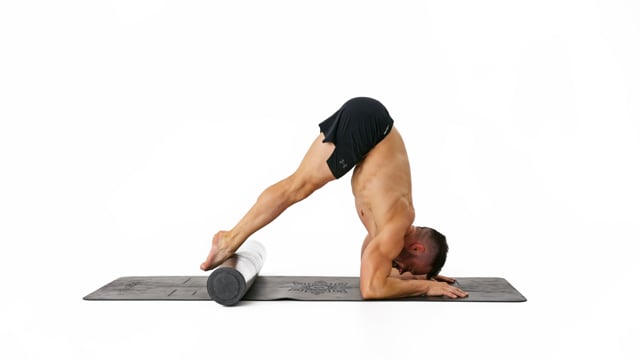
| Forearm Plank Shoulder Burner with Elastic and Foam Roller | 1x12 | Place your forearms on a foam roller with your shoulders on top of your elbows. Connect your hands with and elastic, rotate them so they face each other and pull apart.Rock your elbows back and forth carefully whilst keeping your body stable.Engage your core and create 1 straight line from your feet all the way through your neck.Protract and depress your scapula. Do not allow your shoulder blades to stick out behind. | |
| Up Down Wrist Waving | 1x10 | Hold your hands out in front of you with your elbows 90 degrees bent by your side.Move your wrists from full flexion into full extension and back.Stay in each extreme for a moment for an active stretch.Keep your shoulders depressed and squared with your hips. | |
| Prayer Pose Rotation | 1x6 each direction | Connect the palms of your hands in front of your face and spread your fingers open wide.Keeping your hands in a vertical position push them down in front of your body towards your belly button.Keeping your hands low rotate them for the fingertips to point towards you and then away from you. Keep pressure on your wrists the entire time and rotate your hands sligthly further in each repetition.Keep your shoulders depressed and squared with your hips. | |
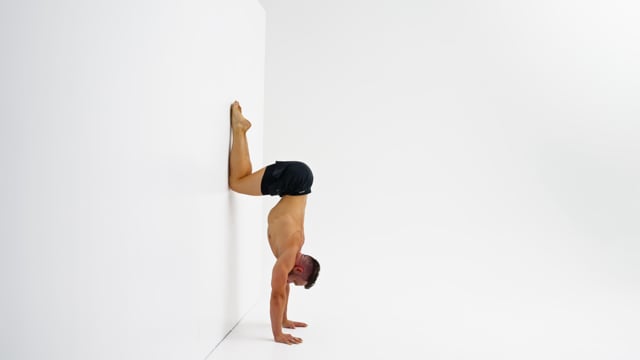
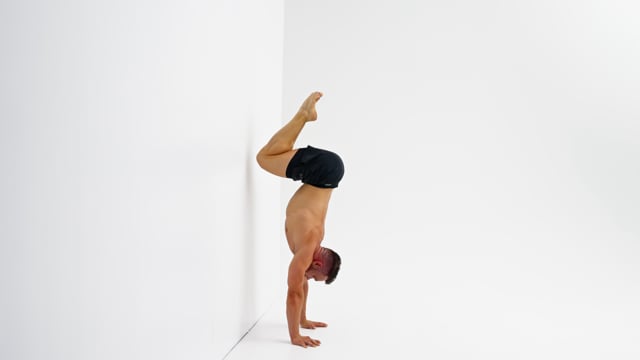
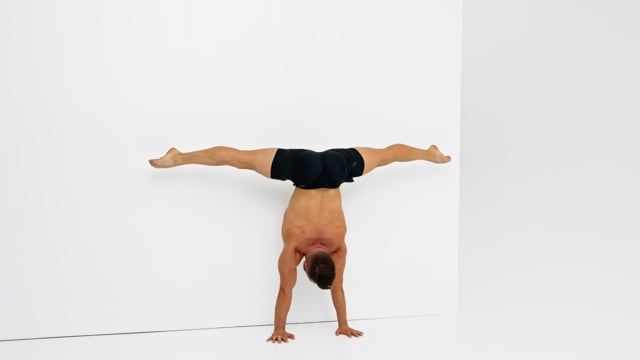
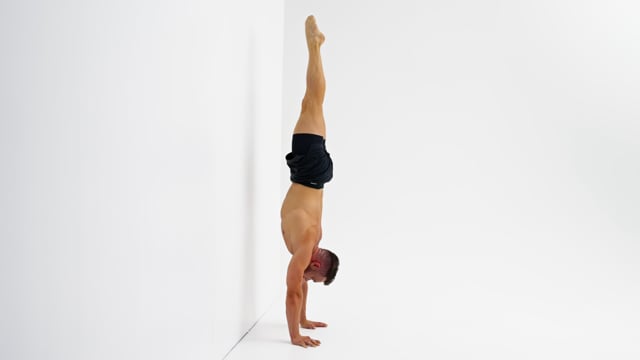
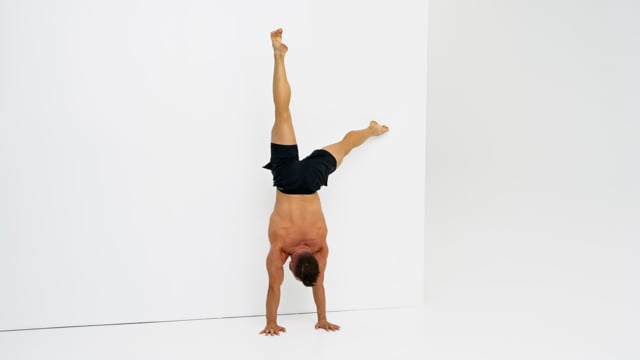
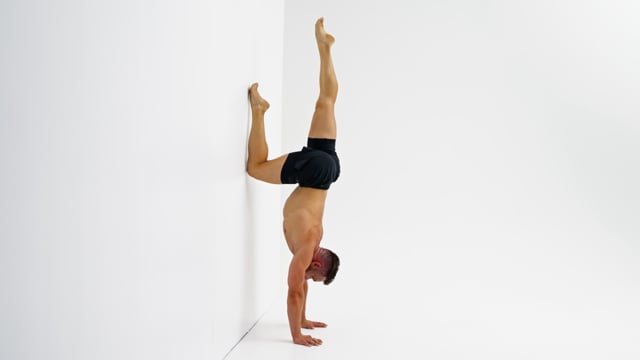
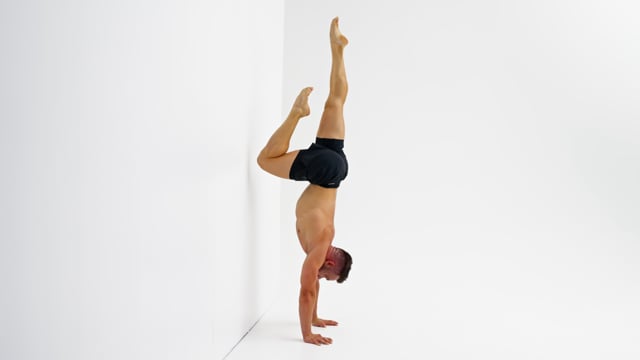
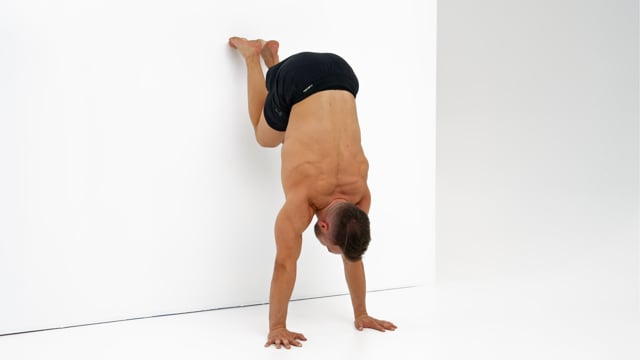
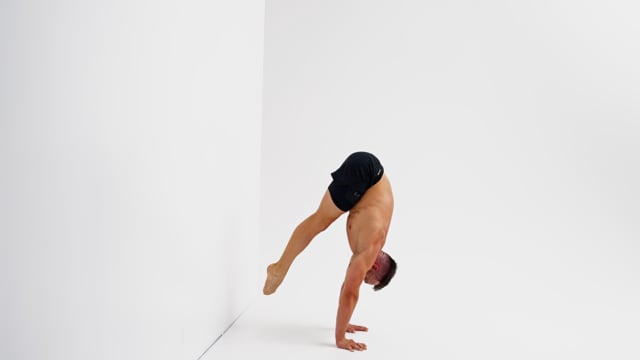
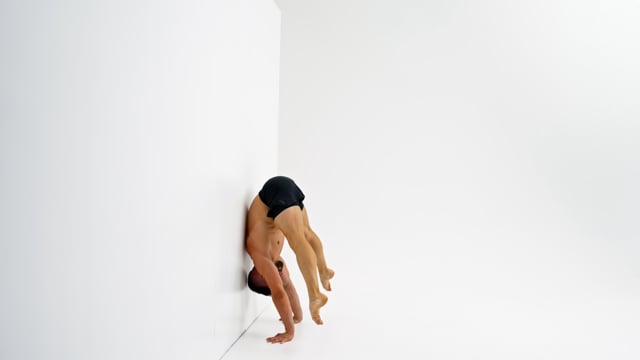
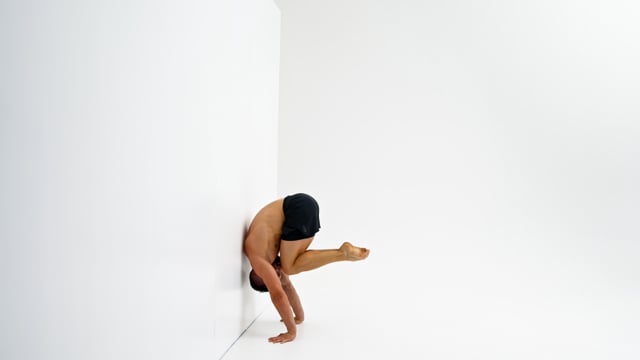
| Wall Walk | 1x2 | Engage your whole body! Do not allow your back to arch or your shoulder blades to stick out behind your back.Take small and controlled steps with your hands facing towards the front.Only your feet should touch the wall. Do not place your knees, hips or chest on the wall.Do not look at the wall. Instead look at the spot in between your hands. |